Anyone who likes playing retro games or building projects with the Raspberry Pi mini PC will be pleased to know that the official Raspberry Pi Foundation team has released a new book in the form of Retro Gaming with Raspberry Pi (3rd Edition). This 180-page manual is a treasure trove for those who yearn to dive back into the games of the past, using the Raspberry Pi as their time machine.
The guide is is priced at £14 and offers a meticulously crafted resource that appeals to both beginners and experienced gamers. It takes you on a detailed journey through the process of using the Raspberry Pi to emulate beloved gaming systems. Whether you’re a fan of the Nintendo GameCube, Sony PlayStation, or Sega Dreamcast, this book has you covered. It teaches you how to turn your Raspberry Pi into a versatile emulation station, allowing you to play the games that once defined an era.
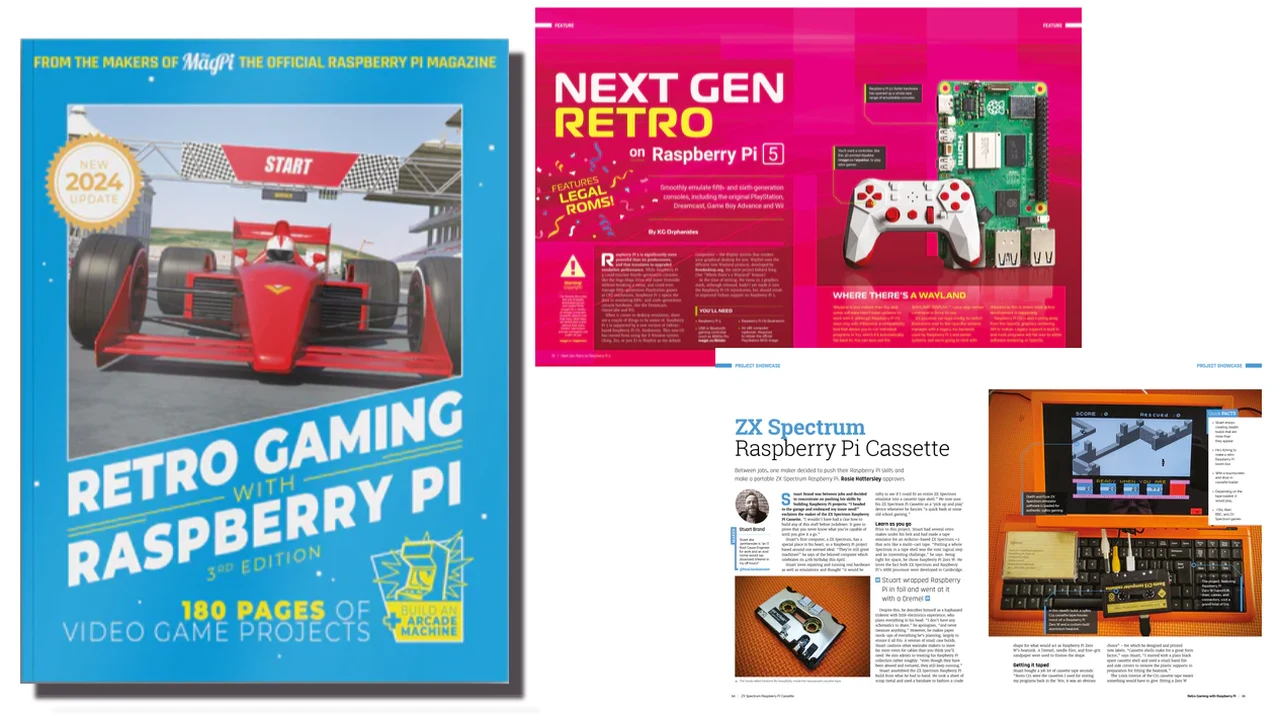
Retro Gaming with Raspberry Pi (3rd Edition) book
But the book goes beyond just playing old games. It also guides you through the exciting process of building your own gaming hardware. Whether you want to create a portable handheld device or a full-sized arcade cabinet, the instructions are clear and straightforward. By following the steps, you can construct a gaming setup that not only works well but also serves as a personal homage to the golden age of video games.
“Retro Gaming with Raspberry Pi shows you how to set up Raspberry Pi 5 to play a new generation of classic games. In this 180-page book, you’ll build a gaming console and full-size arcade cabinet, install emulation software and download original games with full step-by-step guides. Discover a vibrant homebrew scene packed with new games for original consoles and legal access to all those retro games you remember!”
- Set up Raspberry Pi for retro gaming
- Emulate classic computers and consoles
- Learn to code retro-style games
- Build a console, handheld, and full-size arcade machine
The authors of the guide are mindful of the legalities surrounding game emulation. They stress the importance of respecting the original creators’ intellectual property. The book provides advice on how to acquire games in a way that’s both legal and respectful, ensuring that your trip down memory lane is not tarnished by ethical concerns.
One of the most vibrant aspects of retro gaming is the community of enthusiasts who continue to develop new games for old consoles. The third edition of the guide shines a light on these passionate developers, who keep the spirit of retro gaming alive by pushing the boundaries of what vintage hardware can do. The book features their work and encourages readers to explore the world of homebrew games.
In addition to technical guidance, the book is filled with inspiring stories from people around the world who have embarked on their own retro gaming projects. These tales offer a window into the creative process and serve as a catalyst for readers to start their own projects. They demonstrate the wide-reaching impact that retro gaming has had on individuals and communities alike.
The guide concludes with a look at the global community of retro gaming fans. This diverse group of hobbyists and professionals is constantly developing new games and tools for old systems, ensuring that the love for retro gaming continues to thrive.
With Retro Gaming with Raspberry Pi, you have everything you need to revisit the classics using today’s technology. Grab your Raspberry Pi and get ready to experience the intersection of nostalgia and innovation, where the games of yesterday meet the possibilities of today. For more details on purchasing options jump over to the official Raspberry Pi Press website.
Filed Under: Gaming News, Top News
Latest timeswonderful Deals
Disclosure: Some of our articles include affiliate links. If you buy something through one of these links, timeswonderful may earn an affiliate commission. Learn about our Disclosure Policy.