Categories
News

 How to Factory Reset Your Mac and Start Fresh

factory reset Mac 

At times, your reliable Mac might start to show signs of slowing down, becoming cluttered with unnecessary files, or perhaps you’re contemplating selling it. In such instances, performing a factory reset can inject new vitality into your device, almost as if it’s being given a second lease on life. As an individual deeply immersed in the world of technology, I’ve come to appreciate the immense benefits of this procedure. Despite the process potentially seeming daunting at first glance, I’m here to guide you through each step, drawing from my personal journey of conducting a factory reset on my own Mac.

The idea of initiating a factory reset might trigger concerns due to its technical nature and the fear of potentially losing important data. However, the reality is that with the right guidance and preparation, the process is quite straightforward and can significantly enhance your Mac’s performance. From clearing out old, unused applications and files that clog your system’s storage, to resolving persistent software issues that a simple restart won’t fix, a factory reset can be the solution you’ve been searching for.

Follow me as I detail the procedure, provide tips on how to safely backup your data, and share insights from my own experience. Resetting my Mac was a decision that brought about a noticeable improvement in its functionality, making it feel brand new. This guide aims to demystify the factory reset process, showing you that with a few simple steps, you can rejuvenate your Mac, boosting its speed and efficiency, or preparing it for a new owner if you decide to sell.

Important Reminders Before You Begin

  1. Back it up!: A factory reset completely wipes your Mac. Make sure you’ve backed up all important files, photos, and documents using Time Machine or your preferred cloud storage solution (iCloud, Dropbox, Google Drive, etc.).
  2. Sign out and disassociate: Sign out of your Apple ID, iCloud, and other services. Turn off “Find My Mac” to avoid activation locks later.

The Reset Process

  1. Restart and Hold the Keys: Restart your Mac. Immediately after you hear the startup chime, press and hold the “Command” and “R” keys together. Keep holding them until you see the Apple logo or a spinning globe. This boots your Mac into macOS Recovery mode.
  2. Welcome to macOS Utilities: Once in recovery mode, you’ll see a window titled “macOS Utilities.” Here’s where the real work begins.
  3. Disk Utility: The Eraser: Select “Disk Utility” and click “Continue”. It’s time to wipe your drive clean! In the Disk Utility sidebar, choose your Mac’s main hard drive (often called “Macintosh HD”). Click the “Erase” button at the top.
  4. Format Decisions: You’ll need to select a format. If you’re using a modern Mac, “APFS” is usually the best choice. Give your drive a fresh name (optional) and click “Erase.”
  5. Reinstalling macOS: Once Disk Utility finishes its task, quit back to the main macOS Utilities window. This time, choose “Reinstall macOS” and follow the on-screen instructions. Your Mac will download a fresh copy of macOS and install it.

My Experience: Easier Than I Thought

I’ll be honest, the thought of deleting everything initially made me nervous. However, with a solid backup and some online research, I felt more comfortable. The process itself was surprisingly smooth. Once I got into macOS Recovery, it was all about following the prompts.

The Clean Slate

After the reset and reinstallation, my Mac booted up like it was brand new! Setting up again felt like opening a new laptop for the first time. The snappiness that had been lost over time was back in full force.

Should You Factory Reset?

If you’re experiencing these things, a factory reset might be a great solution:

  • Sluggish performance: Resets can clear software clutter and fix odd glitches.
  • Preparation for selling: Ensures the next owner starts with a truly clean device.
  • Persistent problems: Sometimes a clean install eliminates stubborn software issues.

Summary

If you’re facing severe problems or have critical data, consulting a professional is worthwhile. But for many situations, a factory reset on your own can be a surprisingly effective way to revitalize your Mac. Overall, I found the factory reset process on my Mac much simpler than I anticipated. If you’re tech-savvy enough to back up your data, you can certainly handle this task to give your machine a new lease on life.

Image Credit: Bram Van Oost

Filed Under: Apple, Guides, Laptops


Latest timeswonderful Deals

Disclosure: Some of our articles include affiliate links. If you buy something through one of these links, timeswonderful may earn an affiliate commission. Learn about our Disclosure Policy.

Categories
News

Microsoft OneNote tips and tricks for Mac users in 2024

Microsoft OneNote tips and tricks for Mac

For Mac users who rely on Microsoft OneNote for their note-taking and organizational needs, there are several strategies to enhance your experience and boost your productivity. OneNote is equipped with a variety of features that can help you streamline your workflow and keep your information neatly organized. Here’s how you can take full advantage of what OneNote has to offer.

When it comes to keeping your notes in order, OneNote allows you to customize the location of new pages. Instead of sticking with the default setting, you can choose to have new pages appear in specific sections. This helps you maintain a structured and logical arrangement of your notes, making it easier to find the information you need later on. To set this up, simply right-click on the section you prefer and select “New Page” from the menu that appears.

Keyboard shortcuts can be a real time-saver, especially when managing to-do lists in OneNote. With a simple command, “Cmd + 1,” you can quickly add a checkbox next to your tasks. This visual cue is great for keeping track of what you’ve accomplished and what still needs to be done. As you complete tasks, checking them off is straightforward, helping you stay organized and on top of your responsibilities.

OneNote tips and tricks for macOS

Here are some other articles you may find of interest on the subject of macOS :

OneNote’s ability to open multiple windows can significantly improve your multitasking capabilities. This feature allows you to have different pages or notebooks open at the same time, which is perfect for referencing various sources of information without the need to switch back and forth between tabs. To open a new window, go to the “Window” menu and choose “New Window.” This is particularly useful for complex projects that require you to consult multiple notes.

OneNote appearance

Adapting to your working environment can also enhance your OneNote experience. The application offers a light and dark mode, which you can switch between depending on your surroundings or personal preference. If you’re working in a dimly lit area, dark mode can reduce strain on your eyes. Conversely, light mode is better suited for bright environments. You can change the theme by clicking “OneNote” in the menu bar, going to “Preferences,” and selecting your desired option under “General.”

Monitoring changes the documents

Keeping track of edits is crucial, especially when working on documents that undergo frequent changes. OneNote’s page version history feature is a lifesaver in this regard. It allows you to see past versions of your pages, making it easy to recover from accidental edits or to review changes. To access this feature, right-click the page tab and choose “Page Versions.” From there, you can look through previous iterations and restore them if necessary.

Security & Privacy

For notes that contain sensitive information, OneNote provides the option to secure them with a password. By setting a password for a section, you can prevent others from accessing your confidential notes. However, it’s important to remember your password or keep it stored in a safe place, as there is no way to recover a forgotten password. To add a password, right-click the section tab, select “Password Protect This Section,” and create a password that you’re confident you’ll remember.

Incorporating these tips into your daily use of OneNote on your Mac can significantly improve how you manage your projects and tasks. OneNote is designed to help you work more efficiently, allowing you to concentrate on the most important aspects of your work. By taking the time to familiarize yourself with these features and integrating them into your routine, you’ll find that your productivity and organizational skills will reach new heights.

Filed Under: Guides, Top News


Latest timeswonderful Deals

Disclosure: Some of our articles include affiliate links. If you buy something through one of these links, timeswonderful may earn an affiliate commission. Learn about our Disclosure Policy.

Categories
News

How to Turn Off AirDrop on the iPhone, iPad and Mac

iPhone AirDrop

This guide is designed to show you how to turn off AirDrop on the iPhone, iPad and Mac. AirDrop, Apple’s seamless solution for wirelessly sharing content across its devices, stands as a hallmark of convenience and efficiency. Whether it’s photos, videos, documents, or more, AirDrop simplifies the process of transferring files between nearby iPhones, iPads, and Macs. However, there are instances when you might prefer to disable this feature. From conserving battery life to enhancing your device’s security and minimizing distractions, turning off AirDrop can be beneficial for a variety of reasons.

Why Disabling AirDrop Can Be a Good Idea

  • Battery Preservation: AirDrop operates using Bluetooth and Wi-Fi. Keeping it active can marginally increase your device’s battery consumption.
  • Enhanced Security: Despite AirDrop’s robust security measures, an always-on setting could inadvertently open the door to unwelcome file transfers.
  • Reduced Distractions: Unsolicited AirDrop requests can interrupt your focus, especially when they come unexpectedly.

Disabling AirDrop on iOS Devices

Turning off AirDrop on your iPhone or iPad can be accomplished through a couple of straightforward methods:

Using Control Center:

  1. Swipe down from the top-right corner of the screen (or up from the bottom if you’re using an older iPhone model with a Home button) to reveal the Control Center.
  2. Press and hold the connectivity panel, where icons for Wi-Fi, Bluetooth, and Airplane Mode are located.
  3. Tap on “AirDrop” and then select “Receiving Off” to turn off AirDrop.

Via Settings:

  1. Navigate to “Settings” on your device.
  2. Tap “General” and then “AirDrop.”
  3. Select “Receiving Off” to disable AirDrop.

Turning Off AirDrop on Mac

Disabling AirDrop on a Mac is just as simple and can be done in two different ways:

Through Control Center:

  1. Click on the Control Center icon, represented by two toggle switches, in the top-right corner of your Mac’s menu bar.
  2. Select “AirDrop” and then opt for “No One” to turn off the feature.

Using Finder:

  1. Open a Finder window and select “AirDrop” from the sidebar.
  2. At the bottom of the AirDrop window, click on “Allow me to be discovered by” and choose “No One.”

Reactivating AirDrop

Should you decide to enable AirDrop again, the process is straightforward. Simply reverse the steps mentioned above but choose either “Contacts Only” or “Everyone” based on your preference for who can see your device for AirDrop transfers.

Important Considerations:

  • If you notice AirDrop settings reverting to “Everyone,” it might be due to Screen Time restrictions. Access Settings > Screen Time > Content & Privacy Restrictions > Allowed Apps to adjust this setting.
  • Compatibility with AirDrop and the methods to enable or disable it may vary depending on your device and its operating system version.

Whether you’re looking to save battery, safeguard your privacy, or simply focus without interruptions, managing AirDrop’s settings can contribute significantly to your digital well-being. While AirDrop offers a swift and secure way to share files across Apple devices, understanding how to control its functionality ensures you can tailor your device’s behavior to suit your needs.

You will be pleased to know that Apple has designed AirDrop with user convenience in mind, offering flexibility in how and when you share your files. If you’re wondering how to adjust AirDrop settings for a specific scenario or device, these instructions provide a solid foundation, ensuring you can enjoy the benefits of AirDrop on your terms. You can find out more details about changing your AirDrop settings over at Apple’s website.

Image Credit: Lucas Hoang

Filed Under: Apple, Apple iPhone, Guides


Latest timeswonderful Deals

Disclosure: Some of our articles include affiliate links. If you buy something through one of these links, timeswonderful may earn an affiliate commission. Learn about our Disclosure Policy.
Categories
News

Boost Your Mac Workflow: 15 Clever Spotlight Hacks

Aim Apple

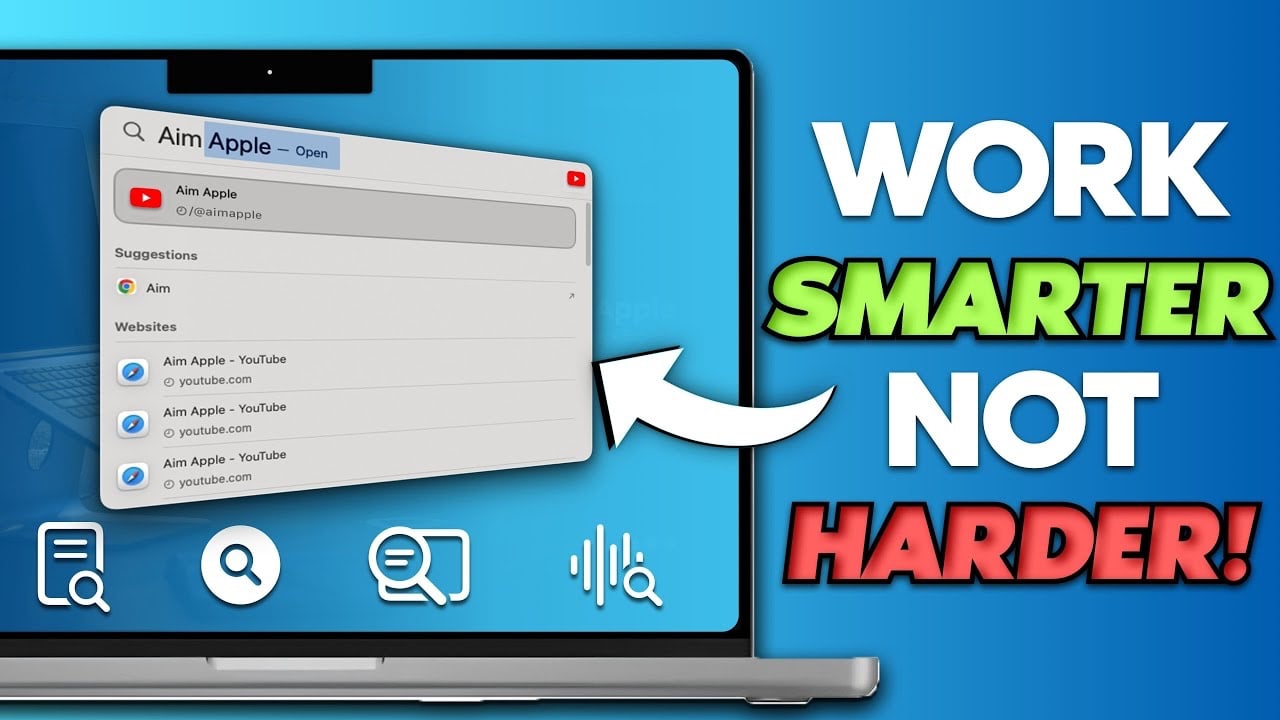
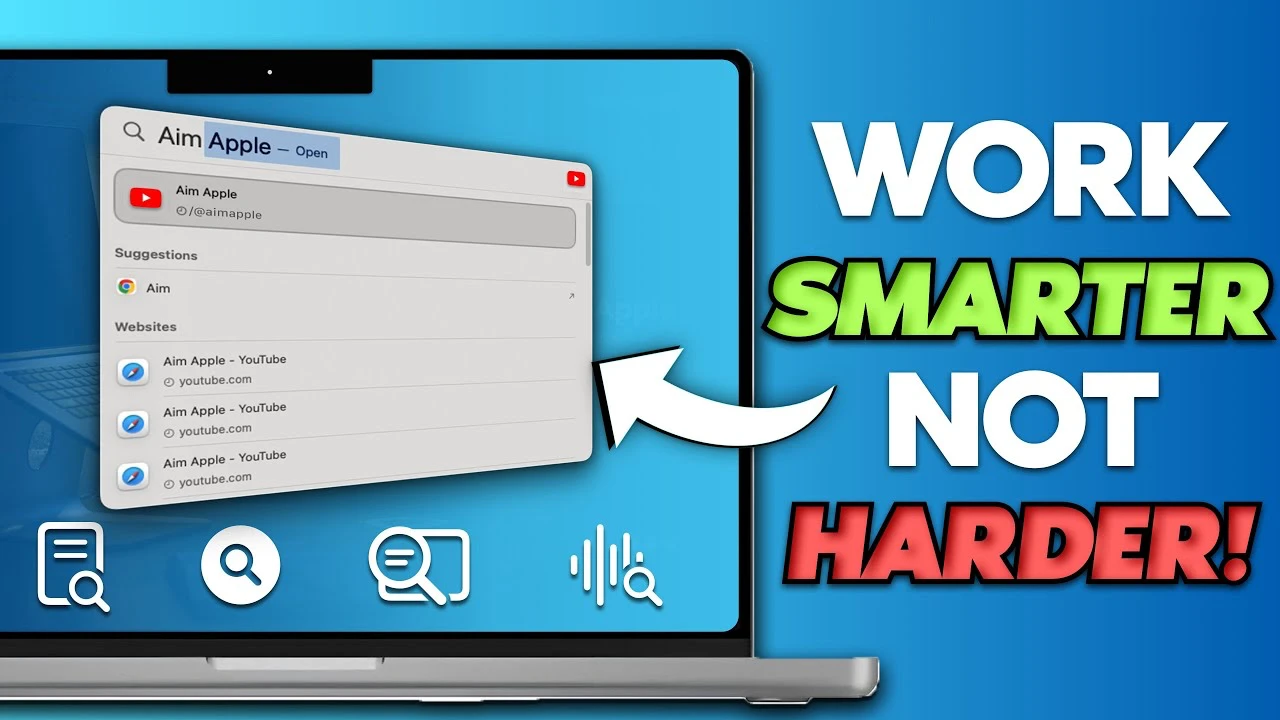
If you’re looking to elevate your productivity and streamline your daily tasks on a Mac, mastering Spotlight is a game-changer. This powerful search utility, accessible with a simple Command + Space shortcut, is much more than a file finder—it’s a versatile tool designed to enhance efficiency and save time. In the video below from Aim Apple, we explore 15 clever hacks that will transform the way you use your Mac, enabling you to navigate and manage tasks with unprecedented ease.

  1. Quick Application Launch: Gone are the days of navigating through folders to open an application. Just type the name of the app into Spotlight, and you’re ready to launch. This simple step drastically cuts down the time spent searching for frequently used programs.
  2. Calculator and Conversions on the Fly: Need to do a quick calculation or unit conversion? Spotlight has you covered. Enter your equation or conversion directly into the search bar for instant results, eliminating the need to open a separate app.
  3. Adjust Brightness and Volume: Adjust your Mac’s brightness and volume directly through Spotlight. This direct access bypasses the need to dive into system preferences or use function keys, streamlining the adjustment process.
  4. Effortless File Searching: Searching for files is a breeze with Spotlight. Simply type a portion of the file name to locate it quickly, saving you from a manual search through Finder.
  5. Folder Navigation Made Simple: Open folders directly by typing their names into Spotlight. This eliminates the hassle of manual navigation, providing a faster route to your destination.
  6. Quick Web Searches: Conduct web searches straight from Spotlight. If you prefer, you can even have the search open in your default web browser, providing flexibility in how you find information online.
  7. Weather and Time Queries: Get the current weather conditions and time for any location by typing “weather” or “time” followed by the location name. This quick hack keeps you informed without the need to open a browser or weather app.
  8. Direct Unit Conversions: Convert units of measurement with ease, directly within Spotlight. This functionality supports a wide range of units, offering convenience for both personal and professional use.
  9. Access System Preferences Quickly: Search for and open the System Preferences menu directly from Spotlight. This shortcut saves time when adjusting settings or accessing various control panels.
  10. Messaging Made Easy: Start a message to any of your contacts by typing “message” followed by the contact’s name. This feature simplifies the process of sending quick messages without opening the Messages app.
  11. Application-Specific Searches: Find information within specific applications by prefacing your search with the app name. This targeted search yields more relevant results, enhancing productivity.
  12. Dictionary Definitions and Synonyms: Get definitions and synonyms for words by typing them into Spotlight. Utilizing a shortcut, this feature turns Spotlight into a quick reference tool.
  13. Create Events Effortlessly: Type “calendar” or “event” to create new calendar events directly from Spotlight. This integration simplifies scheduling and event creation without opening the Calendar app.
  14. Contact Search: Quickly locate and access contact details without opening the Contacts app. This functionality is especially useful for finding phone numbers, email addresses, and other contact information on the fly.
  15. Music Control: Control music playback—play, pause, skip—directly through Spotlight. This hack offers a convenient way to manage your music without interrupting your workflow.

By incorporating these tips into your daily routine, you’ll discover that Spotlight is more than just a search tool; it’s a comprehensive utility that can significantly enhance your productivity and efficiency on a Mac. Whether you’re adjusting settings, searching for information, or managing tasks, these hacks ensure a smoother, more streamlined experience.

Embrace these Spotlight hacks to unlock a new level of convenience and control over your Mac, optimizing your workflow and making every action more efficient.

Source & Image Credit: Aim Apple

Filed Under: Apple, Guides, Laptops


Latest timeswonderful Deals

Disclosure: Some of our articles include affiliate links. If you buy something through one of these links, timeswonderful may earn an affiliate commission. Learn about our Disclosure Policy.

Categories
News

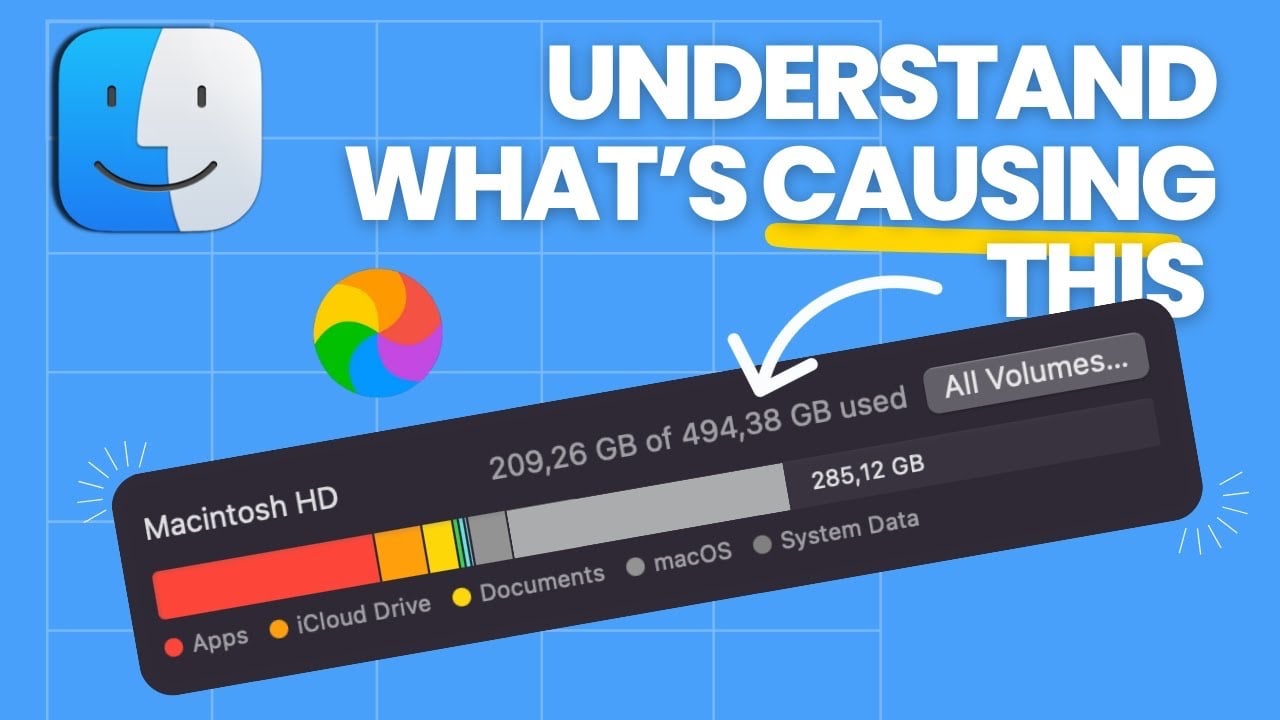
How to Declutter Your Mac and Manage System Data

Declutter Your Mac

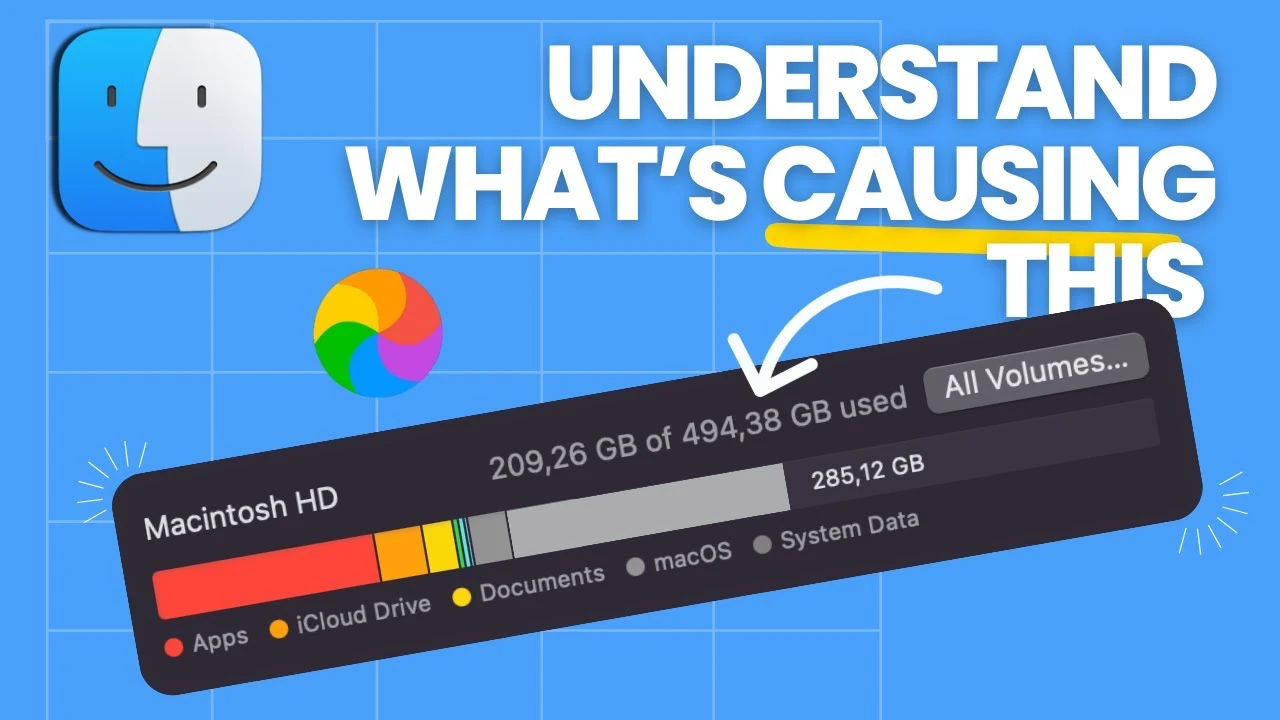
In this article we will look at how you can declutter your Mac and manage your System Data. Are you struggling with a Mac that’s sluggish and low on space? You’re not alone. Many Mac users find themselves grappling with large system data storage. Fortunately, there’s a solution. This video below from Amir Bendabi delves into effective strategies for managing system data and freeing up space on your Mac.

Addressing System Data Storage:

Firstly, let’s talk about system data. It’s a common culprit for taking up significant space on your Mac. If you’ve noticed your computer slowing down, it’s time to take a closer look at what’s hogging your storage. A previous video on this topic garnered much attention, highlighting its relevance among Mac users.

Spotting the Storage Hogs:

So, where to begin? Identifying large files and folders is key. For instance, Adobe applications and their caches can be substantial storage consumers. But remember, what’s sizable in one case may differ in another. It’s about finding what’s large in your specific situation.

Navigating with Ease:

Navigating these storage-heavy folders doesn’t have to be a maze. With simple commands in Finder, such as Command + Shift + G, you can effortlessly access system libraries and caches. A step-by-step guide through these processes can make it a breeze.

Delete with Care:

Now, before you start deleting files, a word of caution: not all files are expendable. Some might look unimportant but are crucial for your system’s functionality. It’s essential to understand what you’re deleting to avoid unintended consequences.

A Practical Approach:

Practical demonstrations, like removing outdated Adobe files, can be incredibly helpful. Watching someone navigate this process provides clarity and confidence when you decide to do it yourself.

Know Your System Inside Out:

Understanding your system folders and applications is crucial. There are certain areas and pre-installed applications that are best left untouched to ensure the smooth running of your Mac.

Learning from Examples – Final Cut Pro:

Take, for example, Final Cut Pro. Improper settings in such applications can lead to excessive storage usage. Adjusting these settings can prevent unnecessary space consumption.

Engaging with the Audience:

Addressing viewer comments and questions is an integral part of learning. It shows a commitment to resolving common issues and enhancing user experience.

Wrapping It Up:

Finally, wrapping up with a clear summary of the key points helps reinforce what you’ve learned and ensures you’re ready to tackle your Mac’s storage issues.

By following these steps, you can effectively manage your Mac’s system data and clear up space. This not only improves your Mac’s performance but also enhances your overall user experience. Remember, the key is understanding what consumes space and tackling it with knowledge and caution.

You will be pleased to know that managing your Mac’s storage doesn’t have to be a daunting task. With the right approach and understanding, you can keep your system running smoothly and efficiently. We hope that you find this article on how to declutter your Mac and manage your System Data useful.

Source & Image Credit: Amir Bendabi

Filed Under: Apple, Guides, Laptops


Latest timeswonderful Deals

Disclosure: Some of our articles include affiliate links. If you buy something through one of these links, timeswonderful may earn an affiliate commission. Learn about our Disclosure Policy.

Categories
News

13 Awesome Safari Extensions for the Mac and iPhone

Apple Safari

In this article we look at some awesome Safari extensions for your Mac and iPhone. Navigating the web can sometimes feel like an uphill battle, with every click bringing a new annoyance, from intrusive ads to stubborn videos that won’t play ball. If you’re a Safari user on Mac or iPhone, you’ll be pleased to know there’s a suite of extensions poised to transform your browsing experience into a seamless journey. The video below from Stephen Robles delves into 13 essential Safari extensions that cater to a variety of needs, from video playback enhancements to ad and cookie management, ensuring a more enjoyable and efficient online expedition.

  1. Vidimote: Elevate your video-watching experience with advanced playback controls. This extension allows you to adjust video speed, manage volume, and even enjoy picture-in-picture mode on both your Mac and iPhone, making multitasking a breeze.
  2. OverPicture: Encounter a video that stubbornly refuses picture-in-picture mode? OverPicture comes to the rescue, enabling this feature with ease via a toolbar button or a handy keyboard shortcut, ensuring your video viewing is never hampered.
  3. Banish Login Screen: Exclusively for macOS users, Banish eliminates the nuisance of cookie consent banners and other pop-ups that block content, offering you a clutter-free browsing experience that lets you focus on what matters.
  4. Super Agent: This extension takes the hassle out of dealing with cookie consent pop-ups by automatically accepting or rejecting them based on your preferences, streamlining your web navigation.
  5. Noir: For those who prefer the comfort of dark mode, Noir forces websites to adopt this eye-friendly theme, even if they don’t natively support it. This is especially beneficial in low-light conditions or when using devices like the Apple Vision Pro.
  6. Vinegar: Tired of YouTube’s clunky embedded player? Vinegar replaces it with a streamlined HTML5 player, offering a no-frills interface and essential controls for a distraction-free viewing experience.
  7. Honey: Who doesn’t love a good deal? Honey scours the internet for the best coupons and deals while you shop online, also providing valuable insights like price history graphs and comparisons across retailers.
  8. Mapper: If you’re in the Apple ecosystem, you might prefer using Apple Maps for navigation. Mapper automatically redirects Google Maps links to open in Apple Maps, seamlessly integrating with your device preferences.
  9. Achoo HTML Viewer: Web developers and curious minds alike will appreciate Achoo HTML, which allows you to view and interact with a webpage’s source code directly from Safari, offering a peek under the digital hood.
  10. Magic Lasso: Say goodbye to unwanted content and trackers while selectively whitelisting sites to display ads. Magic Lasso balances ad-blocking with support for the sites you love.
  11. Anybox: Organizing web links becomes a cinch with Anybox, allowing you to save, tag, and comment on links for easy retrieval across devices, ensuring your digital collections are always at your fingertips.
  12. Bear: Seamlessly integrate your web browsing with Bear, a note-taking app that lets you save and organize web content, including full-page captures and images, directly into your notes.
  13. Wayback Machine: Ever wondered what a website looked like years ago? The Wayback Machine extension grants you access to the historical archive of web pages, allowing you to dive into the digital past with a simple click.

These extensions not only enhance functionality but also personalize your web browsing, tailoring it to your preferences and needs. By incorporating these tools into your Safari setup, you can mitigate common web annoyances, streamline your online activities, and enjoy a more pleasant and productive digital life.

Remember, managing these Safari extensions across different profiles and devices ensures a consistent and customized browsing experience, allowing you to find the perfect balance that suits your online habits. Explore these extensions and discover how they can elevate your Safari usage on both Mac and iPhone.

Source Stephen Robles

Filed Under: Apple, Guides


Latest timeswonderful Deals

Disclosure: Some of our articles include affiliate links. If you buy something through one of these links, timeswonderful may earn an affiliate commission. Learn about our Disclosure Policy.
Categories
News

How to Turn Your Mac Into a Productivity Machine

Mac Productivity

Boosting your productivity on a Mac can be a smooth and rewarding journey, not an overwhelming one. Through a collection of direct, yet impactful modifications, it’s possible to elevate your day-to-day operations significantly. This transformation turns your Mac from a simple computing device into a central hub for efficiency and productivity.

Tailored for both the experienced professional and the avid tech aficionado, the valuable tips shared by MacVince in the video below serve as a comprehensive guide. They are designed to lead you step-by-step in refining your Mac’s setup for optimal performance. By embracing these strategies, you equip yourself with the knowledge to streamline your processes, ensuring that your Mac fulfills its potential as a formidable tool in your productivity arsenal.

Declutter Your Workspace

The first step towards a productivity-optimized Mac is decluttering your digital workspace. This involves a few simple actions that can dramatically improve your Mac’s usability:

  • Keep the dock reserved for only the most frequently used apps.
  • Clear your desktop of unnecessary files, maintaining a clean and organized workspace.
  • Opt for a minimalist wallpaper to reduce visual distractions.
  • Adjust the default saving location of screenshots to avoid cluttering your desktop.

Streamline Repetitive Tasks

Efficiency is key when it comes to repetitive tasks. By implementing a few strategies, you can save time and reduce the monotony of daily operations:

  • Create template files for recurring projects to save time on setup.
  • Utilize the Shortcuts app to launch multiple apps with a single command.
  • Organize your files meticulously in folders for easy access.
  • Explore lesser-known Finder tricks, like renaming multiple files simultaneously or moving files with a simple Option+Command+V shortcut.

Leverage Spotlight Search

Finding files swiftly is paramount for maintaining productivity. Spotlight search, a powerful built-in feature of macOS, allows you to:

  • Search for files quickly, even by content within the files, saving precious time otherwise spent navigating through folders.

Utilize Focus-Enhancing Apps

Distractions are the nemesis of productivity. Equip your Mac with apps designed to help maintain your focus:

  • Consider apps like SelfControl, Focus for YouTube, Portal, and One Thing to minimize distractions and hone your concentration.

Employ Focus Modes and Filters

macOS comes with built-in features to help filter out distractions:

  • Use Focus modes to silence notifications from specific apps or contacts.
  • Apply filters to see only relevant emails and calendar events, ensuring that your attention remains on the task at hand.

Incorporate Regular Breaks

Sustained productivity requires balance. Regular breaks are essential for maintaining long-term efficiency:

  • Use the Night Shift feature to reduce blue light exposure in the evening.
  • Set a timer to remind you to take a break every 60 minutes, helping to prevent burnout and maintain high energy levels.

Harness the Power of AI Tools

Artificial intelligence can be a game-changer for enhancing productivity on your Mac:

  • AI tools can generate visuals for presentations, transcribe meetings, and perform various other tasks, streamlining your workflow and boosting efficiency.

Summary

By adopting these strategies, you can transform your Mac into a true productivity machine. From decluttering your digital space to harnessing the power of AI, each tip is designed to optimize your workflow and enhance your efficiency. Remember, the key to productivity is not just working harder, but working smarter. With your Mac finely tuned to your needs, you’re well on your way to achieving unparalleled productivity levels.

Source & Image Credit: MacVince

Filed Under: Apple, Guides, Laptops


Latest timeswonderful Deals

Disclosure: Some of our articles include affiliate links. If you buy something through one of these links, timeswonderful may earn an affiliate commission. Learn about our Disclosure Policy.
Categories
News

How to Use the Shortcuts App on Your Mac (Video)

Shortcuts App

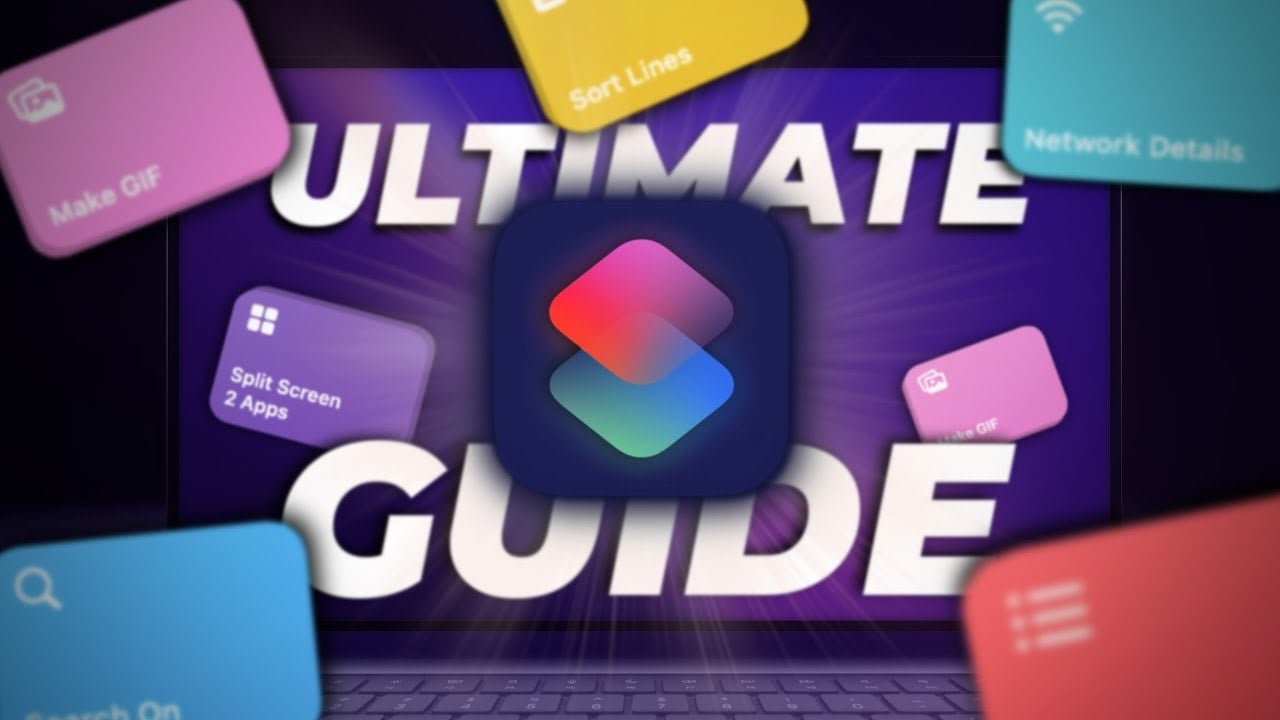
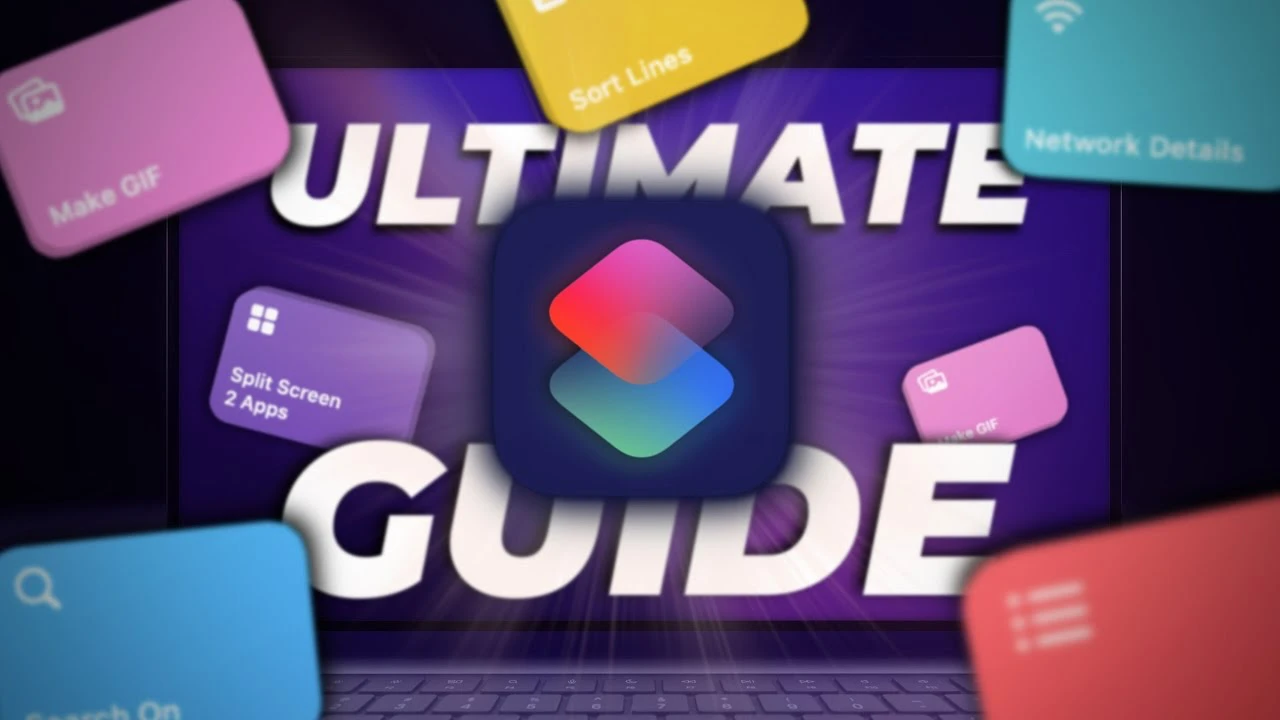
Unlocking the full potential of your Mac has never been easier, thanks to the Shortcuts app. This powerful tool is designed to enhance your productivity and streamline your tasks, allowing you to perform complex actions with just a single click. If you are wondering how to integrate this into your daily workflow effectively, you will be pleased to know that the process is straightforward and highly customizable. The video below from MacVince shows us how to get the most out of the Shortcuts App on your Mac.

Dive Into the Basics

The Shortcuts app on Mac is your gateway to automating routine tasks, thereby simplifying your digital life. A shortcut, in essence, is a series of actions that are executed automatically to perform a specific task. Imagine being able to access detailed network information, manage passwords, or even convert videos to GIFs with minimal effort. This app makes it all possible.

Accessing and Running Shortcuts

To harness the power of shortcuts, you need to know how to access and run them efficiently. Here are five methods that will have you automating tasks in no time:

  1. Menu Bar: A convenient place to run shortcuts with just a couple of clicks.
  2. Spotlight Search: Quickly find and execute shortcuts by typing their names.
  3. Quick Actions: Integrate shortcuts into the Finder context menu for easy access.
  4. Share Sheet: Share data between apps using shortcuts directly from the Share menu.
  5. Keyboard Shortcuts: Assign custom key combinations to run shortcuts without leaving your keyboard.

Each method offers a unique way to incorporate shortcuts into your daily activities, making them indispensable tools for productivity.

Practical Examples of Shortcuts

The true beauty of the Shortcuts app lies in its versatility. Here are some of the most useful shortcuts that can have a significant impact on your efficiency:

  • Network Details: Get instant access to your WiFi information, including speed tests and a QR code for sharing your WiFi password.
  • Passwords: Navigate directly to your iCloud keychain settings to manage your saved passwords.
  • Convert Video to GIF: Easily convert video clips into GIFs for presentations or social sharing.
  • Count Characters: Quickly count the characters in any selected text, with an option to switch to a word count.
  • Split Screen: Effortlessly open and arrange two applications side by side for improved multitasking.
  • URL Shortener: Create shorter URLs for more manageable sharing and presentations.
  • Search On: Execute quick searches on your preferred platforms with customizable search engine settings.
  • Sort Lines: Alphabetically sort a list of names or items to better organize your data.
  • Remove Image Background: Simplify the process of removing backgrounds from images for stickers or focused visuals.

By incorporating these shortcuts into your routine, you can significantly reduce the time and effort spent on common tasks.

Expanding Your Mac’s Capabilities

The Shortcuts app is just the beginning. By exploring additional macOS features and shortcuts, you can further enhance your Mac experience. Whether it’s automating complex workflows or simplifying daily tasks, the possibilities are endless.

For those looking to delve deeper into what their Mac can do, this guide serves as a foundational step towards mastering your digital workflow. The Shortcuts app not only offers a way to increase productivity but also opens up a world of creativity and efficiency that can transform how you interact with your Mac.

By following the step-by-step instructions and experimenting with the shortcuts provided, you’ll quickly become adept at automating tasks and making the most of your Mac’s capabilities. Remember, the key to maximizing productivity is not just about working harder but working smarter.

Source & Image Credit: MaacVince

Filed Under: Gadgets News


Latest timeswonderful Deals

Disclosure: Some of our articles include affiliate links. If you buy something through one of these links, timeswonderful may earn an affiliate commission. Learn about our Disclosure Policy.
Categories
News

Mac vs Windows: Which is the Best Laptop in 2024 (Video)

mac vs windows

As the world marks the 40th anniversary of the Mac, the timeless debate between Mac and Windows laptops gains new vigor. With technological advancements shaping the landscape of personal computing, choosing the right laptop can feel like navigating a labyrinth. If you are wondering how the latest MacBook Air 13 M2 stacks up against the ASUS ZenBook 14 OLED, you’re in the right place. The video below from The Tech Chap delves into the heart of this debate, comparing features, performance, and value for money to help you make an informed decision.

Price and Value for Money:

When it comes to investing in a new laptop, the price tag is often a decisive factor. MacBooks, known for their sleek design and powerful performance, come with a higher initial cost, especially the M1-powered MacBook Air. On the other hand, Windows PCs, such as the ASUS ZenBook, offer a broad spectrum of options catering to various price points. The flexibility in upgrading components like storage in Windows laptops presents a cost-effective advantage over MacBooks, where upgrades can be significantly more expensive.

Design and Display:

Both MacBook Air and ZenBook are applauded for their aesthetics, including their keyboards, trackpads, and displays. However, the ZenBook takes the lead with its OLED 120Hz touchscreen, providing a more vibrant and smoother visual experience at a price point comparable to the MacBook Air’s LED LCD screen. This feature highlights the ZenBook’s edge in offering better value for money in the display department.

Performance:

Performance is where the rubber meets the road. The ZenBook, powered by Intel’s latest processors and integrated graphics, offers substantial performance advantages. It’s not just about raw power; it’s also about getting more bang for your buck and the flexibility to upgrade. In contrast, the MacBook’s M-series chips are lauded for their efficient balance between performance and battery life, running cooler and quieter, enhancing the user experience.

Ecosystem and Software:

Apple’s ecosystem is often a selling point for many users, providing seamless integration with other Apple products and a polished operating system. However, Windows 11 has made significant strides, offering compatibility with a wider range of software and games, which might tip the scales for users seeking versatility.

Gaming and Special Features:

For gaming enthusiasts, Windows PCs generally offer superior hardware and compatibility with a vast library of games. Additionally, features like AI acceleration and Microsoft’s co-pilot enrich the Windows laptop experience, catering to both productivity and entertainment needs.

Summary

Looking towards the horizon, the evolution of CPUs and GPUs for Windows laptops and the potential of ARM-based laptops to rival Apple’s M-series chips is an exciting prospect. The choice of a laptop should be guided by personal needs, comfort with the operating system, and specific application requirements.

Choosing between a Mac and a Windows laptop in 2024 hinges on a careful consideration of price, performance, design, and ecosystem integration. Each platform has its strengths and weaknesses, and the best choice ultimately depends on your individual needs and preferences. Whether you prioritize the refined user experience and ecosystem benefits of a MacBook or the value for money, upgradeability, and performance of a Windows laptop, ensuring your choice aligns with your computing requirements will pave the way for satisfaction.

As we navigate the evolving landscape of personal computing, remember that the best laptop is not about the brand; it’s about how well it fits your lifestyle and meets your needs. By focusing on what matters most to you, you can choose a device that not only keeps pace with technology but also enriches your digital experience.

Source & Image Credit: The Tech Chap

Filed Under: Apple, Guides, Laptops


Latest timeswonderful Deals

Disclosure: Some of our articles include affiliate links. If you buy something through one of these links, timeswonderful may earn an affiliate commission. Learn about our Disclosure Policy.
Categories
News

How to Become a Pro with Apple Mail App On Your Mac (Video)

Apple Mail

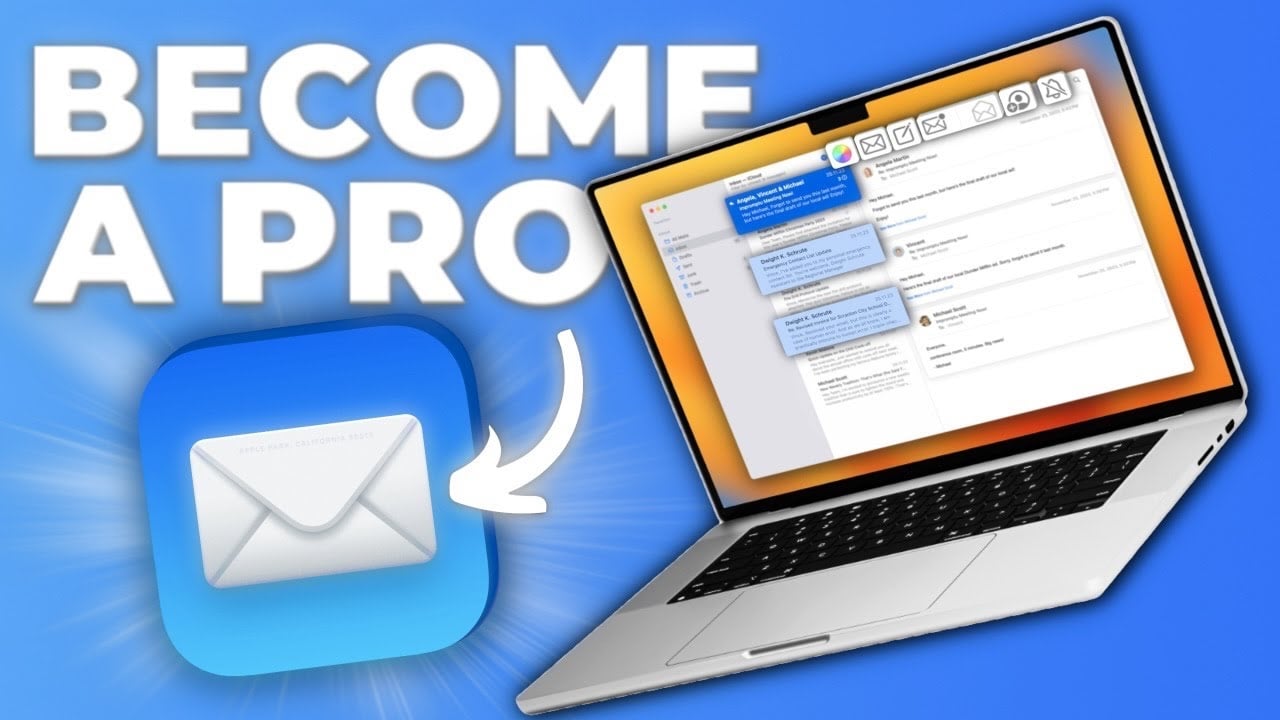
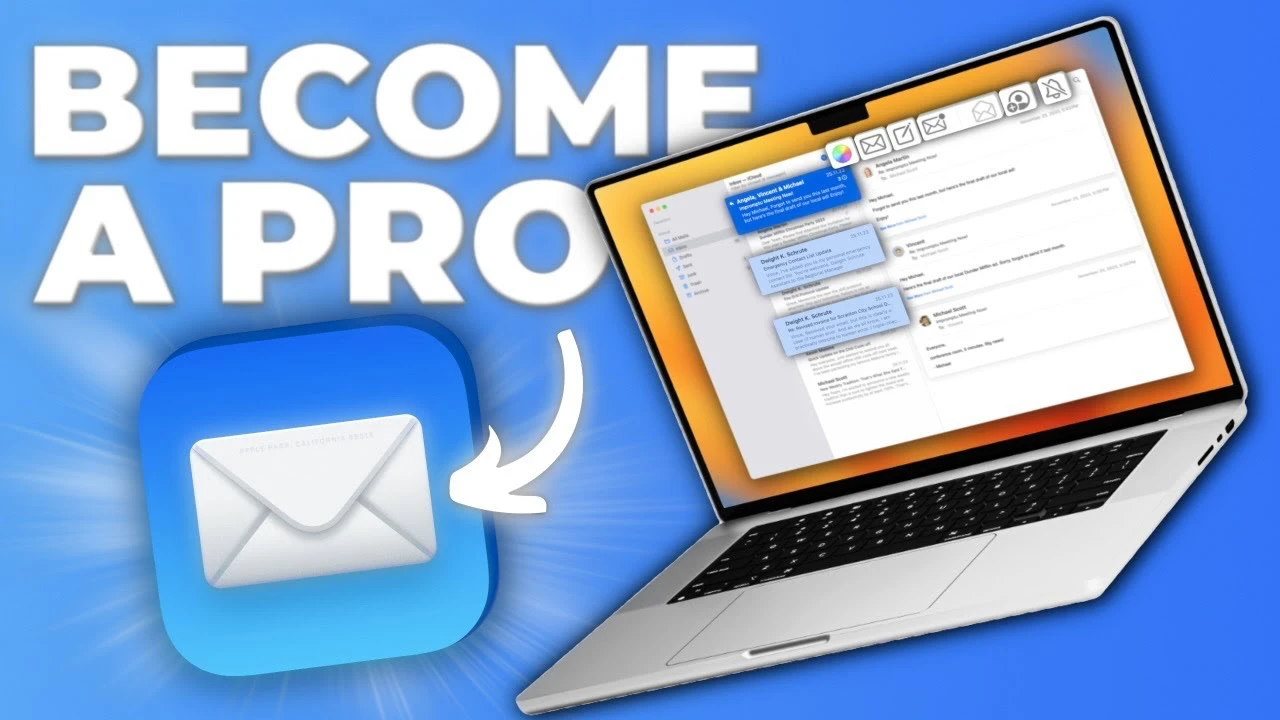
If you’re looking to elevate your email management skills on your Mac, understanding the full potential of the Apple Mail app is a game-changer. Recently, a comprehensive video from MacVince has shed light on the myriad of advanced features and customization options available in the Apple Mail app, designed to boost productivity and streamline your email organization. Let’s dive into these features and explore how you can leverage them to become a proficient user of the Mail app.

First off, the ease of Direct File Attachment is a notable convenience. Imagine you’re working on a file that needs to be emailed. Instead of navigating through multiple steps, simply drag the file onto the Mail app icon. Voila! The file attaches directly to a new email, ready to be sent. This streamlined process saves time and reduces hassle, making your workflow more efficient.

Email Scheduling is another gem for those who plan their communication strategically. Whether you’re an early bird or a night owl, you can schedule your emails to be sent at a specific time, ensuring they hit the recipient’s inbox at just the right moment. This feature is especially useful for managing communications across different time zones.

For the visually oriented, Email Highlighting with Color offers a vibrant way to organize your inbox. By color-coding emails, you can quickly identify and group messages according to priority, project, or sender, making your inbox a visually organized space.

Customization doesn’t stop there. The Toolbar Customization feature allows you to tailor the Mail app’s toolbar to your needs. Add a color wheel, ‘Mark as Read/Unread’ buttons, and an ‘Add to Contacts’ option, among others, to create a toolbar that complements your workflow perfectly.

In terms of viewing preferences, Email Preview Customization lets you adjust how much of an email is visible in the preview pane. Whether you prefer a compact view to see more messages at once or a detailed view for better insight into each email’s content without opening it, the choice is yours.

The Mail app also offers Layout Options like Bottom Preview and Column Layout, catering to different user preferences for how emails are displayed, ensuring a comfortable and personalized email reading experience.

For those who love organization, activating the Tab Bar allows you to work with multiple emails simultaneously. This feature is invaluable for multitasking, allowing you to keep important emails open in tabs for easy access.

Unique to the Apple Mail app are features such as Hide My Email and Protect Mail Activity. Hide My Email lets you create disposable email addresses for online forms, protecting your privacy and reducing spam. Protect Mail Activity, on the other hand, shields your email reading habits from senders, enhancing your privacy.

Integration with macOS means the Mail app works seamlessly with Finder, Reminders, Notes, and more, creating a cohesive and efficient ecosystem for your tasks and communications. Spotlight Search further enhances this integration, enabling you to quickly find emails using keywords.

Quick Actions, such as swiping on an email for options like Remind Me and pinning, streamline your email management, making it easier to keep track of important messages. And with MailDrop, sending large attachments up to 5GB becomes hassle-free, without eating into your iCloud storage.

The Undo Send feature gives you a brief window to retract an email after sending, providing a safety net for those moments when you hit send too quickly. Lastly, Automatic Email Management offers the ability to set rules for sorting, replying, and forwarding emails automatically, turning your inbox into a self-organizing tool.

By exploring these features, you will be pleased to know that the Apple Mail app on your Mac is more than just an email client; it’s a powerful tool designed to enhance your productivity and email management. Whether you are wondering how to streamline your email workflow, enhance privacy, or simply make your email experience more enjoyable, the Apple Mail app has you covered with its robust feature set and customization capabilities.

Source & Image Credit: MacVince

Filed Under: Apple, Guides, Laptops


Latest timeswonderful Deals

Disclosure: Some of our articles include affiliate links. If you buy something through one of these links, timeswonderful may earn an affiliate commission. Learn about our Disclosure Policy.