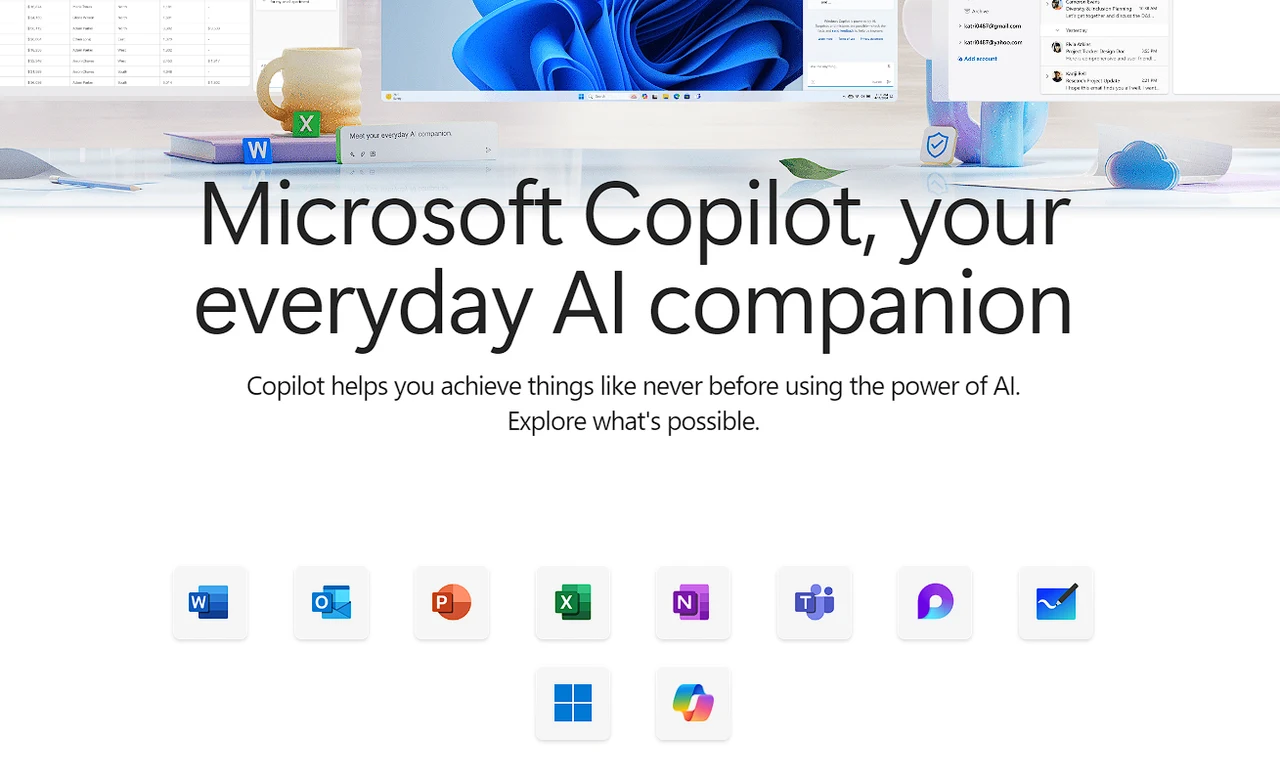
Microsoft has unveiled a new subscription service called Copilot Pro, which is set to transform the way individual users interact with their Microsoft 365 applications. At a cost of $20 per month, this service integrates cutting-edge artificial intelligence (AI) technologies into familiar tools such as Word, Excel, PowerPoint, and Outlook, aiming to boost productivity for personal and family subscription holders.
Copilot Pro is built around advanced AI models, including GPT-4 and GPT-4 Turbo, which are now available within the Microsoft 365 suite. This means that users can access AI-powered assistance directly within the applications they use daily. While the service is designed for individual users, family plan members can also access it for an additional fee.
One of the standout features of Copilot Pro is its inclusion of DALL-E, an AI that enhances your ability to generate images. With Copilot Pro, users can create up to 100 images per day, a significant increase from the standard offering. This allows for greater creativity and variety in visual projects. Copilot Pro also enables you to add AI to your favorite Microsoft 365 apps to help you unlock your creativity, communicate with confidence and up-level your digital skills. Here is a quick overview of the differences between the free version Copilot and the paid version Copilot Pro.
Copilot vs Copilot Pro
Copilot
- Use Copilot on the web and in Windows, macOS and iPadOS
- Access GPT-4 and GPT-4 Turbo during non-peak times
- Use text, voice and images in conversational search
- Create AI images with 15 boosts per day with Designer (formerly Bing Image Creator)
- Use plug-ins and GPTs
Copilot Pro
- Copilot Pro is a subscription that offers accelerated performance, faster AI image creation and access to Copilot in Word, Excel (Preview), PowerPoint, Outlook and OneNote if you are also a Microsoft 365 Personal or Family subscriber.
- Gain priority access to GPT-4 and GPT-4 Turbo including during peak times for accelerated performance to get things done faster
- Access Copilot in selected Microsoft 365 apps to draft documents, summarise emails, create presentations and more
- Create AI images with DALL-E 3 in landscape format even faster with 100 boosts per day with Designer (formerly Bing Image Creator)
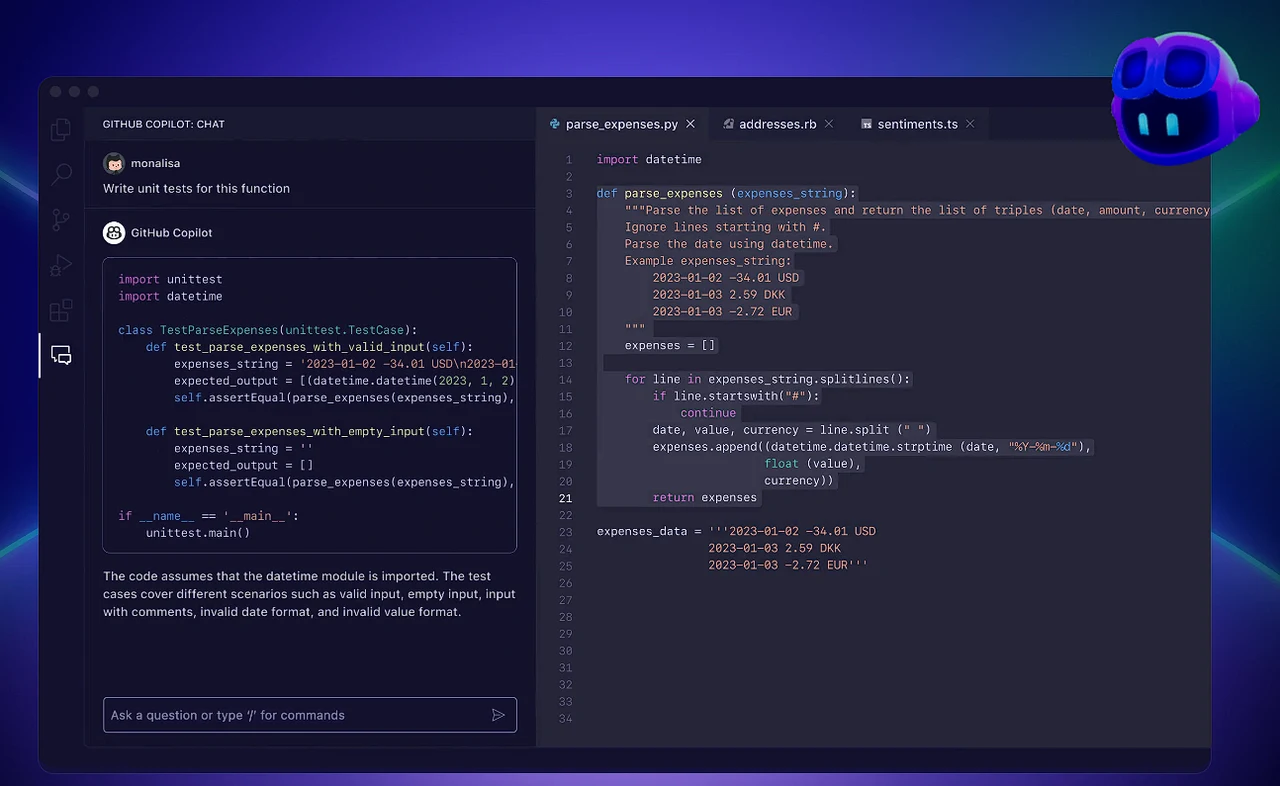
Copilot Pro AI assistant
The integration of Copilot Pro with Microsoft 365 apps is seamless. In Word, users can rewrite text, visualize data, and summarize documents with ease using a conversational sidebar. PowerPoint users can generate entire presentations from simple prompts, and Excel’s AI provides assistance with data analysis and formula suggestions. For those using Outlook, the service offers advanced drafting tools and email coaching to improve communication skills.
To use Copilot Pro, you must have an active Microsoft 365 personal or family subscription. The service is user-friendly, offering a range of conversational styles and the option to choose from different GPT models to suit your specific needs.
For those who are deeply integrated into the Microsoft 365 ecosystem, Copilot Pro is an essential tool. It leverages AI for a variety of tasks, including document creation, data analysis, and communication, with the goal of significantly enhancing efficiency and productivity. Microsoft expends a little more about the Copilot Pro subscription service
What is priority access?
There is dedicated capacity exclusively for the use of Copilot Pro subscribers. Additionally, during peak usage times, Copilot Pro subscribers will continue to have access to GPT-4 and GPT-4 Turbo whereas users of the free Copilot experience may be limited to GPT 3.5 as needed.
What are boosts in Copilot?
Designer (formerly Bing Image Creator) in Copilot gives you the ability to generate AI images. Boosts refer to the number of turns you have to create images faster. Copilot gives you 15 daily boosts for image generation and in Copilot Pro you get 100 daily boosts for image generation. Boosts do not refer to the number of images you can generate.
How many people can use a Copilot Pro subscription?
Copilot Pro is for one person. If you have a Microsoft 365 Family subscription and have shared your subscription with other people, each will need to buy their own Copilot Pro subscription to use Copilot in the Microsoft 365 apps.
Does Copilot Pro work with a Microsoft 365 Business subscription?
Copilot Pro will not unlock access to Copilot in Microsoft 365 apps if you have a Microsoft 365 Business subscription (i.e. Microsoft 365 Business Basic, Microsoft 365 Business Standard, Microsoft 365 Business Premium, Microsoft 365 Apps for Business). To use Copilot with a Microsoft 365 Business subscription, buy Copilot for Microsoft 365.
Where is Copilot Pro available?
Copilot Pro is currently available in Austria, Australia, Brazil, Canada, Switzerland, Germany, Spain, France, United Kingdom, India, Italy, Japan, Mexico, New Zealand and the United States. Microsoft plan to make Copilot Pro available in more markets soon.
Which languages does Copilot Pro support?
Copilot Pro supports English, French, German, Italian, Japanese, Portuguese and Spanish. We plan to add more languages soon. Learn more about Copilot support languages.
Where can I access Copilot Pro?
You can access Copilot Pro via the Copilot app on the web, Windows, macOS and iPadOS. On those platforms, you can also use Copilot Pro benefits in apps like Bing, Edge and Start. Support for iOS and Android is coming soon.
Where can I buy Copilot Pro?
You can buy Copilot Pro from the official Microsoft website and Apple AppStore (iPad and Mac only). We plan to add more ways to buy soon.
How do I manage my Copilot Pro subscription?
You can manage your Copilot Pro subscription within the Microsoft account portal.
How does Copilot Pro work with a Microsoft 365 Personal or Family subscription?
You can use your Copilot Pro subscription to unlock Copilot in selected Microsoft 365 apps if you also have a Microsoft 365 Personal or Family subscription. These apps include Word, Excel (Preview), PowerPoint, OneNote and Outlook. The Copilot experience in Excel is currently in preview and only supports the English language. You can access Copilot in these Microsoft 365 apps on Windows, and soon on macOS and iPadOS. Support for iPhone and Android is coming soon. For OneNote users Copilot Pro benefits will only be visible in Windows.
Overall, Microsoft’s Copilot Pro is a sophisticated AI subscription service that adds a layer of personalized assistance to the Microsoft 365 experience. Whether you’re working on documents, analyzing data, creating presentations, or managing emails, Copilot Pro is designed to help you accomplish more with less effort. To learn more about Microsoft Copilot and the new artificial intelligence added jump over to the official support site.
Filed Under: Guides, Top News
Latest timeswonderful Deals
Disclosure: Some of our articles include affiliate links. If you buy something through one of these links, timeswonderful may earn an affiliate commission. Learn about our Disclosure Policy.