[ad_1]
Bienvenido a la Semana de la fotografía 2024 de TechRadar, una celebración de la fotografía analógica de una semana de duración en el Día Mundial de la Fotografía, que se celebra el 19 de agosto de cada año.
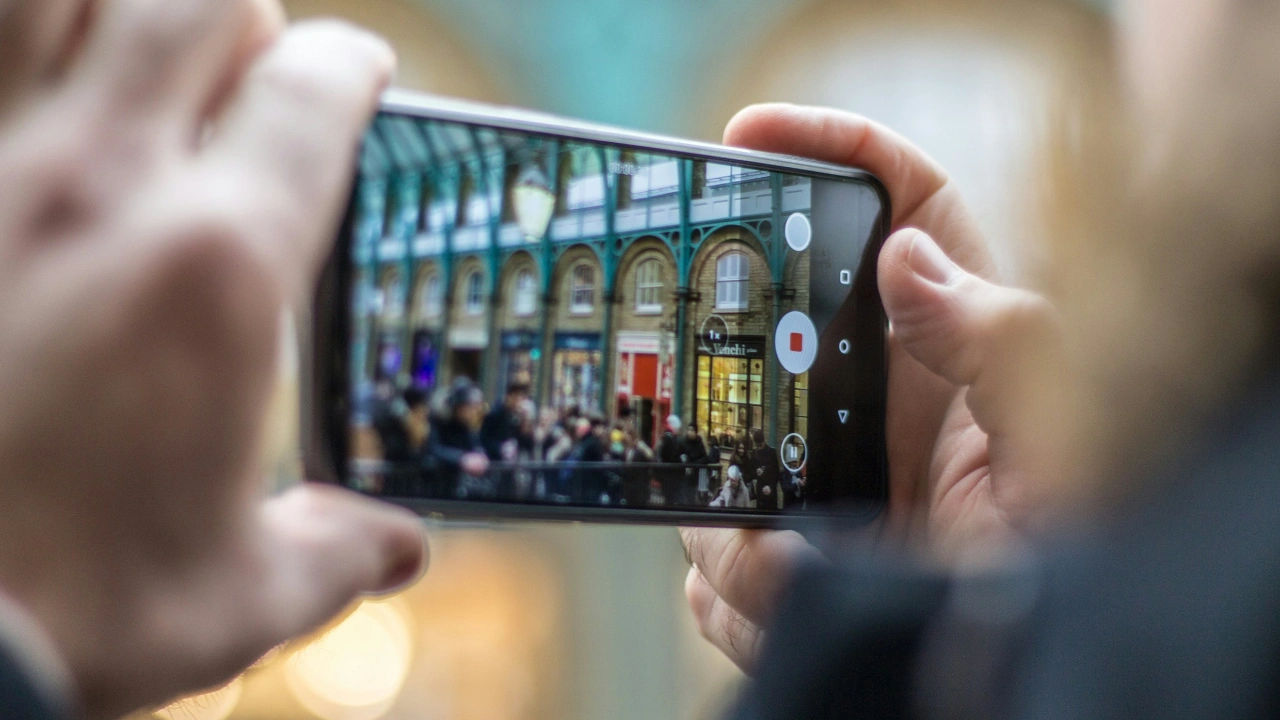
A pesar de los avances en la tecnología digital, la propagación de… Inteligencia artificial en las cámaras de hoy y Generadores de imágenes con IA en fotografíaHay un número creciente de personas que recurren a la tecnología analógica más antigua.
En 2024, aumentará el interés por las cámaras antiguas, y con razón. Desde que Pentax presentó su primera cámara cinematográfica nueva hace más de 20 años, pentax 17a un flujo regular de cámaras instantáneas que incluían el primer modelo de lentes intercambiables, Nunes SL660Nos divertimos mucho con la película.
Hay nuevos modelos interesantes en el horizonte, como la Rollei 35AF, así como entusiastas de las cámaras cinematográficas que buscan cámaras fotográficas. Canon Y Nikon vuelve a meterse en el juego analógico.
A lo largo de la Semana de la Fotografía, que se desarrolló del 19 al 26 de agosto, compartimos nuevas historias todos los días, incluida una revisión de la nueva cámara multilente Alfie Tych+ y una retrospectiva de los mejores momentos de fotografía cinematográfica del año. Puede consultar los aspectos más destacados del contenido de la semana a continuación.
- ¿Te interesa la fotografía y quieres conocer tus opciones? Hemos actualizado nuestra web Las mejores cámaras de cine. Guía y Las mejores cámaras instantáneas. Guías durante la Semana de la Fotografía 2024 para asegurarte de tener la información más reciente.
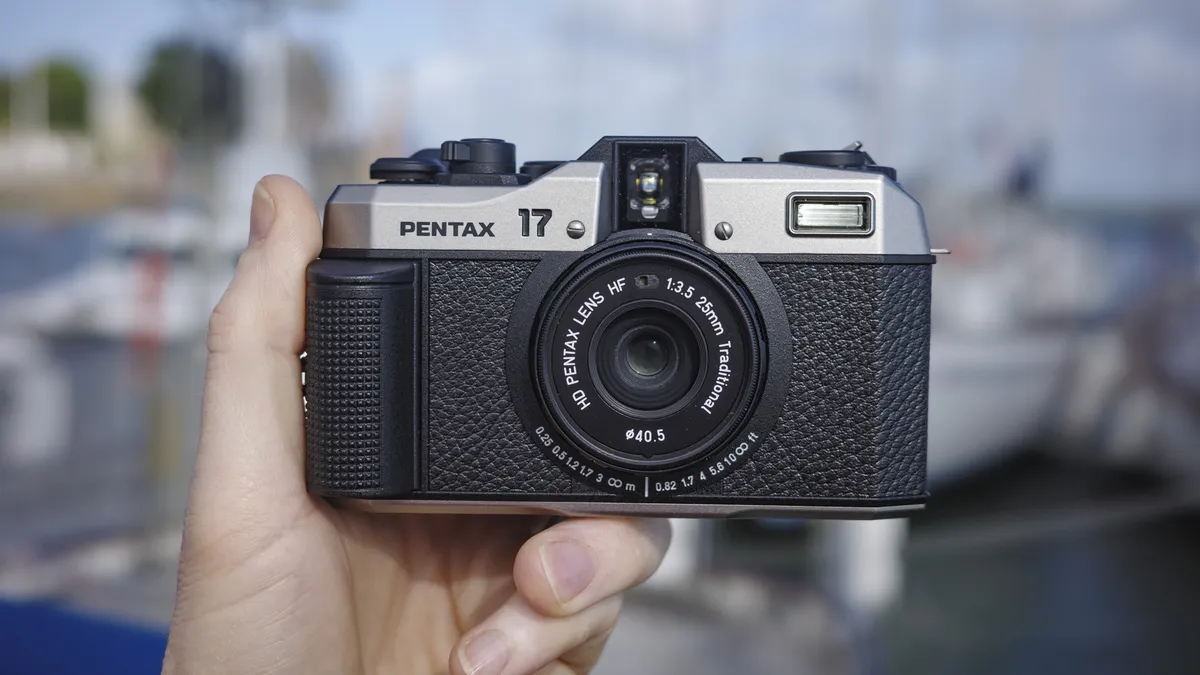
Hemos echado un vistazo a los últimos lanzamientos de cámaras de cine que llegarán a los estantes en 2024 y que obtuvieron la revisión completa de TechRadar, que incluyen pentax 17 y Lomografía Lumatic 110También compartimos lo que esperamos que suceda a continuación en el espacio analógico, incluido lo que nos gustaría ver y, por supuesto, revelamos por qué la fotografía cinematográfica es tan popular hoy en día. El atractivo de la película va más allá de su apariencia superficial: lejos de la sensación anticuada asociada con las cámaras cinematográficas, es el medio cada vez menos perfecto para capturar experiencias en las que la gente vuelve a interesarse.

No es perfecto, pero eso no nos impidió darle a Alfie Cameras Tych+ una calificación de cinco estrellas en nuestra revisión en profundidad. Nos encanta lo que ha hecho Alfie Cameras con sus pequeñas cámaras de medio fotograma: ofrecer cuatro opciones de lentes para una gran variedad de posibilidades creativas, en un paquete tan pequeño y compacto. Es demasiado caro para aquellos que simplemente buscan un poco de diversión analógica creativa, además hay muchas opciones más baratas en el mercado de segunda mano, como la clásica cámara Olympus Trip. Sin embargo, si está buscando una cámara de película pequeña y diferente, le recomendamos esta encantadora cámara.

¿Eres nuevo en la fotografía cinematográfica y te sientes abrumado por todas las opciones disponibles? Hemos compartido un artículo que explica los diferentes tamaños de película para cámara disponibles y por qué elegir cada uno, así como los tipos de película que puede elegir en cada formato. Cualquiera que sea la cámara de película que elijas, descubrirás que el arte es un proceso lento y mágico que ofrece algo de lo que carece la fotografía digital. La fotografía cinematográfica no es fácil ni barata, pero es gratificante.

Han pasado décadas desde la última vez que tomé fotografías instantáneas decentes con mi querida cámara Polaroid SX-70. Es una de las cámaras más hermosas jamás fabricadas, pero desafortunadamente mi cámara estuvo fuera de servicio durante años debido a su rendimiento inconsistente e imágenes borrosas. Afortunadamente lo encontré Una mirada retrospectiva a los Estados Unidosuna empresa que se especializa en restaurar tecnología antigua, ha logrado que haga su magia en mi cámara instantánea clásica. Este artículo explora la historia de mi cámara Polaroid SX-70 y mis experiencias con ella después de que volvió a la vida.

Si hay una cámara de cine en el horizonte que nos tiene entusiasmados, tiene que ser la Rollei 35AF. Viene 58 años después del modelo original y está fabricado por la empresa de fotografía analógica Mint, que lleva algún tiempo trabajando en una versión modernizada de la clásica cámara compacta de apuntar y disparar. Nos dicen que se lanzará en 2024 y estará equipado con enfoque automático y flash incorporado. La nueva cámara de uso diario de 35 mm tiene el mismo encanto antiguo que sus predecesoras heredadas y un cuerpo totalmente metálico, además de una serie de características nuevas que hacen que sea más fácil de usar hoy en día, como el modo automático y un botón para selfies. Estamos entre muchas personas que se han unido a la lista de espera en Un sitio dedicado al avión Rollei 35AF Esperamos tener este encantador pez en nuestras manos antes de fin de año.
También te puede gustar
[ad_2]
Source Article Link