Categories
News

How to speed up remote connections to your Synology NAS

How to speed up remote connections to your Synology NASIf you are already accessing your files and documents from any corner of the globe, as if you were sitting right in your office, directly from your Synology Network Attached Storage (NAS). But feel you could do with a little extra speed when transferring files, documents and photographs. you will be pleased to know that NAS expert SpaceRex has created a comprehensive tutorial on how you can speed up your remote connections to your Synology NAS.

Slow speeds and unreliable connections can turn remote access into a frustrating experience. This guide is here to help you overcome these obstacles and make the most of your Synology NAS, without having to invest in expensive hardware upgrades. When you connect to your Synology NAS from outside your local network, you’re stepping into a world of convenience. But it’s not without its trade-offs. You might think that the answer lies in faster networking hardware, like a shiny new 10 GbE setup. However, that’s not always the case. More often than not, the real culprits are the software configurations and settings that need a bit of tweaking.

Let’s start with Synology’s Quick Connect feature. It’s a handy tool that makes remote access a breeze by cutting out the need for complex network configurations. But there’s a catch. Quick Connect can slow you down by routing your data through relay servers that might not have the bandwidth you need. If you’re after speed, you might want to try direct access methods such as port forwarding. This involves a little bit of work with your router settings, but it can make a world of difference by eliminating unnecessary detours in your data’s journey.

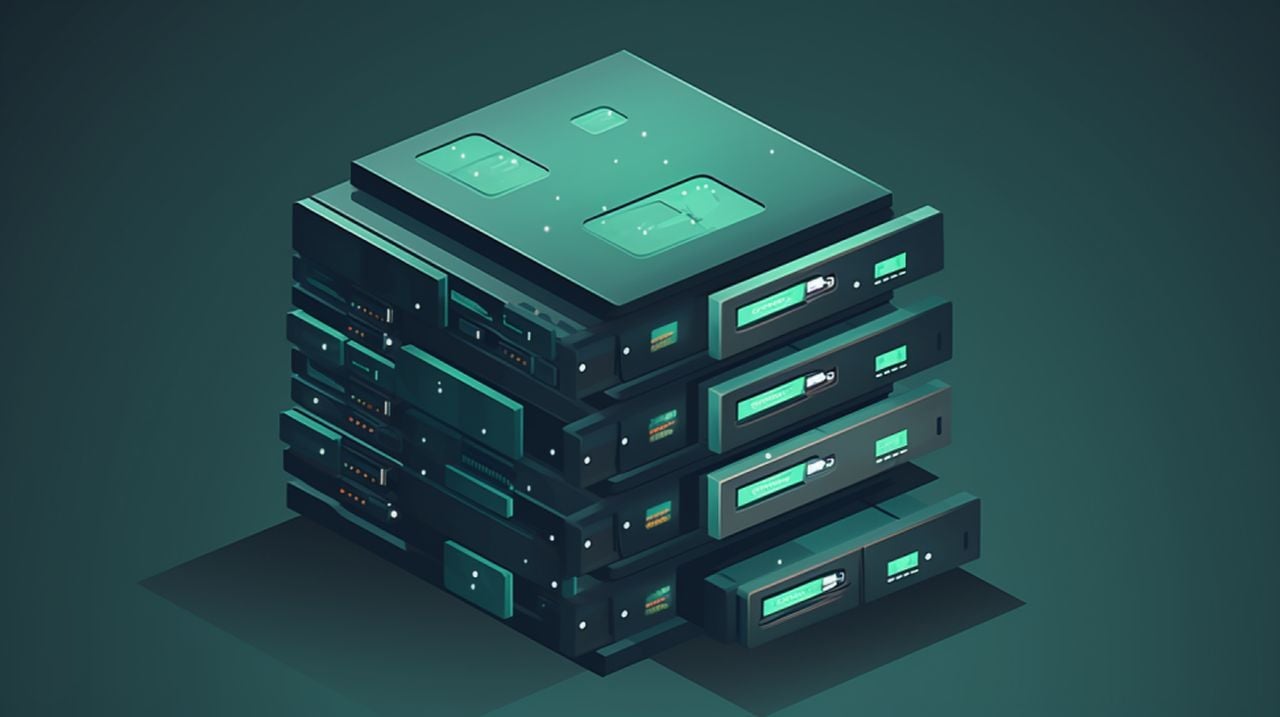
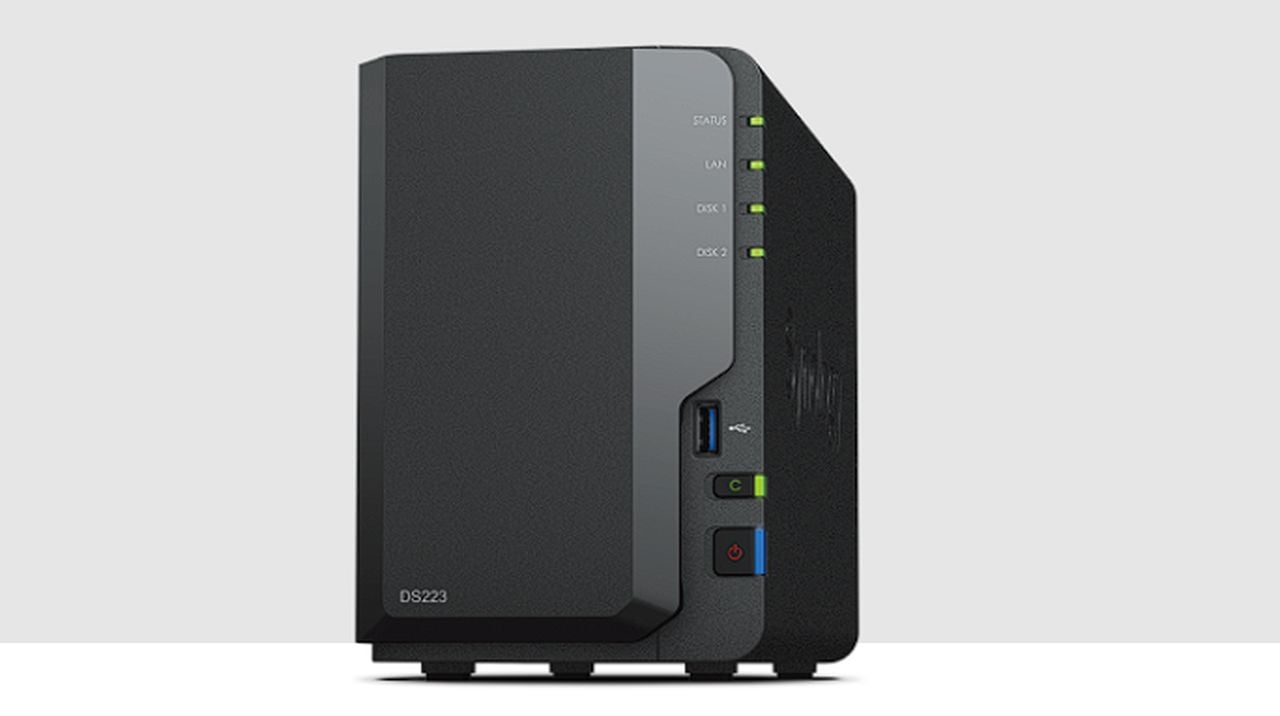
Increase the speed of your remote NAS connections

Here are some other articles you may find of interest on the subject of NAS

Now, consider your internet connection’s upload speed. It’s often the bottleneck for remote file transfers, especially if you’re dealing with large files. The solution? You could use cloud sync services like Google Drive or Dropbox. They’re built to move files quickly, thanks to their optimized infrastructure.

Distance can be a problem too. The further you are from your NAS, the longer it takes for data to travel back and forth, a problem known as latency. To cut down on this delay, you might explore options like Virtual Private Networks (VPNs) or services like Tailscale. They can provide secure connections that are often faster. Cloudflare tunnels are another innovative option that can sidestep the need for traditional port forwarding and potentially speed things up.

For those stuck with carrier-grade Network Address Translation (NAT), which is common in residential internet setups, you might need to dive into advanced port forwarding or bridge mode. These methods can be complex, but they’re essential for a stable and quick remote connection.

Remote desktop applications offer a different solution. Instead of transferring files, you can control your office computer from afar. This way, you don’t have to worry about slow upload speeds because you’re not moving files around—you’re just working on them remotely.

Another feature to consider is the Synology Drive’s synchronization capability. It lets you keep local copies of your files on remote computers, syncing them in the background. This means you can work with files stored locally, reducing the impact of latency.

Enhancing your remote access experience with a Synology NAS isn’t about throwing money at new hardware. It’s about making smart choices with your software and network setup. By addressing issues like Quick Connect limitations, internet speed constraints, and latency, and by using tools like port forwarding, VPNs, Cloudflare tunnels, cloud syncing, and remote desktop software, you can create a smoother and more reliable remote connection.

Remember, while you might fix local network issues with a few simple changes, remote access challenges need a well-thought-out strategy. This ensures you have uninterrupted access to your data, wherever you may be. With the right approach, your Synology NAS can become the powerful, accessible tool it’s meant to be, keeping you connected to your digital world at all times.

Filed Under: Guides, Top News


Latest timeswonderful Deals

Disclosure: Some of our articles include affiliate links. If you buy something through one of these links, timeswonderful may earn an affiliate commission. Learn about our Disclosure Policy.

Categories
News

How to build a NAS storage system using a mini PC

How to build a network attached storage system (NAS) using a mini PC

If your main computer is running out of storage and you are considering adding external storage. Or perhaps your home network of devices could do with a secure main central backup solution. You may be interested in building your very own network attached storage solution or NAS using one of the many different mini PC systems available.

Setting up a Network Attached Storage (NAS) system might seem daunting, especially if you’re not deeply familiar with computer hardware and software. But don’t worry, with the right tools and guidance, you can successfully create your own NAS using a mini PC and Open Media Vault. This guide will take you through the entire process, from selecting the right hardware to installing the necessary software and configuring your system to suit your needs.

To act as the foundation for your NAS,  Christopher Barnatt suggest using the Bmax B1 Plus mini PC. Although you can use any other single board computer that might take your fancy, such as the new Raspberry Pi 5. Or an older version that might be collecting dust in your drawer.

The Bmax B1 Plus is small but mighty device powered by a dual-core Celeron N3350 processor and comes with 6 GB of RAM. The Celeron N3350 is a reliable processor that provides sufficient power for a small-scale NAS setup. The 6 GB of RAM ensures smooth operation, even when multiple users are accessing the system simultaneously, guaranteeing a seamless user experience.

Openmediavault software

Open Media Vault (OMV) is a free, open-source software that allows you to convert a PC into a NAS. It’s built on the sturdy Debian Linux platform and offers a user-friendly web-based interface for easy NAS management. OMV requires at least two drives: a system drive of at least 4 GB and one or more data drives for network storage. The system drive houses OMV and its operating system, while the data drive stores your files, keeping system and user data separate.

“OMV is the next generation network attached storage (NAS) solution based on Debian Linux. It contains services like SSH, (S)FTP, SMB/CIFS, RSync and many more ready to use. Thanks to the modular design of the framework it can be enhanced via plugins. openmediavault is primarily designed to be used in small offices or home offices, but is not limited to those scenarios. It is a simple and easy to use out-of-the-box solution that will allow everyone to install and administrate a Network Attached Storage without deeper knowledge.”

How to build a NAS using a mini PC

Watch the excellent tutorial below, kindly created by Christopher Barnatt and the Explaining Computers channel on how you can use a mini PC to create a fully functional NAS  storage solution.

Other articles you may find of interest on the subject of network attached storage solutions:

Installing OMV on the Bmax B1 Plus involves downloading the OMV ISO file, writing it to a USB drive, and then booting the mini PC from this drive. Once the installation is complete, you can access the OMV interface from a web browser using the mini PC’s IP address, allowing for easy remote NAS management.

The next step in setting up your NAS is creating and mounting a file system. This involves formatting the data drive and assigning it a mount point. OMV supports various file systems, including the X4 file system, which is highly recommended for its stability and performance, ensuring your data is stored securely and can be accessed quickly.

Shared folders are the heart of any NAS. These are the directories that will be accessible over the network. In OMV, you can create shared folders on your data drive and assign them permissions based on user or group, allowing for precise control over who can access what data. You can also enable SMB/CIFS, a protocol that allows shared folders to be accessed from Windows, macOS, and Linux systems, ensuring cross-platform compatibility.

To access the shared folders from different operating systems, connect to the NAS using the mini PC’s IP address and the credentials set up in OMV. On a Windows system, this can be done through the Network Discovery feature. For Linux systems, like Linux Mint or Chrome OS Flex, you can use the built-in file manager, providing a familiar interface for accessing your files.

The benefits of network attached storage NAS

  • Centralized Storage: NAS devices provide a central location where data can be stored and retrieved by multiple users and client devices. This centralization simplifies data management and can help prevent data duplication across individual devices.
  • Easy File Sharing: With NAS, users on a network can easily share files among different devices, such as computers, smartphones, and tablets. This is particularly useful in a collaborative environment where team members need to access and work on the same files.
  • Scalability: NAS systems can often be easily scaled by adding more hard drives or connecting additional NAS units, which allows for flexible expansion to meet growing data storage needs without significant disruption or need for major infrastructure changes.
  • Cost-Effective: Deploying a NAS is generally more cost-effective compared to setting up a dedicated file server. The simplicity of a NAS means that you don’t need an extensive IT setup or specialized personnel to maintain it, which can reduce costs.
  • Data Redundancy: Many NAS systems include built-in redundancy features, such as RAID (Redundant Array of Independent Disks), which can provide data protection by replicating data across multiple drives. This helps ensure data integrity in the case of a hardware failure.
  • Convenience and Efficiency: NAS systems are designed to be easy to use with minimal setup, often offering intuitive user interfaces and simple installation processes. This allows non-technical users to effectively manage and access data.
  • Remote Access: Some NAS systems offer remote access features, allowing users to access files over the internet securely. This can be particularly useful for remote work scenarios or when accessing data from multiple locations.

So if you are thinking of creating your very own network attached storage, setting up a NAS using a mini PC and Open Media Vault is a manageable process that requires some patience and technical knowledge. The result is a cost-effective, flexible, and powerful network storage solution that can be accessed from various operating systems, offering a versatile solution for your storage needs.

Filed Under: DIY Projects, Top News


Latest timeswonderful Deals

Disclosure: Some of our articles include affiliate links. If you buy something through one of these links, timeswonderful may earn an affiliate commission. Learn about our Disclosure Policy.

Categories
News

QNAP Thunderbolt 4 NAS TVS-h674T and TVS-h874T

QNAP Thunderbolt 4 NAS

QNAP, a provider of Network Attached Storage (NAS) solutions, has today unveiled its latest creations, the form of the TVS-h674T and TVS-h874T Thunderbolt 4 NAS systems. These new models are specifically designed to cater to the needs of creators and video production teams, aiming to enhance productivity and provide efficient protection for valuable creative works.

At the heart of the TVS-h674T and TVS-h874T Thunderbolt 4 NAS models are the 12th Gen Intel Core i5, i7, and i9 processors. These powerful CPUs, coupled with Intel UHD Graphics 730 or 770, ensure that these new NAS models deliver top-tier performance and seamless operation.

The TVS-h674T-i5-32G model is equipped with a 6-bay 3.5″ SATA HDD and 32 GB DDR4 RAM. On the other hand, the TVS-h874T-i7-32G and TVS-h874T-i9-64G models feature an 8-bay 3.5″ SATA HDD, with the former having 32 GB DDR4 RAM and the latter boasting 64 GB DDR4 RAM. The different configurations cater to varying needs, allowing users to choose the model that best suits their requirements.

 Thunderbolt 4 NAS

One of the key features of the TVS-hx74T series is the built-in GPU, which facilitates fast video transcoding. This is a significant advantage for video creators, as it allows for quicker rendering of high-quality video content. Additionally, the Thunderbolt 4 connectivity ensures high-speed data transfer, which is essential in today’s fast-paced creative workflows.

The TVS-hx74T series also incorporates a streamlined collaborative workflow. This feature enables multiple users to work on the same project simultaneously, thereby enhancing efficiency and productivity. The NVMe SSD volume, up to 154 TB of storage, and upgradable 25/10 GbE further enhance the performance and versatility of these NAS models.

ZFS-based operating system

The creator-oriented ZFS-based operating system is another notable feature of the TVS-hx74T series. This robust OS offers self-healing for corrupted data, ensuring that important files are protected from potential damage. In addition, the myQNAPcloud Storage feature provides a convenient way to back up NAS data, adding an extra layer of data protection.

The TVS-hx74T series comes in a tower model that is equipped with hot-swappable 2.5-inch/3.5-inch SATA 6 Gbps hard drives or SSDs, 2x M.2 2280 PCIe Gen 4 slots, 2x Thunderbolt 4 ports, 2 x 2.5GBASE-T RJ45 ports, 2x PCIe Gen 4 expansion slots, 1x Type-C USB 3.2 Gen 2 (10 Gbps) port, 2x Type-A USB 3.2 Gen 2 (10 Gbps) ports, and 1x 4K HDMI ️ output. This array of connectivity options facilitates versatile and efficient data management and transfer.

The TVS-h674T and TVS-h874T Thunderbolt 4 NAS models from QNAP offer a comprehensive solution for creators and video production teams. With their powerful processors, robust operating system, high-speed connectivity, and large storage capacity, these NAS models are set to redefine the standards of productivity and efficiency in creative workflows.

  • TVS-h674T-i5-32G: 6-bay 3.5″ SATA HDD Thunderbolt NAS; 12th Gen Intel Core i5 6-core/12-thread Processor; Intel UHD Graphics 730; 32 GB DDR4 RAM
  • TVS-h874T-i7-32G: 8-bay 3.5″ SATA HDD Thunderbolt NAS; 12th Gen Intel Core i7 12-core (8P+4E) /20-thread Processor; Intel UHD Graphics 770; 32 GB DDR4 RAM
  • TVS-h874T-i9-64G: 8-bay 3.5″ SATA HDD Thunderbolt NAS; 12th Gen Intel Core i9 16-core (8P+8E) /24-thread Processor; Intel UHD Graphics 770; 64 GB DDR4 RAM

Source:  QNAP

Filed Under: Hardware, Top News


Latest timeswonderful Deals

Disclosure: Some of our articles include affiliate links. If you buy something through one of these links, timeswonderful may earn an affiliate commission. Learn about our Disclosure Policy.