![]()
If you’re a MacBook Air user, you might have experienced the frustration of running out of storage space. Especially for those with the M1 MacBook Air, the base storage of 128 GB for the educational laptop versions can quickly become insufficient for modern computing needs. However, there’s a solution that can significantly expand your MacBook’s storage capacity. It’s possible to upgrade your M1 MacBook Air to a whopping 2 TB by installing two 1 TB NAND chips. However MacBook SSD upgrades are not for the faint of heart, as it involves intricate work on the machine’s logic board, but for those with a technical background and a bit of courage, it’s an achievable task.
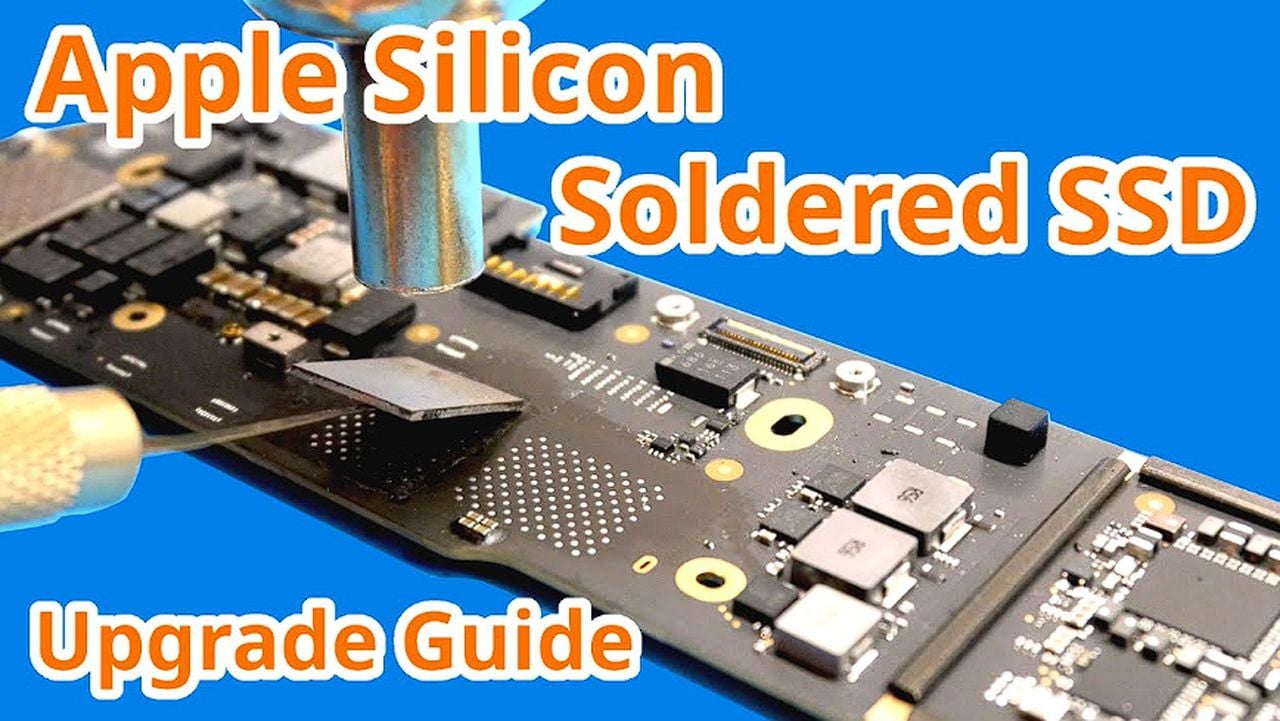
The M1 MacBook Air is designed with a single NAND chip for storage. To increase the storage, you’ll need to add a second chip. This process requires modifying the logic board, a task that demands precision and a solid understanding of electronics. You’ll be removing the existing NAND and installing additional components that are necessary for the second NAND chip to function properly.
Once you’ve prepared your logic board for the upgrade, the next step is to reball the new NAND chips. This involves attaching tiny solder balls to the contacts on the chip. It’s a delicate process that requires a steady hand and experience with soldering. After that, you’ll need to use a specialized tool, known as the JC P13 programmer, to install the correct firmware onto the NAND chips. It’s crucial to use new, unprogrammed NAND chips to ensure compatibility with your MacBook.
Upgrading Apple Silicon laptop SSDs
Even if you don’t have the skills to do the soldering yourself stiffly worth checking out the tutorial video created by dosdude1 that shows how you can successfully upgrade the SSD storage on an Apple Silicon MacBook if you so wish.
Here are some other articles you may find of interest on the subject of Apple Silicon :
Apple Silicon MacBook SSD upgrade
After the NAND chips are programmed, you’ll have to reinstall macOS to ensure that your MacBook Air recognizes the new 2 TB of storage. However, it’s worth noting that you might encounter issues with read/write speeds after the upgrade. These issues can often be resolved by zeroing out the disk, which can help optimize the system’s use of the new space.
This upgrade process is intricate and requires a high level of technical skill. It’s also important to note that this guide is specific to certain MacBook models, particularly the M1 and M2 MacBook Air models that support dual NAND chips. Attempting this upgrade on unsupported models, such as the M1 Pro, Max, Ultra, and some M2 and M3 models, could result in hardware damage. It’s essential to proceed with caution and consider seeking professional assistance if you’re not confident in your technical abilities.
The idea of upgrading your MacBook Air’s storage might seem daunting, but for those with the necessary skills, it’s a project that can breathe new life into your machine. With an expanded storage capacity, you’ll be able to handle more data-intensive tasks, store more files, and enjoy a more versatile computing experience. Just remember to approach the task with care, and don’t hesitate to seek help if needed. This upgrade could be the key to unlocking the full potential of your MacBook Air, allowing you to work more efficiently and effectively.
Image Credit : dosdude1
Filed Under: Apple, Laptops, Top News
Latest timeswonderful Deals
Disclosure: Some of our articles include affiliate links. If you buy something through one of these links, timeswonderful may earn an affiliate commission. Learn about our Disclosure Policy.

