
The world of design and manufacturing is witnessing a significant shift with the introduction of artificial intelligence (AI) into the realm of 3D laser engraving. The ability to create a wide range of amazing designs and concepts in just a few minutes is reshaping the capabilities of manufacturing for small businesses and enthusiasts. If you would like to learn how to create depth maps for laser engraving from AI generated images this quick guide will show you how to build maps for intricate designs that can be etched onto various materials, including wood, metal and more.
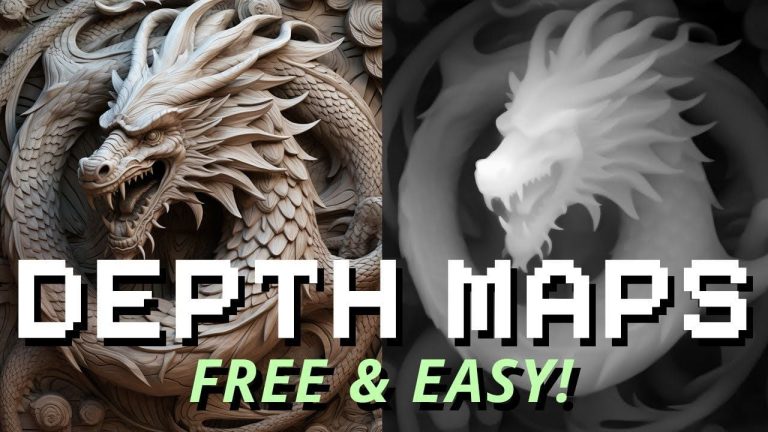
The key to achieving high-quality 3D engravings lies in the creation of depth maps from AI-generated images, a process that is both fascinating and complex yet extremely easy to do thanks to AI tools. Imagine being able to transform a flat image into a textured, three-dimensional work of art. Once you have your AI-generated artwork, the next step involves converting it into a depth map for you to create an engraving.
TilingZoeDepth AI App
This is where the Tiling Zod Dev project comes into play. Created by Bill F. Smith, this project offers the tools needed to turn your images into the maps that will guide the laser during the engraving process. By using Google Colab, a cloud-based platform that can be accessed with a Google account, you can upload your image and execute a series of commands to generate depth maps in both low and high resolutions.
Workflow:
- Generate a depth map for the overall image
- Split original image into overlapping tiles
- Generate depth maps for the tiles
- Reassemble into a single depth map by applying gradient masks and average weighting from first depth map
- Repeat steps 2-4 at higher resolution
- Combine all three depth maps by:
a) Calculate edge filter from original RGB image
b) Blur edge filter and use as mask for high resolution depth map
c) Apply masked high resolution to average of low and medium resolution depth maps
Building depth maps for laser engraving from AI images
Watch the excellent tutorial currently created by Justin Laser below to learn more about how you can easily create depth maps from AI artwork that you can then laser engrave onto a wide variety of different materials.
Here are some other articles you may find of interest on the subject of laser engraving :
These depth maps are crucial as they dictate how the laser interacts with the material’s surface, creating the stunning 3D effect. After the maps are generated, they can be downloaded for use in the laser engraving machine. It’s important to disconnect from the server after this step to avoid any potential penalties.
The next phase is the actual engraving, where understanding the relationship between the laser and the material is essential. For example, CO2 lasers are typically used for softer materials like wood, while fiber lasers are more suitable for engraving metals. It’s crucial to adjust the laser settings based on the depth map guidelines to ensure the final product has the desired level of detail and precision.
Depth maps have revolutionized the field of laser engraving by enabling a degree of detail and realism that was once difficult to achieve. They bring out the natural beauty of wood grains and the reflective qualities of metals, elevating the aesthetic value of the material.
Things to consider when creating depth maps for engraving
Creating depth maps from AI-generated artwork for laser engraving involves several critical considerations to ensure the final product meets high standards of detail and quality. This guide covers essential aspects, including selecting the right AI tools, preparing images, converting them into depth maps, and understanding material-laser interactions. Each step plays a crucial role in achieving a textured, three-dimensional engraving that enhances the visual appeal of the material.
1. Selecting AI Tools for Image Generation
- Quality and Detail: Choose AI applications that can generate high-resolution images with the level of detail necessary for engraving. Look for software that specializes in creating images with depth, such as those capable of producing bas-relief effects.
- Customization Options: Opt for AI tools that offer extensive customization options, allowing you to adjust features like texture, depth, and lighting to create a more realistic 3D effect.
- Compatibility: Ensure the AI-generated images are compatible with the software or platform you plan to use for converting them into depth maps.
2. Preparing AI-Generated Artwork
- Image Resolution: High-resolution images are essential for capturing fine details in the engraving process. Aim for the highest possible resolution within the limits of your software and hardware.
- Contrast and Brightness: Adjust the contrast and brightness of your images to highlight the details. Depth map conversion tools often rely on these elements to differentiate between various levels of depth.
- Simplification: Simplify complex images if necessary. Too many details can result in a cluttered depth map, making it difficult for the laser to accurately reproduce the design.
3. Converting Images into Depth Maps
- Software Selection: Use reliable software or platforms, such as Google Colab with projects like Tiling Zod Dev, that can efficiently convert images into depth maps. These tools should offer options for both low and high-resolution outputs.
- Depth Map Resolution: Choose the appropriate resolution for your depth map based on the material you’re engraving and the complexity of your design. Higher resolution maps are better for detailed and intricate designs.
- Understanding Depth Levels: Familiarize yourself with how your chosen software interprets different shades of gray to represent depth. This understanding will help you adjust your original image for optimal depth map creation.
4. Material and Laser Considerations
- Material Selection: The choice of material (e.g., wood, metal) significantly impacts the engraving process. Understand how different materials react to laser engraving to select the most suitable one for your project.
- Laser Type: CO2 lasers are generally used for softer materials like wood, while fiber lasers are better for metals. Selecting the right laser type is crucial for achieving the desired engraving effect.
- Laser Settings: Adjust the laser settings based on the depth map guidelines. Factors like power, speed, and frequency need to be tailored to both the material and the specific details of the depth map.
5. Testing and Adjustments
- Pilot Runs: Before finalizing the engraving on your chosen material, perform tests on similar, less valuable materials. This allows you to adjust the depth map and laser settings as needed.
- Iterative Adjustments: Use the results of your tests to make necessary adjustments to the image, depth map, or laser settings. It might take several iterations to achieve the desired outcome.
The integration of AI-generated imagery into 3D laser engraving represents a significant advancement in how we create and appreciate detailed designs. By carefully selecting the appropriate AI tools and understanding the nuances of laser-material interactions, designers and manufacturers can produce works that truly enhance the visual appeal of any material. This process is not just about the technology; it’s about marrying art with innovation to push the boundaries of what’s possible in design and manufacturing.
Image Source : Justin Laser
Filed Under: Guides, Top News
Latest timeswonderful Deals
Disclosure: Some of our articles include affiliate links. If you buy something through one of these links, timeswonderful may earn an affiliate commission. Learn about our Disclosure Policy.