The MINISFORUM V3 is not just another entry in the tablet market; it’s a powerhouse designed for users who require the utmost in performance without sacrificing the convenience of portability. At the heart of the MINISFORUM V3 lies an AMD Ryzen7 8840U processor, a marvel of modern technology with the Zen 4 architecture and an RDNA3 GPU. This formidable duo allows the V3 to breeze through tasks that would typically challenge other tablets.
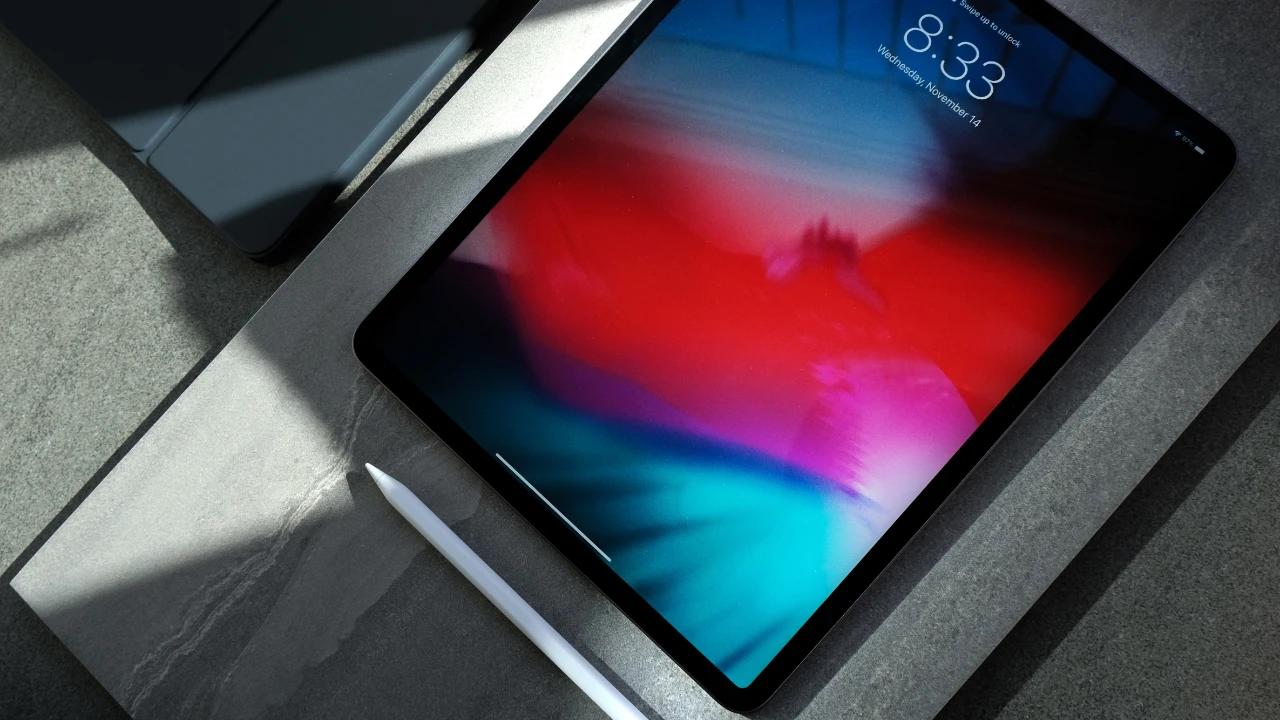
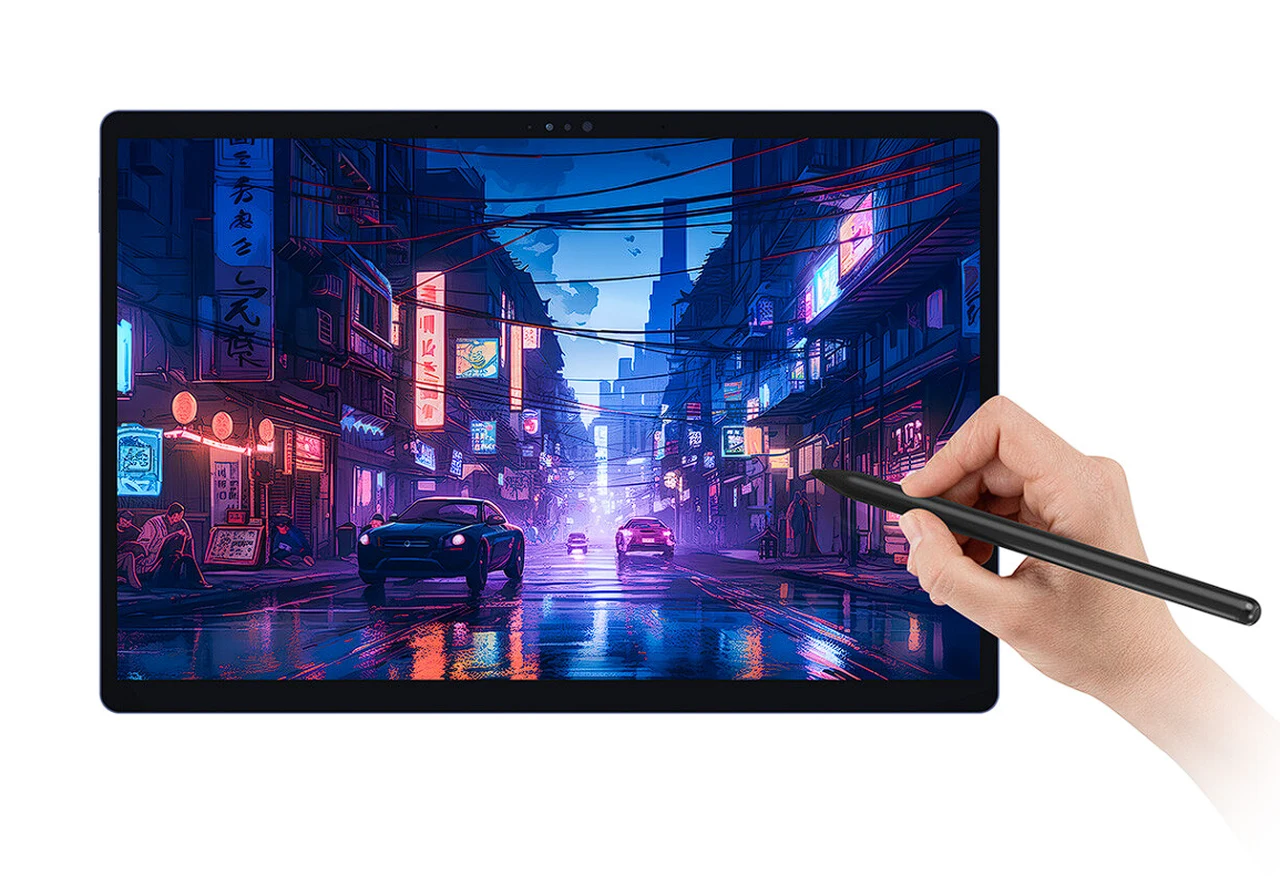
Whether you’re editing high-resolution videos, engaging in the latest gaming titles, or delving into AI applications, the V3’s 8 cores, 16 threads, and a boost frequency that peaks at 5.10 GHz ensure that you’re always operating at peak efficiency. Visuals are a critical aspect of any tablet, and the V3’s 14-inch 2.5K touch screen does not disappoint. With a refresh rate of 165 Hz, the display is incredibly smooth, making every interaction feel immediate and natural. The screen’s adherence to the DCI-P3 color gamut and its 500-nit brightness level mean that colors are not only vibrant but also accurate, which is essential for creative professionals who depend on true-to-life color representation for their work.
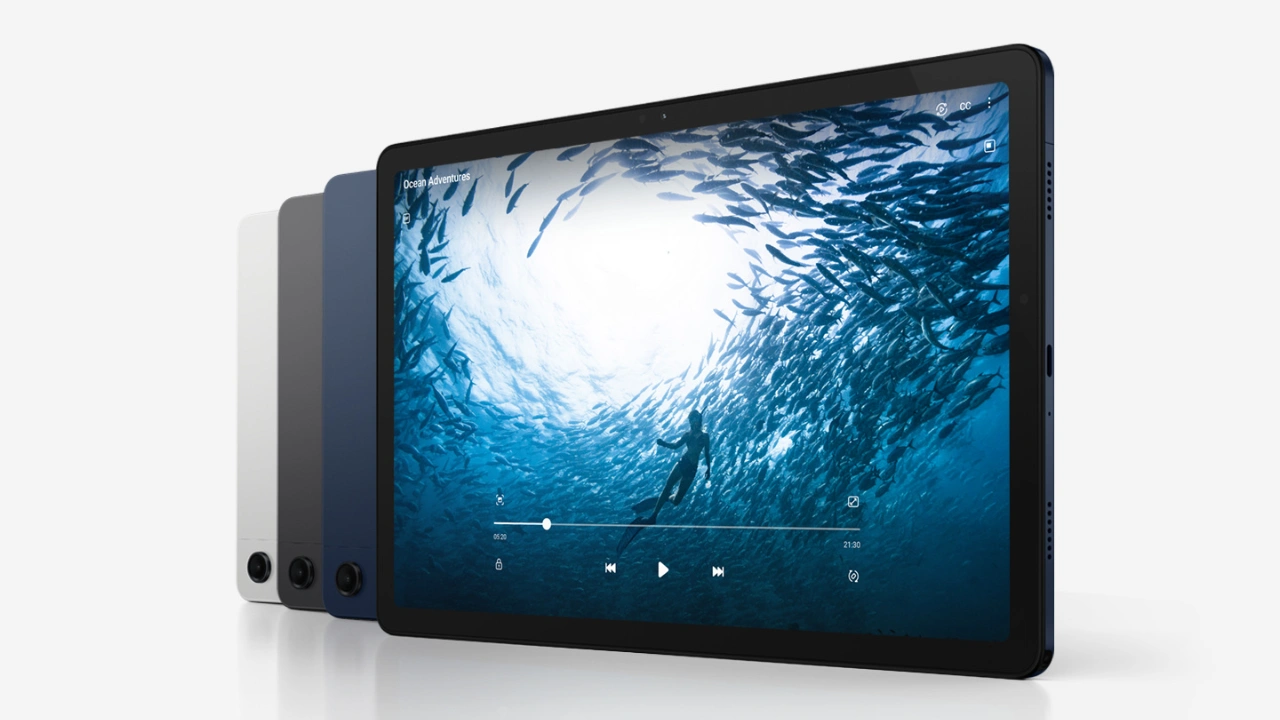
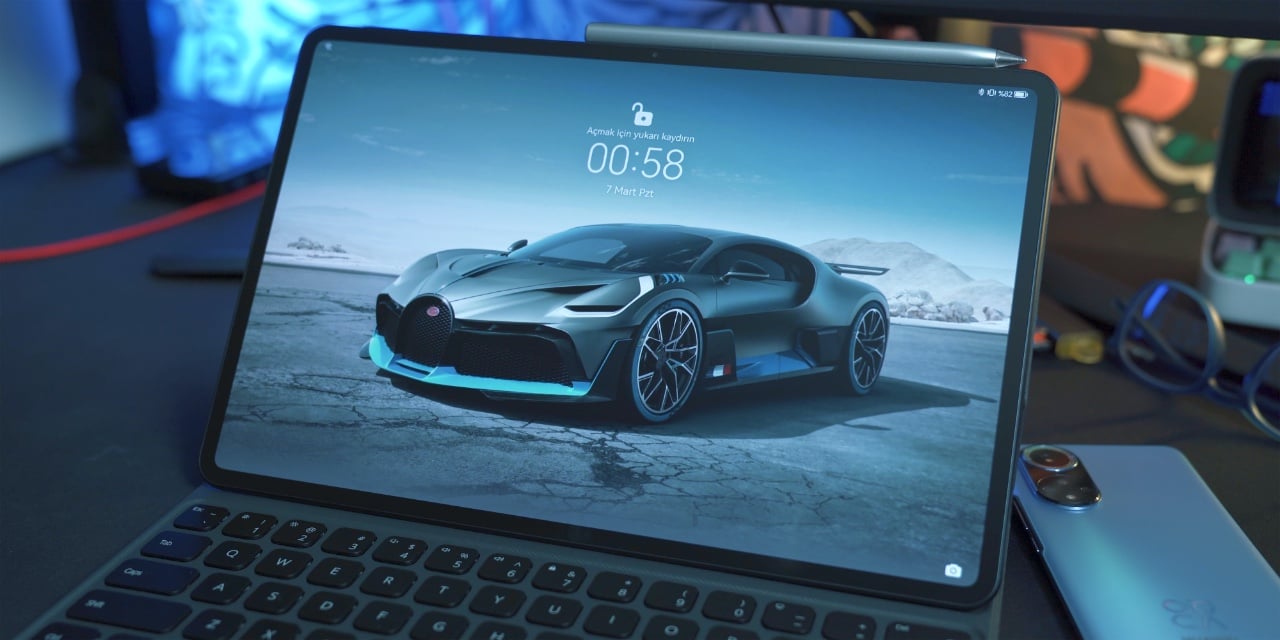
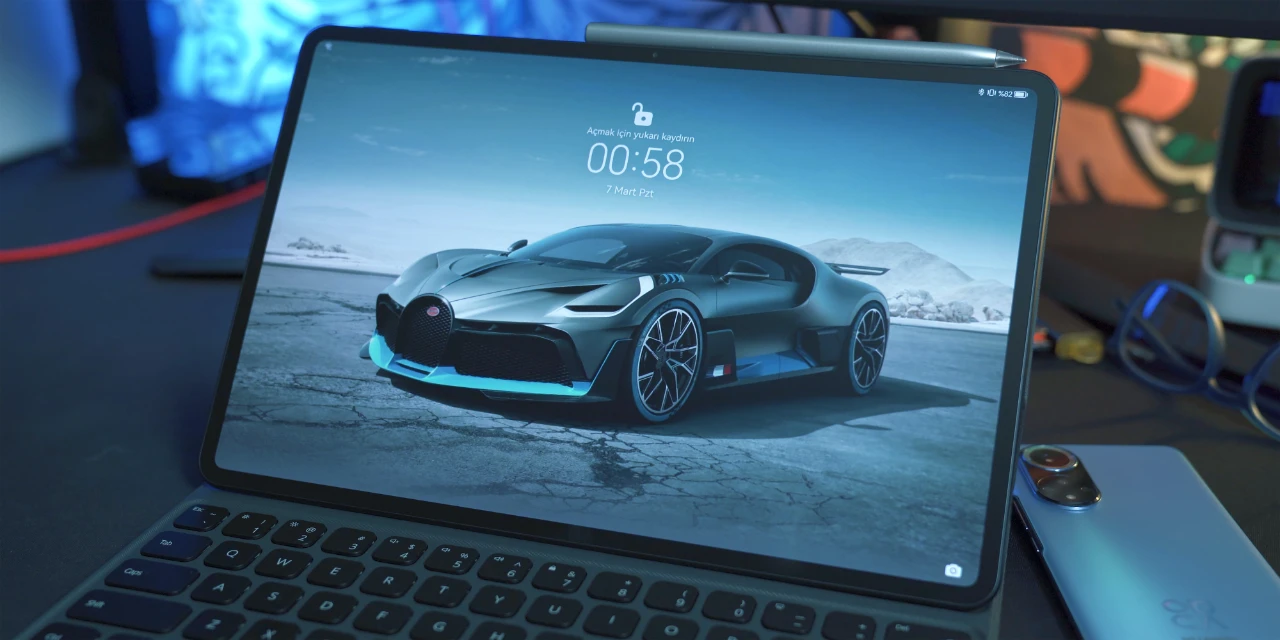
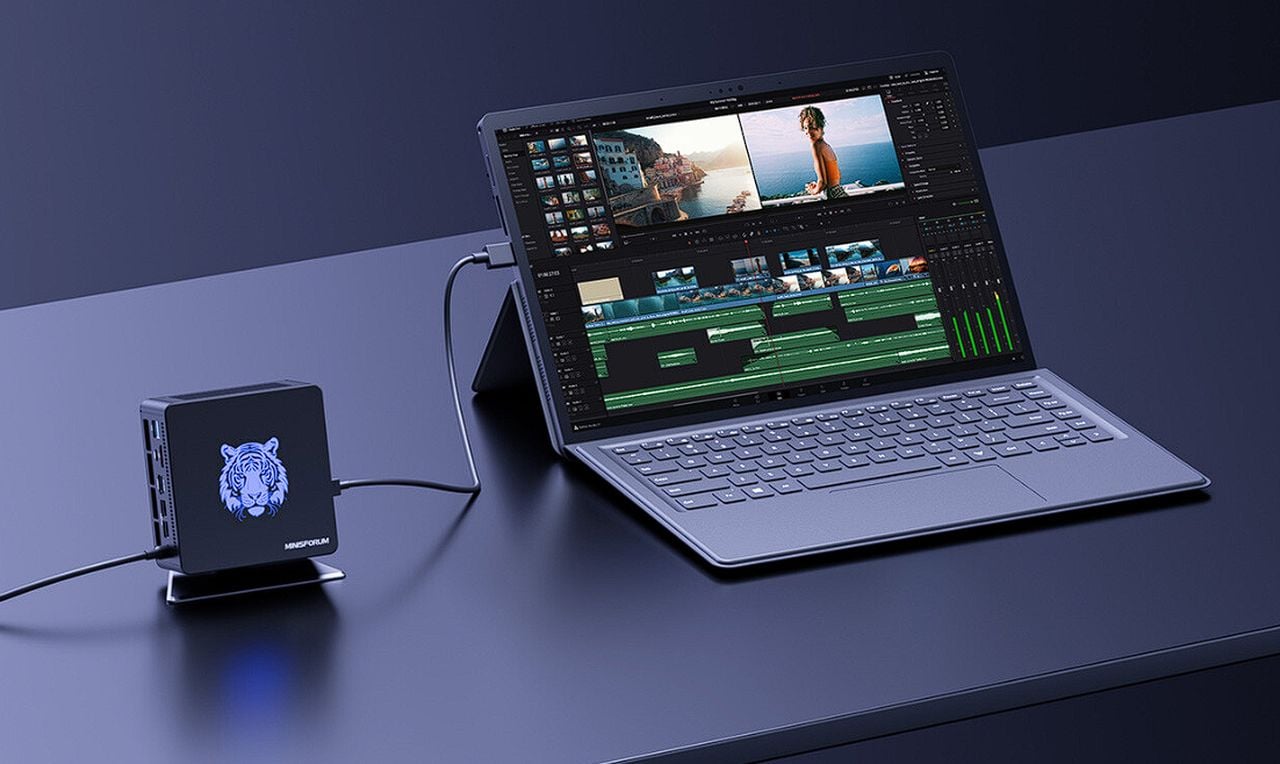
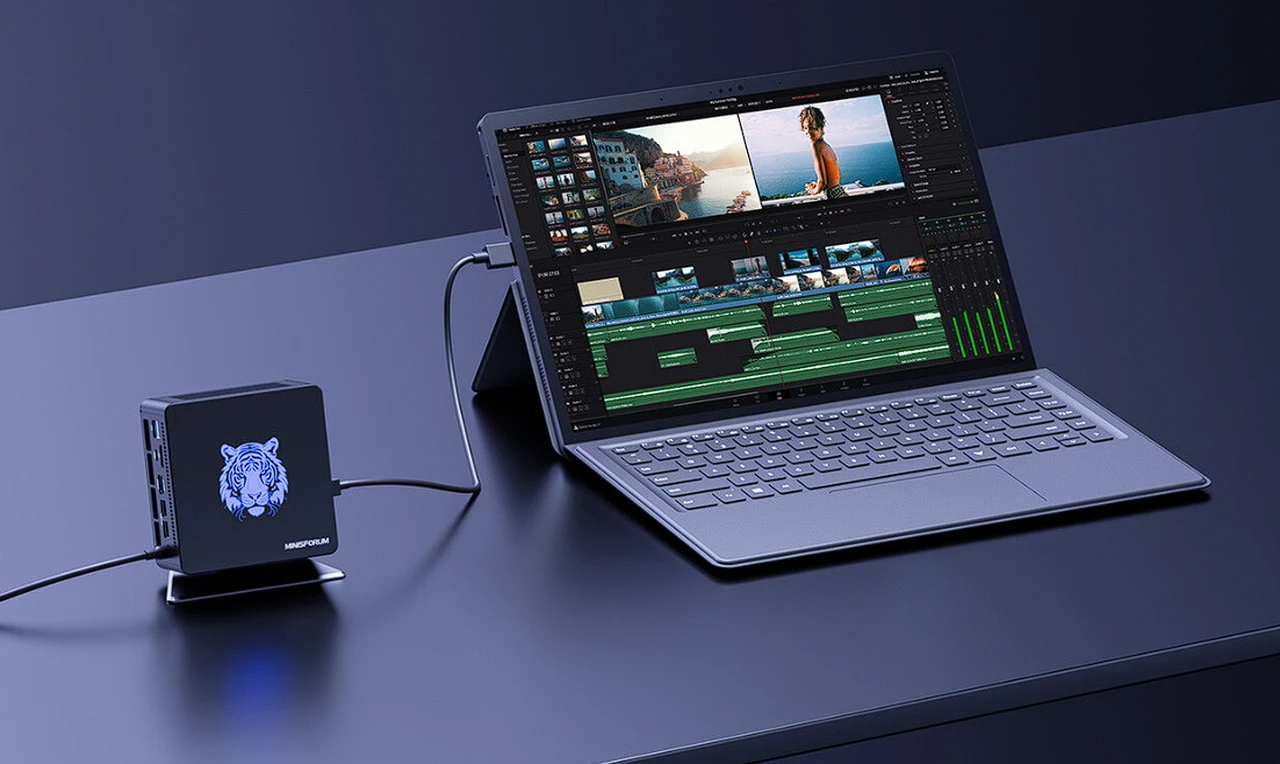
MINISFORUM V3 AMD AI tablet
Durability and portability are often at odds, but the V3’s magnesium alloy shell finds the perfect middle ground. This material choice ensures that the tablet can withstand the rigors of daily use while remaining light enough to carry around with ease. The V3’s versatility is further enhanced by the VLink feature, which simplifies the process of connecting the tablet to a variety of devices, including Mini PCs, laptops, and gaming consoles, making it a central hub for all your digital interactions.
Connectivity is a breeze with the V3, thanks to its inclusion of USB4 ports, an SD card slot, and a headphone jack. These options allow for quick and easy connection to a multitude of peripherals and accessories. Storage is far from an afterthought, with configurations that provide up to an impressive 32+2 TB, ensuring that you have more than enough room for all your important files, projects, and media.
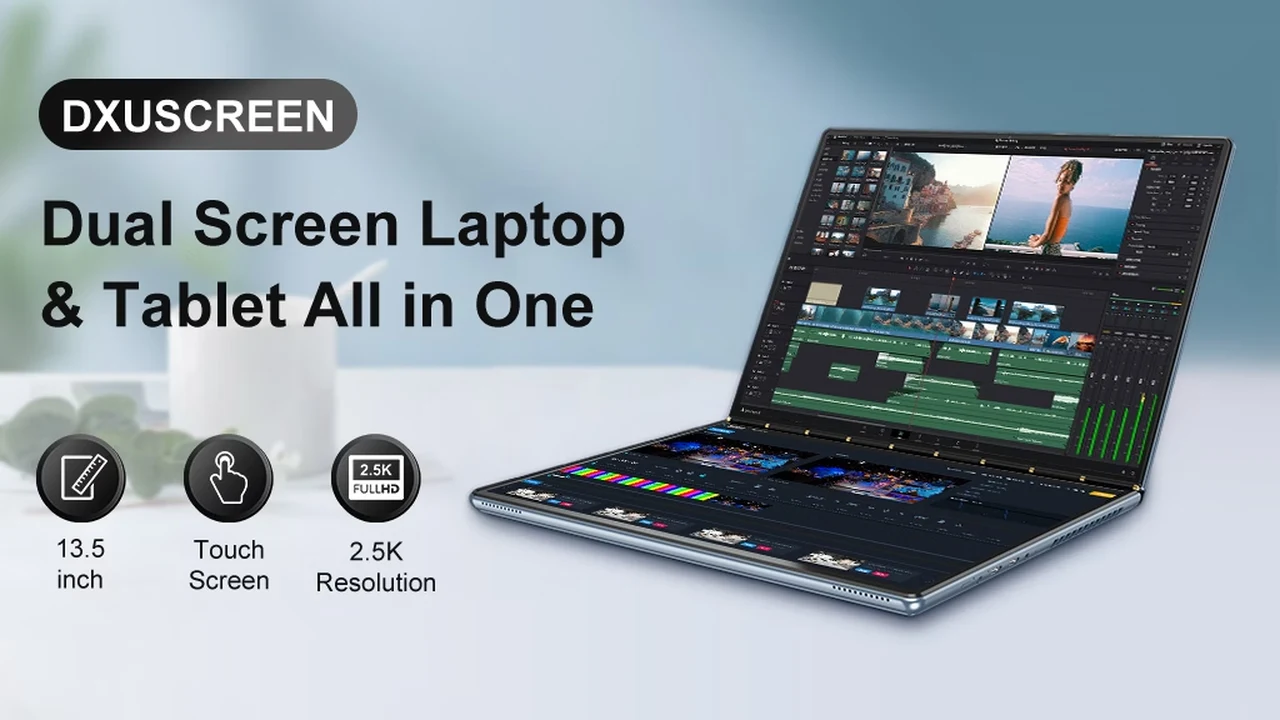
Creators Tablet
For the artists and note-takers, the V3 offers a professional touch pen that supports the MPP2.6 protocol and boasts 4096 pressure levels, delivering an input experience that’s both precise and natural. Security is also a top priority, with features like Windows Hello and fingerprint unlock to safeguard your data against unauthorized access.
Battery life is a cornerstone of any mobile device, and the V3’s 50.84Wh battery, coupled with PD 65 W fast charging, means that your workflow or entertainment is uninterrupted for longer stretches of time. The VSPACE Control Center is an invaluable tool that allows you to manage power consumption with finesse, ensuring that you’re always getting the best possible performance without unnecessary battery drain.
As we approach the official launch event for the new AMD AI tablet at the end of March 2024, anticipation is building for the unveiling of the MINISFORUM V3. This event is set to provide all the details on pricing and availability.
Filed Under: Tablet News, Top News
Latest timeswonderful Deals
Disclosure: Some of our articles include affiliate links. If you buy something through one of these links, timeswonderful may earn an affiliate commission. Learn about our Disclosure Policy.