Categories
Featured

Your iPhone may soon be able to transcribe recordings and even summarize notes

[ad_1]

It’s no secret that Apple is working on generative AI. No one knows what it’ll all entail, but a new leak from AppleInsider offers some insight. The publication recently spoke to “people familiar with the matter,” claiming Apple is working on an “AI-powered summarization [tool] and greatly enhanced audio transcription” for multiple operating systems. 

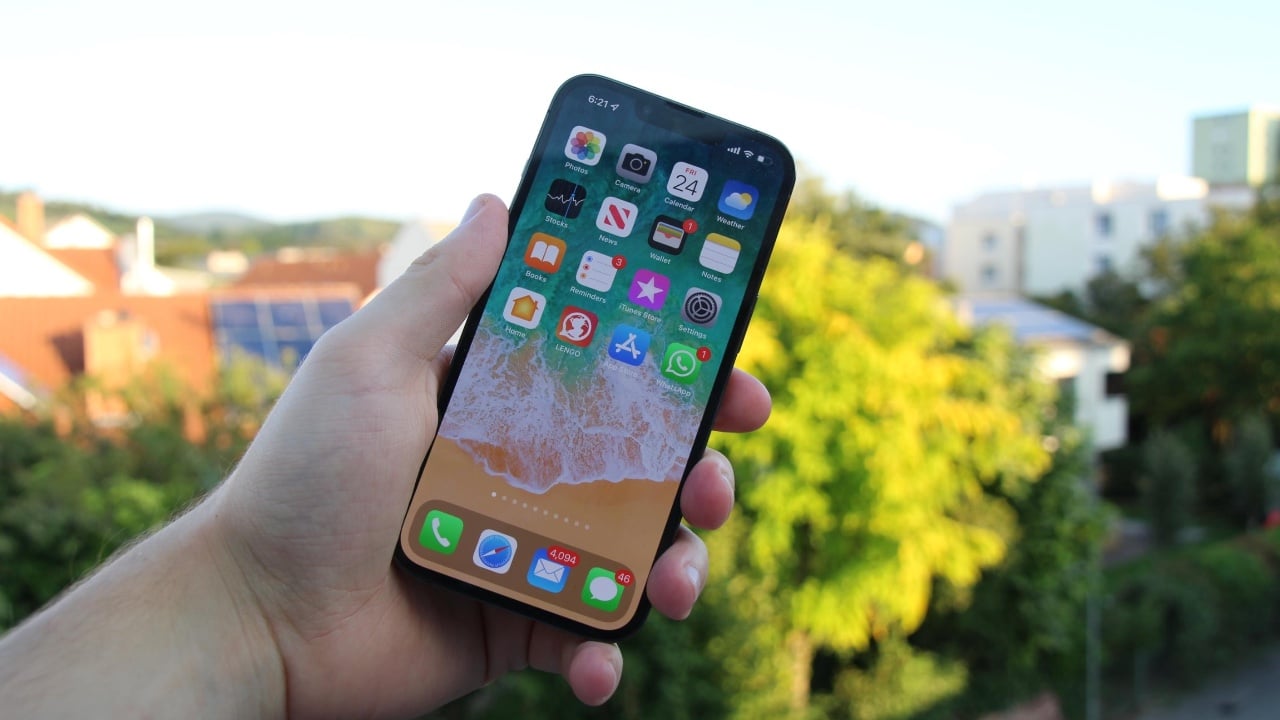
The report states these should bring “significant improvements” to staple iOS apps like Notes and Voice Memos. The latter is slated to “be among the first to receive upgraded capabilities,” namely the aforementioned transcriptions. They’ll take up a big portion of the app’s interface, replacing the graphical representation for audio recordings. AppleInsider states it functions similarly to Live VoiceMail on iPhone, with a speech bubble triggering the transcription and the text appearing right on the screen.

[ad_2]

Source Article Link

Categories
News

How to Take Screenshots and Screen Recordings on Your iPhone

screenshot iPhone

In today’s digital landscape, capturing and sharing screen content has become an indispensable aspect of our smartphone usage. Whether it’s documenting crucial information, creating engaging tutorials, or sharing entertaining social media content, screen capture and recording capabilities have become essential tools for iPhone users. This comprehensive guide delves into the world of capturing and sharing your iPhone’s screen, providing detailed instructions on both screenshots and screen recordings.

Part 1: Capturing Screenshots: A Step-by-Step Guide

Screenshots are an excellent way to preserve the current state of your iPhone’s screen, capturing essential information, conversations, or visual elements. Let’s explore how to take and edit screenshots effectively.

Taking Screenshots with Ease:

  1. Locate the Crucial Buttons: Identify the side button (formerly known as the Sleep/Wake button) and the volume-up button on the right side of your iPhone.
  2. Press Simultaneously: Quickly press and release both the side button and the volume up button simultaneously. A distinct screenshot sound will confirm the successful capture, unless your device is in silent mode.

Taking Screenshots with AssistiveTouch:

  1. Enable the AssistiveTouch Feature: For iPhones with Touch ID or Face ID, navigate to Settings > Accessibility > AssistiveTouch and toggle the switch to enable the feature. For iPhones with home buttons, go to Settings > Accessibility > Home Button > AssistiveTouch and follow the same process.
  2. Access the AssistiveTouch Menu: Double-tap the home button or swipe up from the bottom edge of the screen to open the AssistiveTouch menu.

Capture with AssistiveTouch: Tap the “Devices” icon in the AssistiveTouch menu, then select “Screenshot” from the options.

Editing Screenshots with Precision:

  1. Access the Editing Shortcut: Once you’ve captured a screenshot, a thumbnail will appear in the lower-left corner of the screen. Tap the thumbnail to open the editing window.
  2. Manipulate the Screenshot: Use the editing tools provided, such as drawing tools, text insertion, and cropping options, to customize your screenshot to your liking.
  3. Save or Share Your Creation: Once satisfied with your edits, tap the Done button to save the modified screenshot or tap the Share icon to share it via various apps or services.

Part 2: Recording Screen Activities: Capturing Digital Moments

Screen recordings allow you to capture the entirety of your iPhone’s screen activity, making them ideal for creating tutorials, demonstrating gameplay, or documenting app usage. Here’s how to record screen activities effectively.

Recording Screen Activities with Control Center:

  1. Access the Control Center: Swipe down from the top-right corner of your iPhone’s display to open Control Center.
  2. Find the Screen Recording Button: Locate the Screen Recording button, which may require tapping the “Customize Controls” option to add it if it’s not visible.
  3. Initiate Screen Recording: Tap the Screen Recording button. A brief countdown will appear, followed by the start of the screen recording.
  4. End the Recording: To stop recording, open Control Center again and tap the red Stop Recording button.

Accessing Recorded Screen Recordings:

  1. Locate Your Recordings: All recorded screen recordings are stored in the Photos app. You can find them in the “Screen Recordings” album under the “Media Types” section.

Editing and Sharing Screen Recordings:

  1. Access the Editing Tools: Open a recorded screen recording in the Photos app. Tap Edit to access the editing tools.
  2. Crop and Annotate: Trim the video to your desired length using the crop tool and add annotations, text, or shapes using the Markup tool.

Summary

Mastering screen capture and recording on your iPhone empowers you to effectively document, share, and enhance your digital experiences. With these comprehensive guidelines, you can confidently capture and share your iPhone’s screen content, whether it’s preserving important information, creating engaging tutorials, or showcasing entertaining gameplay moments. You can find out more details on how to take screen recording and screenshots on your iPhone over at Apple’s website.

Image Credit: John Appleseed

Filed Under: Apple, Apple iPad, Guides


Latest timeswonderful Deals

Disclosure: Some of our articles include affiliate links. If you buy something through one of these links, timeswonderful may earn an affiliate commission. Learn about our Disclosure Policy.

Categories
News

How to Take a Screenshot or Screen Recordings on Your Mac

screenshot Mac

This guide is designed to show you how to take a screenshot and screen recordings on your Mac. In the digital age, screenshots and screen recordings have become essential tools for demonstrating tasks, troubleshooting issues, and preserving important moments. Whether you’re a student sharing notes, a professional providing instructions, or a creative individual capturing your screen for editing purposes, knowing how to effectively capture your Mac’s display is crucial.

Taking Screenshots

Apple’s built-in Screenshot tool provides a straightforward and versatile approach to capturing your Mac’s screen. It offers various options to suit your needs, from capturing the entire screen to selecting specific areas or windows.

1. Screenshot the Entire Screen

Pressing the Shift + Command + 3 shortcut simultaneously will capture the entire contents of your Mac’s screen. The captured screenshot will be saved to your desktop as a PNG file with the date and time of capture.

2. Capture a Specific Area

To capture only a portion of your screen, hold down the Shift + Command + 4 shortcut. Your cursor will transform into a crosshair pointer. Click and drag the crosshair to select the desired area, and the screenshot will be captured and saved to your desktop automatically.

3. Capture a Window

To capture a specific window without the surrounding desktop, hold down the Alt + Shift + Command + 3 shortcut. The window you’re currently focused on will be captured and saved to your desktop.

4. Editing Screenshots

Once a screenshot is captured, it will open in the Preview app for editing. You can use Preview’s various tools to crop, resize, add annotations, and even convert the screenshots to different formats.

Screen Recordings

Recording your Mac’s screen is particularly useful for demonstrating workflows, capturing presentations, or creating tutorials. Apple’s built-in Screen Recording tool provides a straightforward and efficient way to capture your screen’s activity.

1. Starting a Screen Recording

Press the Shift + Command + 5 shortcut to open the Screenshot tool. Click the “Record” button and a red recording indicator will appear. You can control the recording area using the crosshair pointer, similar to taking a screenshot.

2. Customizing Recording Options

Before starting the recording, click the “Options” button to customize the recording settings. You can adjust the recording quality, enable audio capture from your microphone or system audio, and set a start delay to allow you to prepare for the recording.

3. Stopping a Screen Recording

Once you’ve captured the desired footage, click the red recording indicator or press the Escape key to stop the recording. The screen recording will be saved to your desktop as a QuickTime Movie file.

Additional Tips

Screenshot Delay: For particularly complex tasks or presentations, you can set a start delay to allow you to prepare before the recording starts.

Full-Screen Recording: To capture an entire application’s window, press the Option key while recording.

Capture Selection: To capture a specific area within a window, frame the desired selection and press the Spacebar key while recording.

Capture Mouse Pointer: To include the mouse pointer in your recording, press the Command key while recording.

Conclusion

Gaining proficiency in the use of screenshots and screen recordings on your Mac is more than just a technical skill; it’s an art that can greatly amplify your efficiency and ability to communicate effectively. In the fast-paced digital world, where visual representation often speaks louder than words, these tools become indispensable. As a student, they can transform the way you compile and share educational materials, making study sessions more interactive and collaborative. For professionals, the ability to quickly capture and disseminate information through these means can streamline workflows and enhance presentations, allowing for clearer communication of complex ideas. Creative individuals, too, find immense value in these tools, as they provide a versatile medium for capturing artistic processes or showcasing portfolios in a dynamic format.

The utility of mastering screenshots and screen recordings extends beyond basic functionality. It includes developing a keen eye for what to capture and how to present it. This involves understanding the nuances of timing, framing, and highlighting key information. By delving into the step-by-step instructions provided and experimenting with the various tips and tricks, you can refine your technique and develop a more nuanced approach. This will enable you to capture your screen in a way that not only records the information but also conveys it in an engaging and informative manner.

In conclusion, by mastering the art of screenshots and screen recordings on your Mac, you equip yourself with a versatile set of skills that enhance your productivity and communication. These capabilities are not just functional; they’re transformative, enabling you to convey your ideas, thoughts, and experiences in a more impactful way. As you explore and utilize these tools, you’ll find yourself well-prepared to capture and share the contents of your Mac’s display for an array of purposes, from education and professional tasks to creative endeavors. You can find out more details about how to take screenshots and screen recordings on your Mac over at Apple’s website.

Here are some more Mac articles you may find useful:

Image Credit: yuhaimedia

Filed Under: Apple, Guides, Laptops


Latest timeswonderful Deals

Disclosure: Some of our articles include affiliate links. If you buy something through one of these links, timeswonderful may earn an affiliate commission. Learn about our Disclosure Policy.

Categories
News

How to take screen recordings on your Mac

screen recordings Mac

This guide is designed to show you how to take screen recordings on your Mac.The skill of screen recording on a Mac holds significant value across a diverse spectrum of users, including professionals, educators, and casual users, each finding unique applications for this technology. For professionals, the ability to record their screen becomes an indispensable tool in their digital arsenal. It enables them to create detailed tutorials, demonstrate software functionalities, or provide clients with walk-throughs of complex processes, all of which can enhance communication and productivity in a business environment. Educators, on the other hand, find screen recording particularly beneficial for developing educational content. They can record lectures, create instructional material, and even capture educational webinars, thus enriching the learning experience for their students.

In addition, casual users benefit from the ease and efficiency of macOS’s built-in screen recording tools. They can capture moments of gameplay, creating memories or tutorials for gaming communities, or record video calls with friends and family for posterity. The process of recording such activities is made straightforward and user-friendly by macOS, which is designed to cater to the needs of users at all levels of technical expertise.

The Built-in macOS Screen Recording Tool

Since macOS Mojave, Apple has included a screen recording feature within the Screenshot toolbar. This tool is a significant upgrade from the previous method that required QuickTime Player.

Accessing the Screen Recording Tool

  1. Shortcut Method: Press Command + Shift + 5 to open the Screenshot toolbar. This shortcut is a quick and easy way to access both screenshot and screen recording functions.
  2. Via Launchpad: You can also access this tool through the Launchpad by navigating to the ‘Other’ folder and selecting ‘Screenshot.

Using the Screen Recording Tool

  1. Selection: Once the toolbar is open, you’ll see options to record the entire screen or just a selected portion. Choose the one that suits your need.
  2. Options: Before starting the recording, click on ‘Options’. Here, you can select where to save your recording, set a timer, choose whether to show mouse clicks in the recording, and more.
  3. Microphone: If you want to include audio, such as voiceovers, select a microphone.
  4. Starting the Recording: After setting up your preferences, click ‘Record’. For full-screen recording, it starts immediately. For a portion of the screen, you’ll need to drag to select the area first.

Stopping the Recording

  • Click the ‘Stop’ button in the menu bar, or press Command + Control + Esc.

Editing and Sharing

  • Once recorded, the video thumbnail appears briefly in the bottom right corner. Click on it to open the editing window where you can trim the recording. You can then share it directly from there.

Advanced Screen Recording with QuickTime Player

For those who need more control or wish to record their screen along with other media inputs, QuickTime Player is a suitable option.

Steps to Record with QuickTime Player

  1. Open QuickTime Player and go to File > New Screen Recording.
  2. Select Recording Options: Similar to the Screenshot toolbar, you can choose to record the entire screen or a portion, and select audio input sources.
  3. Recording: Click the ‘Record’ button and follow similar steps as the Screenshot toolbar for recording.

Additional Features

  • QuickTime Player allows recording of iPhone or iPad’s screen when the device is connected to the Mac.
  • It offers more editing features compared to the Screenshot toolbar.

Third-Party Applications

For users with more specific needs, such as professional-grade video editing or advanced recording settings, third-party applications like OBS Studio or Camtasia might be more appropriate. These applications offer extensive customization, including higher frame rates, multiple audio sources, and integrated video editing suites.

Tips for Effective Screen Recordings

  1. Prepare Your Screen: Clean up your desktop and close unnecessary applications to avoid distractions.
  2. Use Do Not Disturb Mode: This prevents notifications from appearing during your recording.
  3. Test Your Audio: If recording voice, ensure your microphone is properly configured and test it before starting.
  4. Practice: If you’re recording a tutorial or presentation, it’s useful to practice your script to reduce errors.

Conclusion

Screen recording on a Mac extends far beyond mere functionality; it’s an essential skill that blends versatility and utility. In today’s digital age, the ability to capture and share screen content is invaluable, whether you’re a content creator, educator, or professional. Utilizing the built-in tools in macOS offers a straightforward and efficient solution for quick screen captures. These tools are designed with user-friendliness in mind, making them ideal for everyday tasks such as creating brief tutorials, recording video calls, or capturing live-streaming events.

Screen recording on a Mac is a versatile and valuable skill. Whether using the built-in tools for quick captures or sophisticated third-party applications for professional videos, understanding these tools enhances productivity and creativity.

Remember, while the built-in tools are sufficient for most purposes, exploring third-party options can be beneficial for specialized requirements. Keep your software updated to access the latest features and improvements from Apple. You can find out more details about this feature over at Apple’s website.

Image Credit: N.Tho.Duc

Filed Under: Guides


Latest timeswonderful Deals

Disclosure: Some of our articles include affiliate links. If you buy something through one of these links, timeswonderful may earn an affiliate commission. Learn about our Disclosure Policy.