
Android users patiently waiting for the arrival of Emulation Station on Android devices will be pleased to know that the application is now available on Android phones, tablets and mini PCs. Enabling you to transform your Android device into a time machine that transports you back to the golden era of gaming. Emulation Station DE is a retro gaming powerhouse, allowing you to play the classics with ease. But before you start your journey down memory lane, make sure your Android is updated to version 11 or higher, as this is a prerequisite for the app to work properly.
For those eager to dive into the world of retro video games, Emulation Station DE is the perfect companion. Priced at $5.39 on the Amazon App Store, this premium interface is your one-stop-shop for managing and playing your favorite game ROMs. It’s important to note that Emulation Station DE is not available on Google Play, which means you’ll need to sideload the Amazon App Store to get your hands on it. Also, remember that the app itself doesn’t come with game ROMs or emulators; you’ll have to find those on your own.
Once you’ve installed Emulation Station DE, you’ll be greeted by a user-friendly interface that makes organizing and launching your game ROMs a breeze. The app shines on high-performance devices such as the S24 Ultra, where it ensures seamless gameplay and an exceptional retro gaming experience. But it’s not just about playing games—the app also helps you manage your digital collection. It automatically creates a ROMs folder and uses a scraper tool to collect game metadata, so you have all the details you need to dive right into the action.
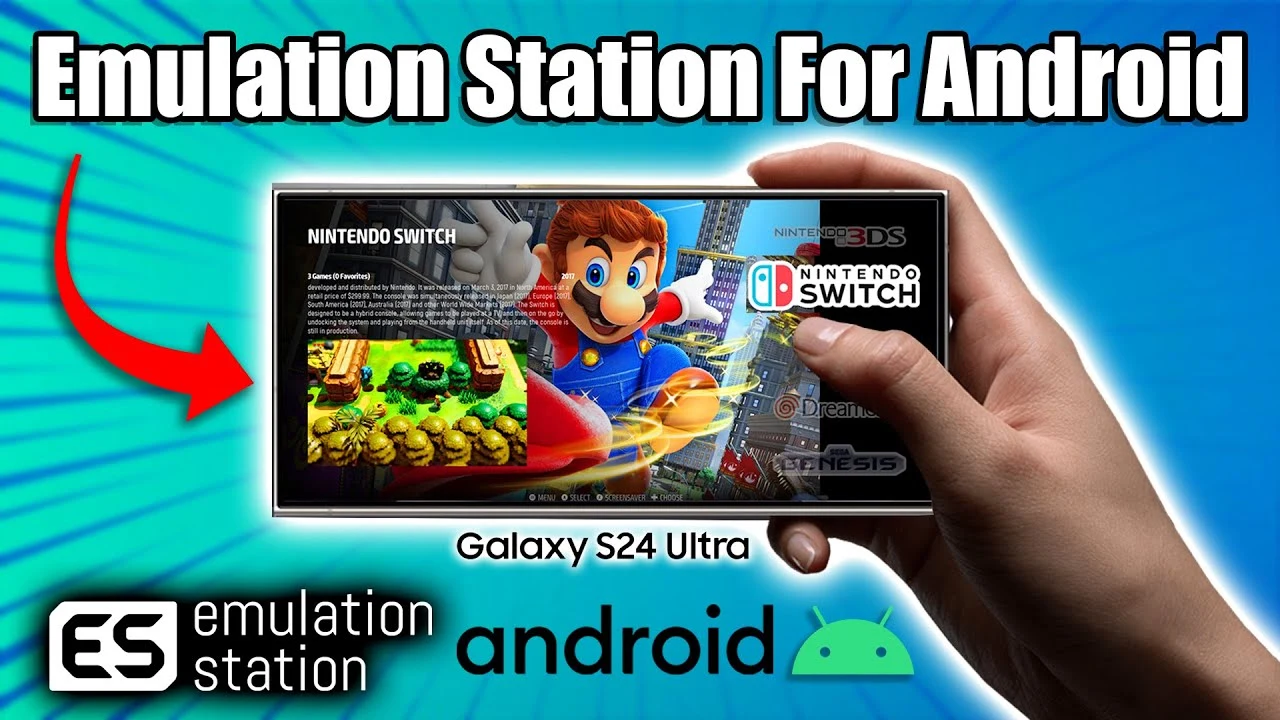
Android Emulation Station

The next step in your setup is choosing and configuring emulators. Emulation Station DE supports a wide array of emulators, including the all-encompassing RetroArch, which caters to various gaming systems, and specialized options like Redream. This flexibility allows you to tailor your gaming experience to your preferences.
Getting started with Emulator Station on Android
Emulator Station is an application that organizes and runs game emulators, allowing you to play games from various consoles on your Android device. It simplifies the process of setting up emulators and managing game files (ROMs), providing an integrated environment for your gaming needs. Emulator Station, also referred to here as ES-DE for clarity, offers a user-friendly interface to facilitate the configuration and enhancement of your gaming experience on Android devices.
Installation
- Download and Install ES-DE: Start by downloading ES-DE from a reliable source, such as the Google Play Store or the official website, and install it on your device.
- Launch ES-DE: Open the application. You will be greeted by a welcome screen, part of the ES-DE configurator, which is the onboarding interface designed to guide you through the setup process.
Initial Setup
The configurator is straightforward and guides you through several key setup steps:
- Storage Access Permission: ES-DE requires access to your device’s storage to function correctly. Upon prompt, grant the necessary permissions to allow the app to access and manage files.
- Define Application Data Directory: Next, specify a directory for storing your settings, scraped media, custom collections, etc. By default, ES-DE creates a directory in the root of your device’s internal storage. This location can be customized if needed.
- ROMs Directory: Choose a location for storing your game files. The default “ROMs” directory is also placed in the root of the internal storage. You have the option to relocate this directory to an SD card for additional space. If moved, you’ll need to manually create the “ROMs” directory on the SD card and delete any empty directory created by ES-DE in the internal storage.
- Game Systems Directory Structure: Optionally, you can create a directory structure within your ROMs folder for different game systems. This action also generates
systeminfo.txtfiles in each system directory, providing details on supported file extensions and emulators. While not mandatory, this step is recommended for convenience.
Final Steps
- Placing Game Files: Ensure you place at least one game file with a supported extension in the ROMs directory. If no supported games are found, ES-DE will display an informational dialog about the absence of games.
- Installing Emulators: Note that ES-DE does not come with emulators. You must install these separately. Detailed information on this topic can be found within the application or its documentation.
Re-running the Configurator
If you need to access the configurator again, you can do so by:
- Revoking storage access permissions from the Android Apps settings screen under Special app access. This action triggers the configurator upon the next app start.
- Clearing the app’s storage under Storage & cache settings. However, this will delete all themes downloaded via the theme downloader and is not generally recommended.
- Renaming the ES-DE or ROMs directory, which will also prompt the configurator to run the next time you start ES-DE.
Tips for a Better Experience
- Regularly Update: Keep both ES-DE and your emulators up to date to enjoy the latest features and improvements.
- Customize Controls: Dive into the settings to customize control layouts for different emulators, ensuring the best gaming experience.
- Explore Themes: ES-DE supports themes, allowing you to personalize the appearance of the interface. Explore and download themes that suit your taste.
Customizing your experience is a cinch with Emulation Station DE. The app offers a variety of themes to make your interface stand out. But the customization options don’t end there. You can also use the built-in PDF viewer to read game manuals and access a feature that cleans up image files, keeping your library neat and tidy. If you ever need assistance, the Emulation Station DE website is a treasure trove of information. It’s packed with documentation and FAQs that will walk you through the setup process and enhance your gaming experience.
Android ES-DE Tips and tricks

Emulation Station DE for Android is a sophisticated platform that caters to the needs of retro gaming enthusiasts. It’s designed to work seamlessly with a range of devices, including the robust S24 Ultra, and it’s equipped with a host of features that will take your gaming sessions to the next level. As you gear up to indulge in the nostalgia of retro games, don’t forget to source your own ROMs and emulators to complete your setup. With Emulation Station DE, the past is never far away—so start your adventure today and rediscover the classics that defined a generation.
Filed Under: Android News, Gaming News, Top News
Latest timeswonderful Deals
Disclosure: Some of our articles include affiliate links. If you buy something through one of these links, timeswonderful may earn an affiliate commission. Learn about our Disclosure Policy.