Categories
News

How to use ChatGPT Vision AI correctly for image analysis

how to use ChatGPT Vision AI

The ability to quickly analyze and interpret visual information is more important than ever. ChatGPT Vision is a cutting-edge feature that can transform the way we approach complex challenges, both online and in the physical world. By harnessing the power of this AI tool, you can significantly improve your problem-solving skills and streamline your workflow. Let’s dive into how you can make the most of ChatGPT Vision, customize it to meet your needs, and even use it to create visual aids such as diagrams and flowcharts. Additionally, for those eager to expand their knowledge, we’ll touch on a specialized course designed to enhance your expertise in ChatGPT.

OpenAI’s Vision is a standout multimodal AI that allows you to upload images for detailed analysis, providing you with in-depth feedback. This can be incredibly useful when you’re dealing with a problem that’s difficult to describe in words. For instance, if you have a technical diagram or a photo of a malfunctioning piece of equipment,  Vision can examine the visual information and offer a thorough assessment.

One of the areas where OpenAI’s Vision excels is in diagnosing issues. Whether you’re trying to figure out what’s wrong with a gadget or pinpoint problems on a website, an image can often convey what words cannot. Vision will analyze the picture and provide you with suggestions for solutions or steps to address the issue.

ChatGPT Vision AI user guide

To start using ChatGPT Vision, you simply need to access the ChatGPT interface and look for the image analysis option. Once you upload your image, ChatGPT will begin processing it and share its insights. The system may ask you questions to refine its understanding, which helps ensure that the analysis is accurate and beneficial to you.

Here are some other articles you may find of interest on the subject of ChatGPT Vision :

Moreover, OpenAI’s Vision AI is not a one-size-fits-all tool; you can tailor it to your specific needs. By crafting custom prompts, you can guide ChatGPT to focus on particular aspects of an image or problem, resulting in targeted and practical advice.

But ChatGPT Vision isn’t just about analysis—it’s also a powerful ally in visualizing ideas. When paired with compatible applications, it can help you turn rough sketches or notes into polished, professional-looking diagrams and flowcharts. This is particularly useful when you need to clearly outline complex processes or systems.

Understanding ChatGPT Vision and Its Impact on Visual Analysis

ChatGPT Vision is a multifaceted tool that can greatly enhance your analytical and problem-solving abilities. By learning how to activate it, customizing its output to your needs, and taking advantage of its ability to create visuals, you can unlock a new level of image analysis and feedback. And if you’re interested in broadening your skills, the ChatGPT Mastery course is an excellent next step. By exploring the full range of ChatGPT Vision’s capabilities, you can refine your approach to challenges and achieve more efficient and effective results.

The ability to swiftly process and understand visual data is more important than ever. With the advent of ChatGPT Vision, users have at their disposal a sophisticated tool that can revolutionize the way we tackle intricate problems. This feature is not just about recognizing what’s in an image; it’s about comprehending the context and extracting actionable insights. For professionals and hobbyists alike, this means a significant enhancement in how they address visual challenges, whether it’s in digital spaces or the tangible world.

OpenAI Vision stands out by allowing users to upload images for detailed analysis, offering nuanced feedback that goes beyond surface-level interpretation. This is particularly beneficial when faced with issues that are complex or hard to articulate verbally. For example, a detailed image of a circuit board could reveal subtleties that might be missed in a textual description, and ChatGPT Vision can dissect these nuances to provide a comprehensive evaluation.

To begin utilizing ChatGPT Vision, one must navigate to the ChatGPT interface and select the image analysis feature. Upon uploading an image, ChatGPT processes the visual data and conveys its findings. The system’s interactive nature may prompt users with questions to refine its analysis, ensuring that the feedback is accurate and beneficial for the user’s specific context.

Customizing ChatGPT Vision for Personalized Solutions

Vision’s ability to diagnose issues is one of its most impressive attributes. It’s adept at identifying problems that might be difficult to detect through text alone. By analyzing an image, ChatGPT Vision can offer suggestions and actionable steps to rectify the issue, whether it’s a technical glitch in a device or a flaw in a website’s design. This visual analysis can often communicate what words cannot, providing a clearer understanding of the problem at hand.

The versatility of Vision means that it can be tailored to specific user needs. By creating custom prompts, users can direct ChatGPT to concentrate on certain elements within an image, leading to targeted and practical advice that addresses the user’s unique challenges. This customization is key to making the most out of the tool’s capabilities.

Beyond problem analysis, ChatGPT Vision is also a valuable resource for visualizing ideas. When integrated with compatible software, it can assist in transforming basic sketches or notes into polished, professional-looking diagrams and flowcharts. This feature is especially helpful for those who need to articulate complex concepts or workflows in a visual format, making it easier for others to understand and follow. ChatGPT Vision is a multifaceted instrument that can significantly boost one’s analytical and problem-solving abilities.

Filed Under: Guides, Top News


Latest timeswonderful Deals

Disclosure: Some of our articles include affiliate links. If you buy something through one of these links, timeswonderful may earn an affiliate commission. Learn about our Disclosure Policy.

Categories
News

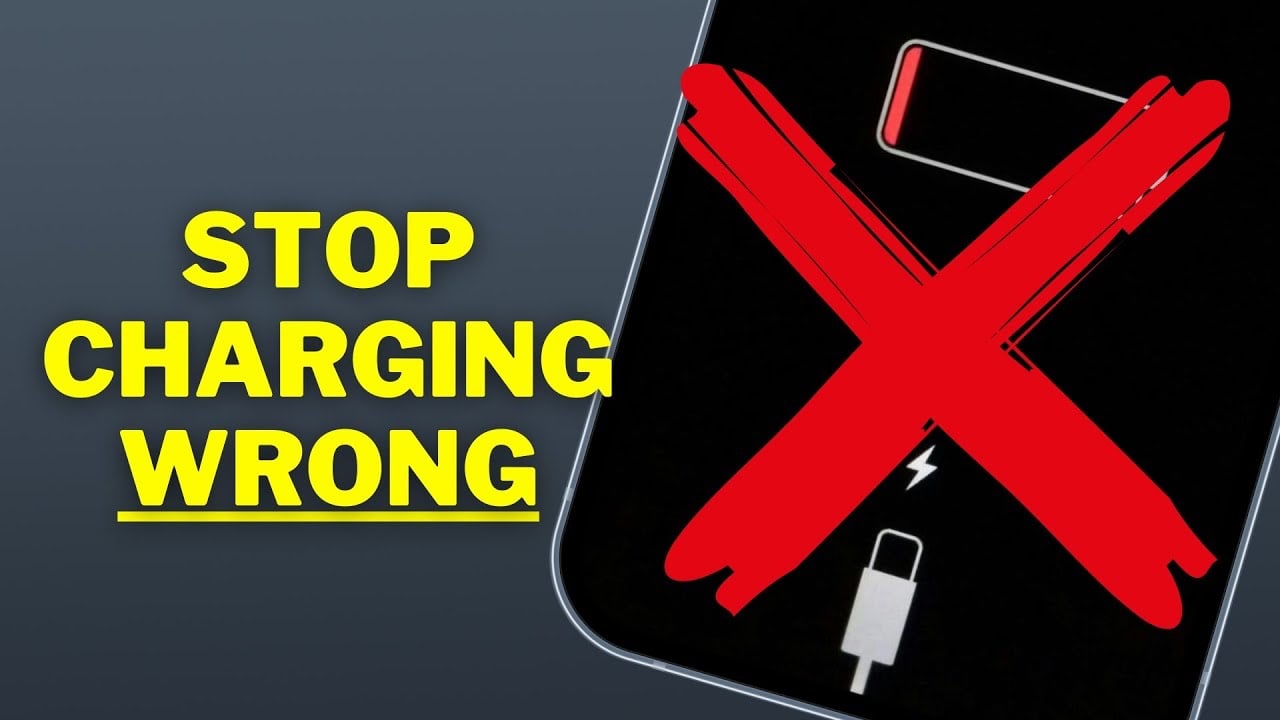
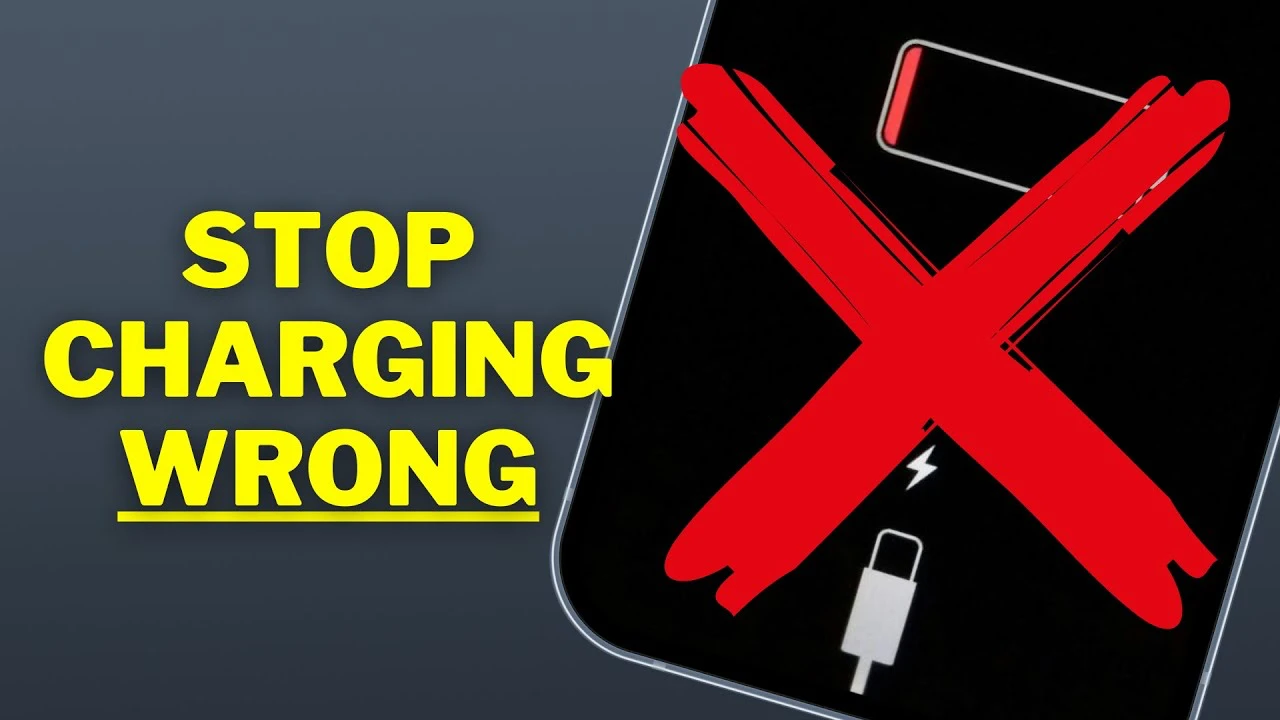
How to correctly charge your iPhone (Video)

charge your iPhone

Are you constantly fretting over the right way to charge your iPhone, haunted by the myriad myths surrounding battery health? You’re not alone. With so much conflicting advice floating around, it’s easy to feel overwhelmed. But fear not, for we’ve got the lowdown on how to keep your iPhone’s battery in tip-top shape, drawing on insights from Proper Honest Tech. Let’s dive into an awesome video and debunk some common misconceptions, ensuring you’re well-informed on the best charging practices for your device.

Overnight Charging: A Non-issue

You will be pleased to know that leaving your iPhone plugged in overnight is perfectly safe. Thanks to Apple’s smart charging technology, your iPhone knows to stop charging once it’s full. This means you can rest easy, knowing that the optimized charging feature is designed to prolong your battery’s health, not compromise it.

The Pillow Conundrum

Charging your phone under a pillow is a no-go, but not for the reasons you might think. The risk isn’t fire, but rather overheating, which can negatively affect your battery’s longevity. Always charge your device in a well-ventilated area to ensure heat can dissipate properly.

The Importance of Cable Quality

Not all charging cables are created equal. For the best performance and to avoid potential safety hazards, stick with MFi (Made for iPhone) certified cables. These cables meet Apple’s standards for quality and compatibility, ensuring your phone charges efficiently and safely.

Discharging Before Charging? Think Again

The belief that you need to fully discharge your iPhone’s battery before recharging it is outdated. Modern lithium-ion batteries are designed to be charged whenever convenient, without any negative impact on the battery’s lifespan. So, feel free to charge your phone whenever it suits you.

Airplane Mode and Charging Efficiency

If you’re looking to charge your phone a bit faster, switching to Airplane mode can help by reducing power usage. However, for the quickest charge, turning your phone off is the most effective method, as it eliminates all power usage.

Busting the Battery Memory Myth

Forget what you’ve heard about battery memory. Modern iPhone batteries don’t suffer from this issue. Battery health is more about chemical aging, which naturally occurs over time, rather than charging habits.

Low Power Mode: A Temporary Fix

Using Low Power Mode constantly is unnecessary and restricts your iPhone’s functionality. It’s intended to extend your battery life in a pinch, not as a permanent solution. Utilize it wisely to get through those moments when you’re running low on juice.

Closing Apps to Save Battery: A Misconception

Contrary to popular belief, frequently closing apps doesn’t save battery life and can actually use more power. iPhones are adept at managing apps in the background, optimizing energy conservation without the need for micromanagement.

Using Your Phone While Charging

Worried about using your iPhone while it’s charging? There’s no need. It’s perfectly safe, although it may charge slightly slower due to the power being used by the phone.

Fast Charging and Battery Health

Fast charging is designed with your battery’s health in mind. Apple’s technology manages the charging speed to minimize stress on the battery, promoting longevity.

Apple’s design philosophy ensures that you can use your iPhone as you see fit, with advanced technology taking care of the battery’s health. By understanding and adopting these best charging practices, you can enjoy your device to the fullest, without undue worry about its battery life.

Armed with this knowledge, you can now charge your iPhone the right way, keeping it powered up and ready to go without compromising its battery health. Remember, technology is here to serve you, and by following these guidelines, you ensure that your iPhone serves you well for years to come.

Source & Image Credit: Proper Honest Tech

Filed Under: Apple, Apple iPhone, Guides


Latest timeswonderful Deals

Disclosure: Some of our articles include affiliate links. If you buy something through one of these links, timeswonderful may earn an affiliate commission. Learn about our Disclosure Policy.
Categories
News

How to fix the “Your PC Did Not Start Correctly” error message

PC Did Not Start Correctly

Encountering an error message stating “Your PC Did Not Start Correctly” can be a harrowing experience for any computer user. This error typically occurs on computers running the Windows operating system and can be triggered by a range of issues from hardware failures, and system file corruption, to problematic software or drivers. The message is often accompanied by the Windows Automatic Repair screen, offering options to troubleshoot and fix the issue. This article provides a step-by-step guide to resolving this error, ensuring a swift return to a functioning system.

Understanding the Error

Before diving into solutions, it’s vital to comprehend the root causes of the “Your PC Did Not Start Correctly” error. The error typically manifests due to:

  • Corrupted system files.
  • Incomplete or damaged software installations or updates.
  • Malfunctioning or outdated drivers.
  • Conflicts arising from third-party software.
  • Hardware failures, such as a bad hard drive or memory issues.

Step-by-Step Troubleshooting

Addressing this error involves a systematic approach, starting from simple solutions to more complex ones.

  1. Restart Your PC Begin with the most straightforward step: restart your computer. Occasionally, a temporary glitch can cause the error, and a simple reboot might resolve the issue.
  2. Use Advanced Repair Options If a restart doesn’t work, Windows offers advanced options through the Automatic Repair screen:
    • Startup Repair: This is a Windows utility that can fix certain system problems that might prevent Windows from starting.
    • System Restore: If you have system restore points set up, you can try to revert your system to a previous state where everything worked correctly.
  3. Boot into Safe Mode Booting into Safe Mode loads Windows with a minimal set of drivers and services. If the error doesn’t occur in Safe Mode, it’s likely due to a software or driver issue.
  4. Check Disk Utility Run the Check Disk utility (chkdsk) to find and fix problems with your hard disk, as corrupted sectors can cause startup issues.
  5. System File Checker Utilize the System File Checker (sfc /scannow) to repair missing or corrupted system files.
  6. DISM Tool Deployment Image Service and Management Tool (DISM) can restore the health of your system image, which can subsequently aid in fixing the startup error.
  7. Uninstall Recent Updates If the error started appearing after a recent Windows update, you might need to uninstall the update from Safe Mode.
  8. Update Drivers Outdated or corrupt drivers can cause startup problems. Update drivers through Safe Mode or use a reliable third-party tool.
  9. Uninstall New Software If you’ve recently installed new software, it might be conflicting with your system. Uninstall these from Safe Mode.
  10. Restore Registry Backups The Windows Registry can be restored to a previous state using backup files if the current Registry has been corrupted.
  11. Check Hardware Components Hardware issues, especially with your hard drive or RAM, can cause startup errors. Run diagnostic tools to check the health of your hardware.
  12. Reset Your PC If none of the above steps work, consider resetting your PC. This can be done without losing personal files, but you’ll need to reinstall software.
  13. Clean Installation of Windows As a last resort, a clean installation of Windows can resolve the issue, but this will erase all data on the system drive.

Preventive Measures

Once resolved, take preventive measures to avoid future occurrences:

  • Regularly update Windows and drivers.
  • Install reliable antivirus software to prevent malware infections.
  • Create regular system restore points.
  • Backup important data consistently.

Summary

Addressing the “Your PC Did Not Start Correctly” error requires a composed and methodical approach, but it is entirely manageable with the right steps and a bit of perseverance. This error message, while intimidating at first glance, typically does not necessitate immediate professional intervention. With careful attention to the detailed guidance provided in the steps above, users are equipped to methodically assess the problem, identify its origins, and apply targeted solutions to rectify the issue.

After successfully navigating through these troubleshooting steps, it’s advisable for users to proactively adopt practices that could deter the recurrence of such disruptive errors. Regular system maintenance is not just recommended; it’s a critical component of ensuring the longevity and robust performance of your PC. This encompasses timely updates to your operating system and drivers, rigorous security measures including the use of reputable antivirus software, and the habitual creation of restore points to capture your system in a state of optimal functioning.

Moreover, the value of consistent data backups cannot be overstated. By frequently securing your data, you create a safety net that protects against not only startup errors but a multitude of potential system failures. With these proactive strategies in place, users can enjoy a more seamless computing experience, minimizing the inconvenience caused by system errors and maintaining their PC in a state of good health for the long term.

Here are some more helpful articles for PC and Windows users:

Image Credit: Windows

Filed Under: Guides


Latest timeswonderful Deals

Disclosure: Some of our articles include affiliate links. If you buy something through one of these links, timeswonderful may earn an affiliate commission. Learn about our Disclosure Policy.