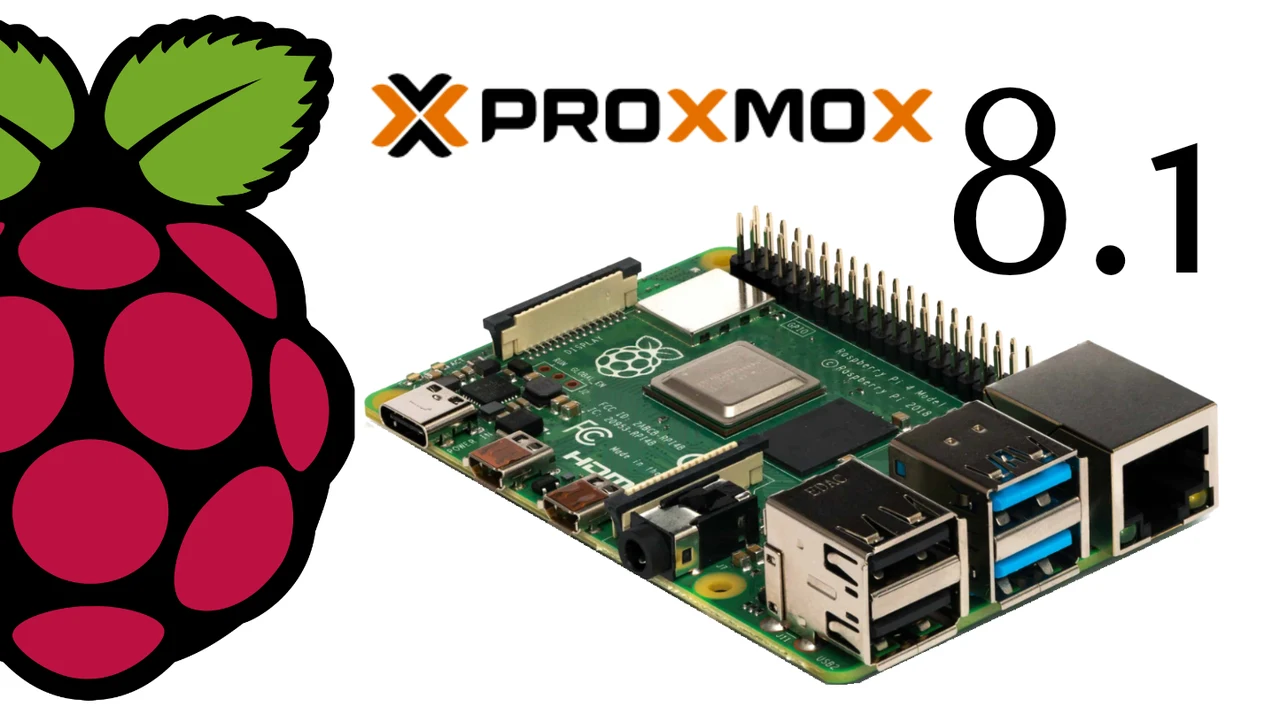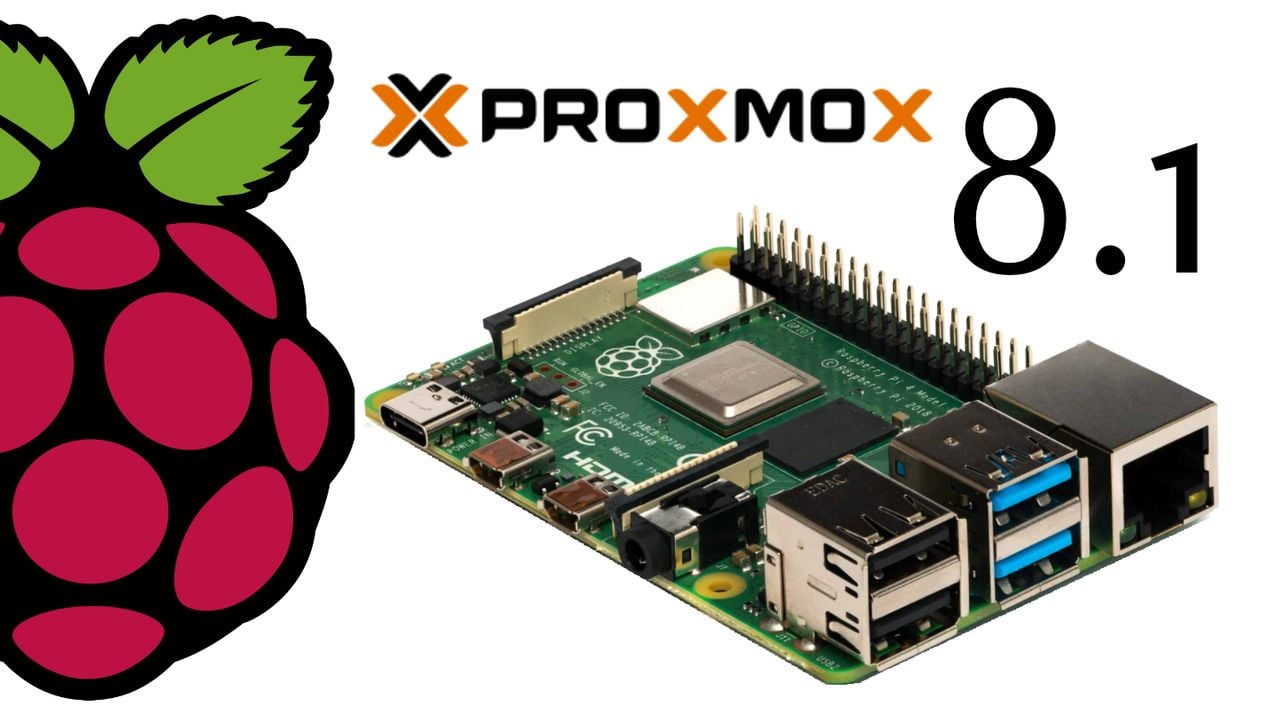
If you’re looking to transform your Raspberry Pi 5 into a powerful server virtualization platform, installing Proxmox 8.1 is a smart move. Proxmox is a powerful and efficient open-source software to simplify your server management. This guide will walk you through the process, ensuring you can set up your Pi mini PC to handle a variety of advanced computing tasks.
The Raspberry Pi 5 has the capability to boot from UEFI, which opens up a new realm of possibilities, including running Proxmox 8.1. This is a significant step forward for those who want to push the boundaries of what the Raspberry Pi can do.
Before you begin the installation, you’ll need to gather some hardware: a Raspberry Pi 5, an SSD for Proxmox, a USB drive for the Proxmox ISO, an SD card for UEFI boot files, and an external Ethernet adapter since the built-in Ethernet won’t work with UEFI boot. On the software side, you’ll need the Proxmox 8.1 ISO file and flashing software like Etcher to write the ISO to your USB drive.
Raspberry Pi 5 Proxmox 8.1 install
The installation process starts with preparing the SD card with the UEFI boot image, which will allow your Raspberry Pi to boot from the SSD. Next, use Etcher to flash the Proxmox ISO onto the USB drive. Once that’s done, connect the SSD, USB drive, and external Ethernet adapter to your Raspberry Pi. Power up your Raspberry Pi and follow the on-screen instructions to install Proxmox onto the SSD.
After Proxmox is installed, you’ll need to manually download container images and install additional packages to support various virtual environments. This step is crucial to ensure that your server can handle a wide range of tasks.
It’s not uncommon to run into some issues during installation. For instance, the Proxmox status menu might not display correctly on the Raspberry Pi 5, or you might need to tweak network settings to get the external Ethernet adapter working properly.
Proxmox Virtual Environment 8.1 features :
- Support for Secure Boot: This version is now compatible with Secure Boot. This security feature is designed to protect the boot process of a computer by ensuring that only software with a valid digital signature launches on a machine. Proxmox VE now includes a signed shim bootloader trusted by most hardware’s UEFI implementations. This allows installing Proxmox VE in environments with Secure Boot active.
- Software-defined Network (SDN): With this version the core Software-defined Network (SDN) packages are installed by default. The SDN technology in Proxmox VE enables to create virtual zones and networks (VNets), which enables users to effectively manage and control complex networking configurations and multitenancy setups directly from the web interface at the datacenter level. Use cases for SDN range from an isolated private network on each individual node to complex overlay networks across multiple Proxmox VE clusters on different locations. The benefits result in a more responsive and adaptable network infrastructure that can scale according to business needs.
- New Flexible Notification System: This release introduces a new framework that uses a matcher-based approach to route notifications. It lets users designate different target types as recipients of notifications. Alongside the current local Postfix MTA, supported targets include Gotify servers or SMTP servers that require SMTP authentication. Notification matchers determine which targets will get notifications for particular events based on predetermined rules. The new notification system now enables greater flexibility, allowing for more granular definitions of when, where, and how notifications are sent.
- Support for Ceph Reef and Ceph Quincy: Proxmox Virtual Environment 8.1 adds support for Ceph Reef 18.2.0 and continues to support Ceph Quincy 17.2.7. The preferred Ceph version can be selected during the installation process. Ceph Reef brings better defaults improving performance and increased reading speed.
By following this guide, you’ll be able to set up a robust server virtualization management platform on your Raspberry Pi 5, ready to take on a diverse set of tasks. This installation will significantly enhance the capabilities of your device, making it a valuable tool for your computing needs.
Filed Under: Hardware, Top News
Latest timeswonderful Deals
Disclosure: Some of our articles include affiliate links. If you buy something through one of these links, timeswonderful may earn an affiliate commission. Learn about our Disclosure Policy.

