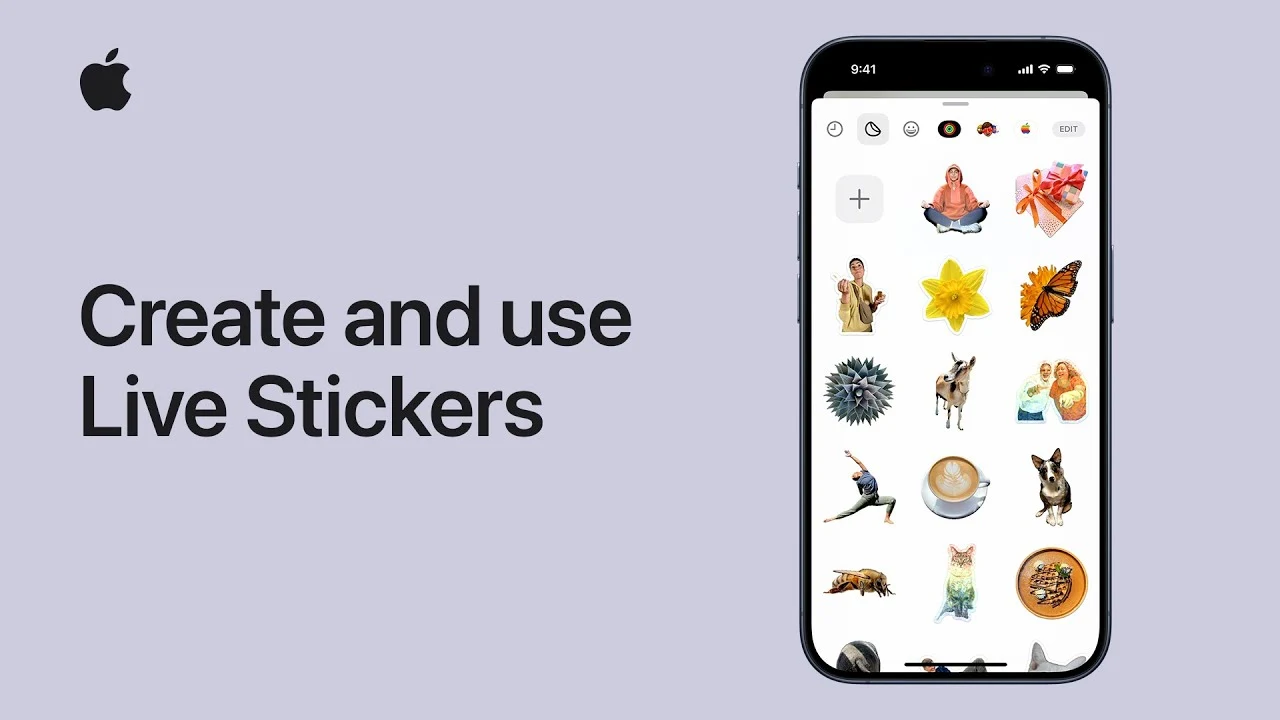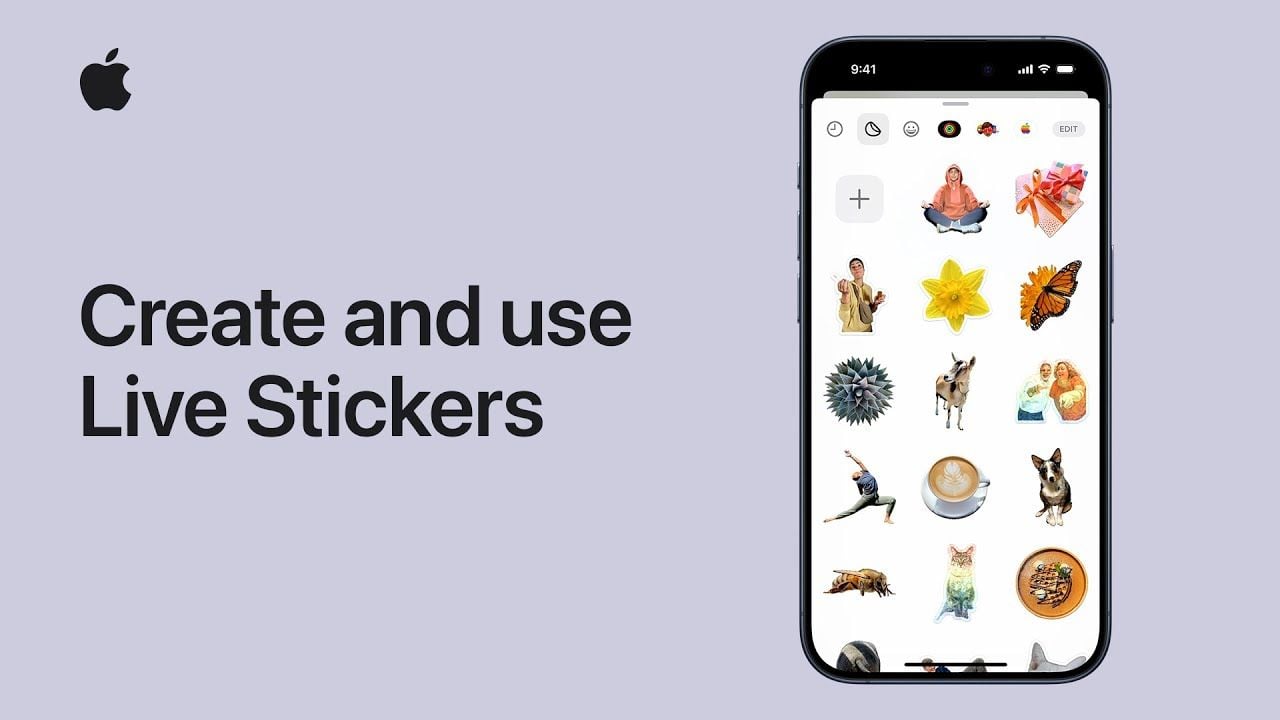
This quick guide will show you how easy it is to create your very own custom stickers to use on your iOS devices. Making and using personalized Live Stickers on iOS 17 is a fun and interactive way to add a personal touch to your conversations, notes, documents, and more. The new iOS 17 feature allows users to create their own stickers using their personal photos, including live photos for animated stickers. Follow the instructions below to start creating and using Live Stickers on your iPhone and iOS devices. You can also applying effects to them, and sync them across all your Apple devices using iCloud.
Whether you’re sending a message to a friend or family member, or annotating a document for work, Live Stickers can add a layer of personality and fun. The process is simple: select a photo you’d like to turn into a sticker, touch and hold the subject until an outline appears, then tap ‘add sticker’. This will add the created sticker to your sticker drawer, and an options menu will automatically appear.
How to make an iPhone Live Sticker
Converting photos you have taken on your iOS devices into stickers as a simple process just follow the instructions below :
- Simply open the Photos app on your iPhone
- Open the photo into full screen by tapping it
- Press and hold the item within the photograph you would like to create a sticker from, then tap Add Sticker.
- The newly made sticker will now appear in your stickers menu
- You can access the sticker from your iPhone onscreen keyboard or Markup tools
- To further customize your sticker select the Add Effect menu option to apply a visual effect such as Outline, Comic, or Puffy
- When you have finished simply close the stickers menu
How to use iPhone Live Stickers and make your own custom ones
Other articles you may find of interest on the subject of the latest Apple iPhone and iOS 17 :
Convert a Live Photo into an animated sticker
You can also create animated stickers from your iPhone Live Photo. Follow the instructions below to learn how to do so :
- Once again open the Photos app on your iPhone
- select a Live Photo and open it in full screen
- Touch and hold the subject of the Live Photo, slide it up until you see a duplicate image of the subject, then release it
- Select the Add Sticker option
- Once created the animated sticker will appear in your stickers menu, which you can access when you use the iPhone onscreen keyboard or Markup tools
- Select the Add Effect option to apply a visual effect such as Outline, Comic, or Puffy
- Once you have finished creating your animated iPhone sticker close the stickers menu
Creating a sticker from a photo is an easy and creative way to personalize your communications. You can use any photo from your library, including live photos for animated stickers. To create a sticker, simply tap on a photo, touch and hold the subject until an outline appears, then tap ‘add sticker’. This will create a live sticker from your selected photo, ready to be used in your messages, notes, documents, and more.
Once you’ve created a sticker, you can further personalize it by applying effects. These effects, such as shiny or puffy, will animate when your iPhone or iPad is rotated, adding an extra layer of interactivity to your stickers. The options menu that appears after creating a sticker will allow you to add these effects.
Creating an animated sticker from a Live Photo is another exciting feature of iOS 17. By selecting a Live Photo as your subject, you can create a sticker that moves, adding a dynamic element to your messages. Just like creating a sticker from a regular photo, touch and hold the subject of the Live Photo until an outline appears, then tap ‘add sticker’.
iOS 17 Live Stickers
One of the most convenient features of the Live Stickers on iOS 17 is their synchronization across devices via iCloud. Once you’ve created a sticker, it will be available across all devices signed into the same Apple ID, thanks to iCloud synchronization. This means you can create a sticker on your iPhone and use it on your iPad, or vice versa, without any extra steps.
Live Stickers can be used in various ways across supported apps and documents. In a conversation, tap the plus button to the left of the text field and choose from your list of stickers in the sticker drawer. You can create a new sticker or tap an existing one to add it to the text field. You can also touch and hold an existing sticker to peel it and then drag it to stick it anywhere on a message bubble. Additionally, Live Stickers can be used on photos, documents, and screenshots using markup, adding a personal touch to your files.
The Live Stickers feature on iOS 17 is a fun, creative, and interactive way to personalize your communications. Whether you’re creating a sticker from a photo, applying effects, or using a live photo for an animated sticker, the process is simple and intuitive. Plus, with iCloud synchronization, your stickers are always available across your devices. So why not add a bit of personality to your messages, notes, documents, and more with personalized Live Stickers?
If you would like to learn more about how to use your iPhone, iPad or MacBook. It might be worth your while jumping over to the official Apple support website. Or booking an appointment with an Apple Genius Bar representative who will be up to provide further advice in person.
Filed Under: Apple, Guides, Top News
Latest timeswonderful Deals
Disclosure: Some of our articles include affiliate links. If you buy something through one of these links, timeswonderful may earn an affiliate commission. Learn about our Disclosure Policy.

