
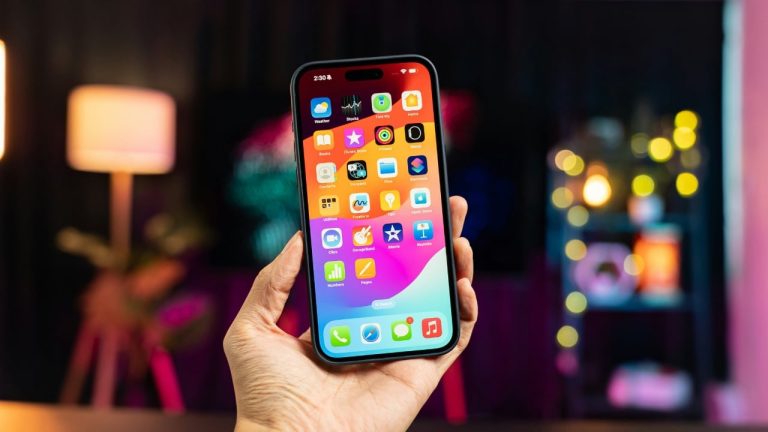
Apple’s new iOS 17.3 comes with a really useful security feature, Stolen Device Protection. Are you concerned about the safety of your iPhone, especially in unfamiliar locations? You’ll be pleased to know that with iOS 17.3, Apple introduces Stolen Device Protection, a feature designed to elevate the security of your device beyond the existing measures. Let’s delve into how this feature works and guide you through setting it up.
Understanding Stolen Device Protection
This new layer of security activates when your iPhone is in unfamiliar surroundings. The idea is simple yet effective: when away from places like your home or office, your iPhone requires additional steps for certain functions. This is to prevent unauthorized access, especially in scenarios where your device might be stolen.
Biometric Authentication with Face ID or Touch ID
For certain actions like accessing saved passwords or credit cards, your iPhone will now solely rely on biometric authentication – Face ID or Touch ID. This means there’s no passcode fallback, ensuring that only you can access these sensitive features.
Security Delay for Critical Changes
Thinking about changing your Apple ID password or making similar significant adjustments? In unfamiliar locations, you’ll encounter a one-hour security delay. After this, a second biometric authentication is needed. This delay is strategically designed to stall unauthorized changes, giving you time to secure your Apple account and mark your iPhone as lost.
Setting Up Stolen Device Protection
Here’s the good part – setting up this feature on your iPhone. Before proceeding, ensure you’re using iOS 17.3 and have two-factor authentication for your Apple ID.
- Initiate the Setup: Go to Settings and select Face ID & Passcode.
- Enter Passcode: Input your device passcode to proceed.
- Activate the Feature: Here, you can toggle Stolen Device Protection on or off.
Remember, if you’re trying to disable this feature outside a familiar location, you’ll be subjected to a security delay.
How It Shields Your Device and Accounts
When Stolen Device Protection is active, actions like using saved passwords, making payments, or modifying critical settings demand biometric authentication. This includes:
- Accessing Keychain-saved passwords and passkeys
- Using saved payment methods in Safari
- Turning off Lost Mode or erasing your device
- Applying for a new Apple Card
- Managing Apple Cash and Savings in Wallet
- Setting up a new device using your iPhone
Interestingly, you can still use your passcode for Apple Pay purchases.
Security Delays for Critical Settings
For changing crucial settings like your Apple ID password or updating security settings, there’s a waiting period. After this, a second authentication is required, enhancing the security framework of your device.
Final Thoughts
Stolen Device Protection in iOS 17.3 is a testament to Apple’s commitment to user security. It’s a proactive approach to safeguarding your device and personal data, especially in today’s world where digital security is paramount. By following these simple steps, you can ensure that your iPhone remains secure, even in the most unfamiliar of places.
Apple’s new iOS 17.3 software is now available to download, you can install the update by going to Settings > General > Software update > Down and Install, once you have updated it is a good idea to turn on the new Stolen Device Protection Feature, you can find out more details about it over at Apple’s website.
Image Credit: Amanz
Filed Under: Apple, Apple iPhone, Guides
Latest timeswonderful Deals
Disclosure: Some of our articles include affiliate links. If you buy something through one of these links, timeswonderful may earn an affiliate commission. Learn about our Disclosure Policy.