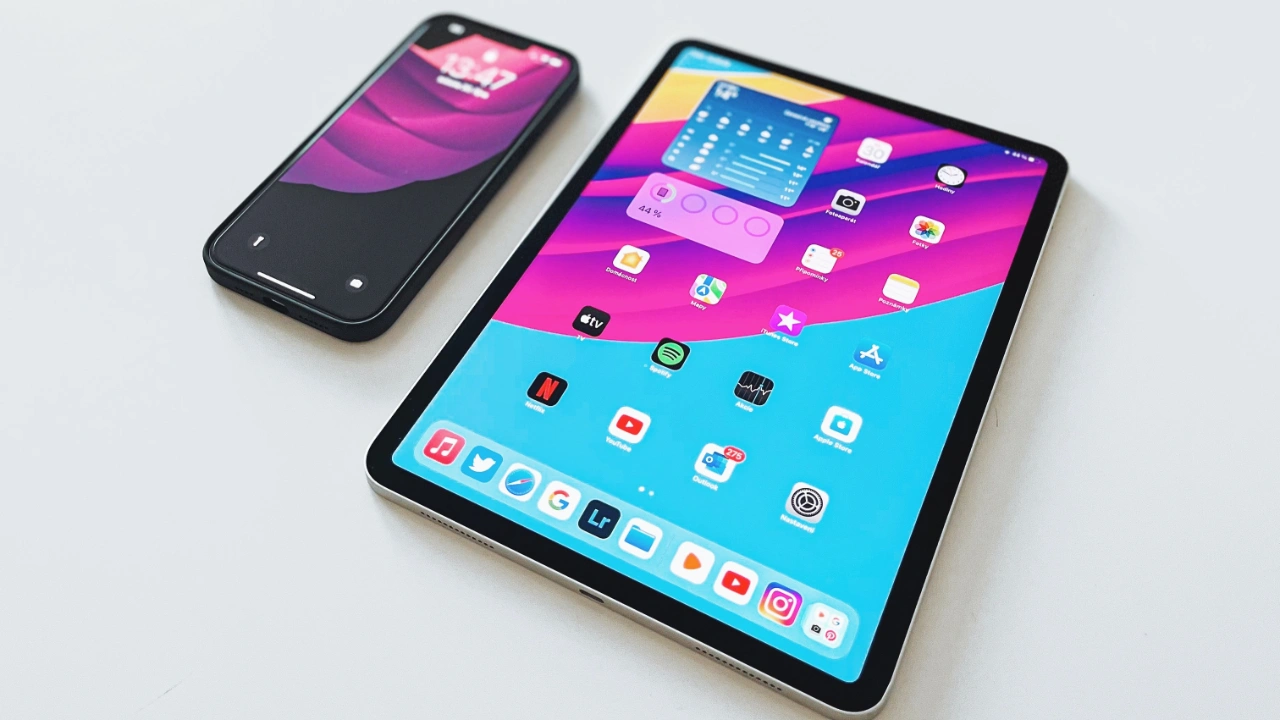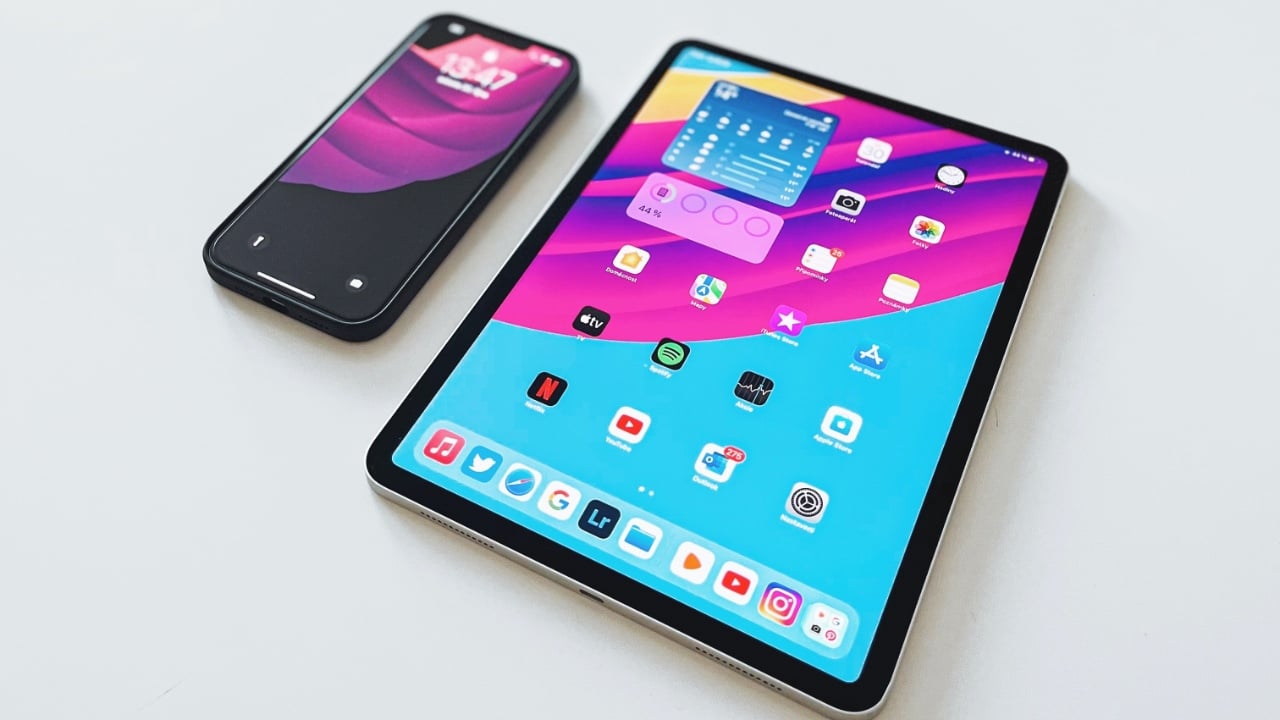
Creating an Apple ID is an essential step for new users of Apple devices, including iPhones and iPads. This ID serves as a unique identifier, seamlessly linking all your Apple devices and services. It’s not just about gaining access to basic features like the App Store, iCloud, iMessage, and FaceTime; an Apple ID also unlocks a world of possibilities within the Apple ecosystem. With this ID, you can download and install apps from the App Store, expanding the functionality of your device.
Additionally, it enables you to rent movies from iTunes, offering a wide range of entertainment options at your fingertips. Importantly, an Apple ID is crucial for utilizing iCloud services, which provide secure and convenient storage for your data, photos, and backups, ensuring that your important information is accessible and protected across all your devices. Thus, setting up an Apple ID is a fundamental step in integrating into the Apple ecosystem and making the most out of your new device.
Prerequisites
Before you begin creating your Apple ID, ensure you have the following items ready:
- An internet connection: You’ll need an internet connection to create your Apple ID and access Apple services. Make sure you’re connected to a stable Wi-Fi network or have a strong mobile data connection.
- A valid email address: You’ll need a valid email address to create your Apple ID. Choose an email address that you’ll use regularly and can access easily.
- A strong password: A strong password is essential for protecting your Apple ID and the data associated with it. Choose a password that is at least 8 characters long and includes a mix of uppercase and lowercase letters, numbers, and special symbols.
- Payment information (optional): If you plan to purchase apps or content from the App Store, you’ll need to enter your payment information. This can include your credit card number, debit card number, or PayPal account information.
Creating an Apple ID Using Your iPhone or iPad
There are two primary methods to create an Apple ID using your iPhone or iPad: through the App Store or through the Settings app.
Option 1: Through the App Store
- Launch the App Store on your iPhone or iPad.
- Tap on your profile icon in the top right corner of the screen.
- Scroll down and tap on the “Create New Apple ID” option.
- Follow the on-screen instructions to enter your personal information, including your email address, password, name, and payment details (if applicable).
- Verify your email address by clicking on the link sent to your inbox.
- Complete the rest of the setup process, including accepting the terms and conditions.
Option 2: Through the Settings App
- Open the Settings app on your iPhone or iPad.
- Tap on your name or profile picture.
- Scroll down and tap on the “iCloud” tab.
- Tap on the “Create New Apple ID” option.
- Follow the on-screen instructions to enter your personal information, including your email address, password, name, and payment details (if applicable).
- Verify your email address by clicking on the link sent to your inbox.
- Complete the rest of the setup process, including accepting the terms and conditions.
Important Considerations
When creating your Apple ID, it’s important to follow these key guidelines to ensure your account’s security and protect your personal information:
- Choose a strong password: Avoid using easily guessable passwords or those associated with your personal information. A strong password should be at least 8 characters long and include a combination of uppercase and lowercase letters, numbers, and symbols.
- Secure your email address: Use a secure and private email address for your Apple ID. Avoid using personal or work email addresses that may be compromised.
- Protect your Apple ID credentials: Keep your Apple ID password confidential and don’t share it with anyone. Enable two-factor authentication to add an extra layer of security to your account.
- Beware of scams: Be cautious of phishing emails or websites that attempt to collect your Apple ID credentials. Never provide your password or personal information to unsolicited requests.
Additional Tips
To further safeguard your Apple ID and the data associated with it, consider these additional tips:
- Manage your Apple ID: Regularly check your Apple ID settings and ensure that payment information, security options, and family sharing settings are accurate and up-to-date.
- Enable Find My iPhone or iPad: This feature allows you to locate and remotely erase your device if it’s lost or stolen.
- Keep your device software up to date: Apple regularly releases software updates to address security vulnerabilities and enhance device performance.
Summary
An Apple ID serves as the gateway to a world of possibilities on your iPhone or iPad. It’s the single identifier that connects you to Apple’s vast ecosystem of services and features, allowing you to browse and download apps from the App Store, store your photos, music, and documents in iCloud, and enjoy seamless connectivity with other Apple devices.
By following the steps outlined in this guide, you can effortlessly create and manage your Apple ID, ensuring that you fully embrace the benefits of this versatile digital tool. Remember, security is paramount when it comes to your Apple ID, so always prioritize safeguarding your information to maintain the integrity of your account. You can find out more details about creating your Apple ID for a new iPhone or iPad over at Apple’s website.
Image Credit: David Švihovec
Filed Under: Apple, Apple iPad, Apple iPhone, Guides
Latest timeswonderful Deals
Disclosure: Some of our articles include affiliate links. If you buy something through one of these links, timeswonderful may earn an affiliate commission. Learn about our Disclosure Policy.

