

[ad_1]
Last updated: March 14th, 2024 at 04:46 UTC+01:00
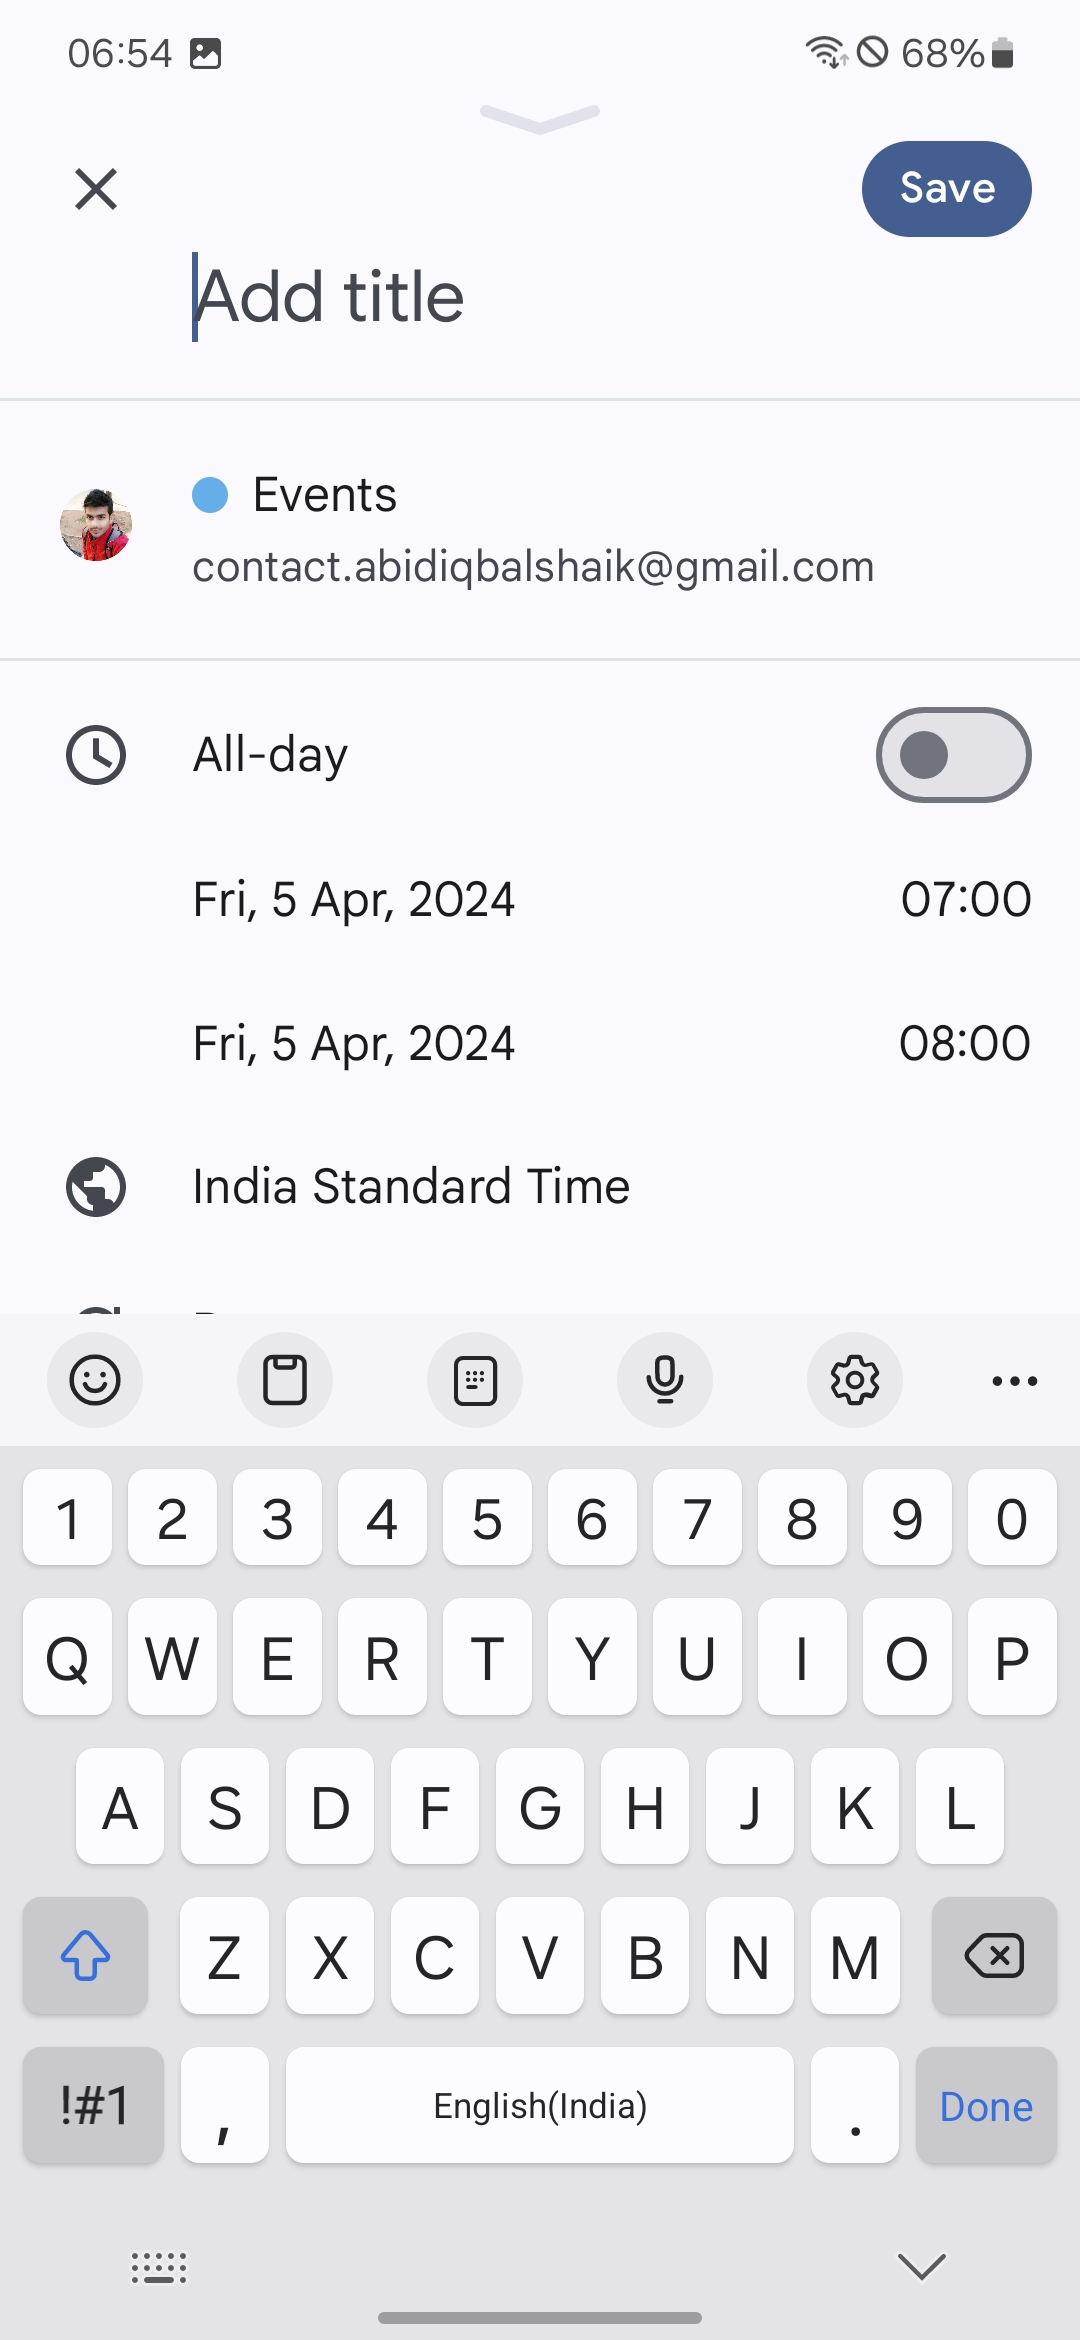
Google Calendar for Android lets you create an event, task, or an out-of-office entry (the last option is available only for Google Workspace accounts).
To add those entries, you have to click on the plus icon at the bottom-right corner of the screen, which will bring up three options: Event, Task, and Out of office. Once you select the type of entry, the app will bring up a fullscreen user interface with options for that type of entry. If you need to change the type of entry, you have to go back and re-select what you want. Well, Google is now making a slight change to this arrangement.
According to 9To5Google, the latest version of Google Calendar for Android (version 2024.07.0-608174112) shows you the Event, Task, and Out of office options on the fullscreen UI as well. So, now you can select the type of entry you want by clicking on the plus icon and also from the fullscreen UI. With the new layout, you can change the type of entry after selecting one by clicking on the plus icon, saving you from going back.
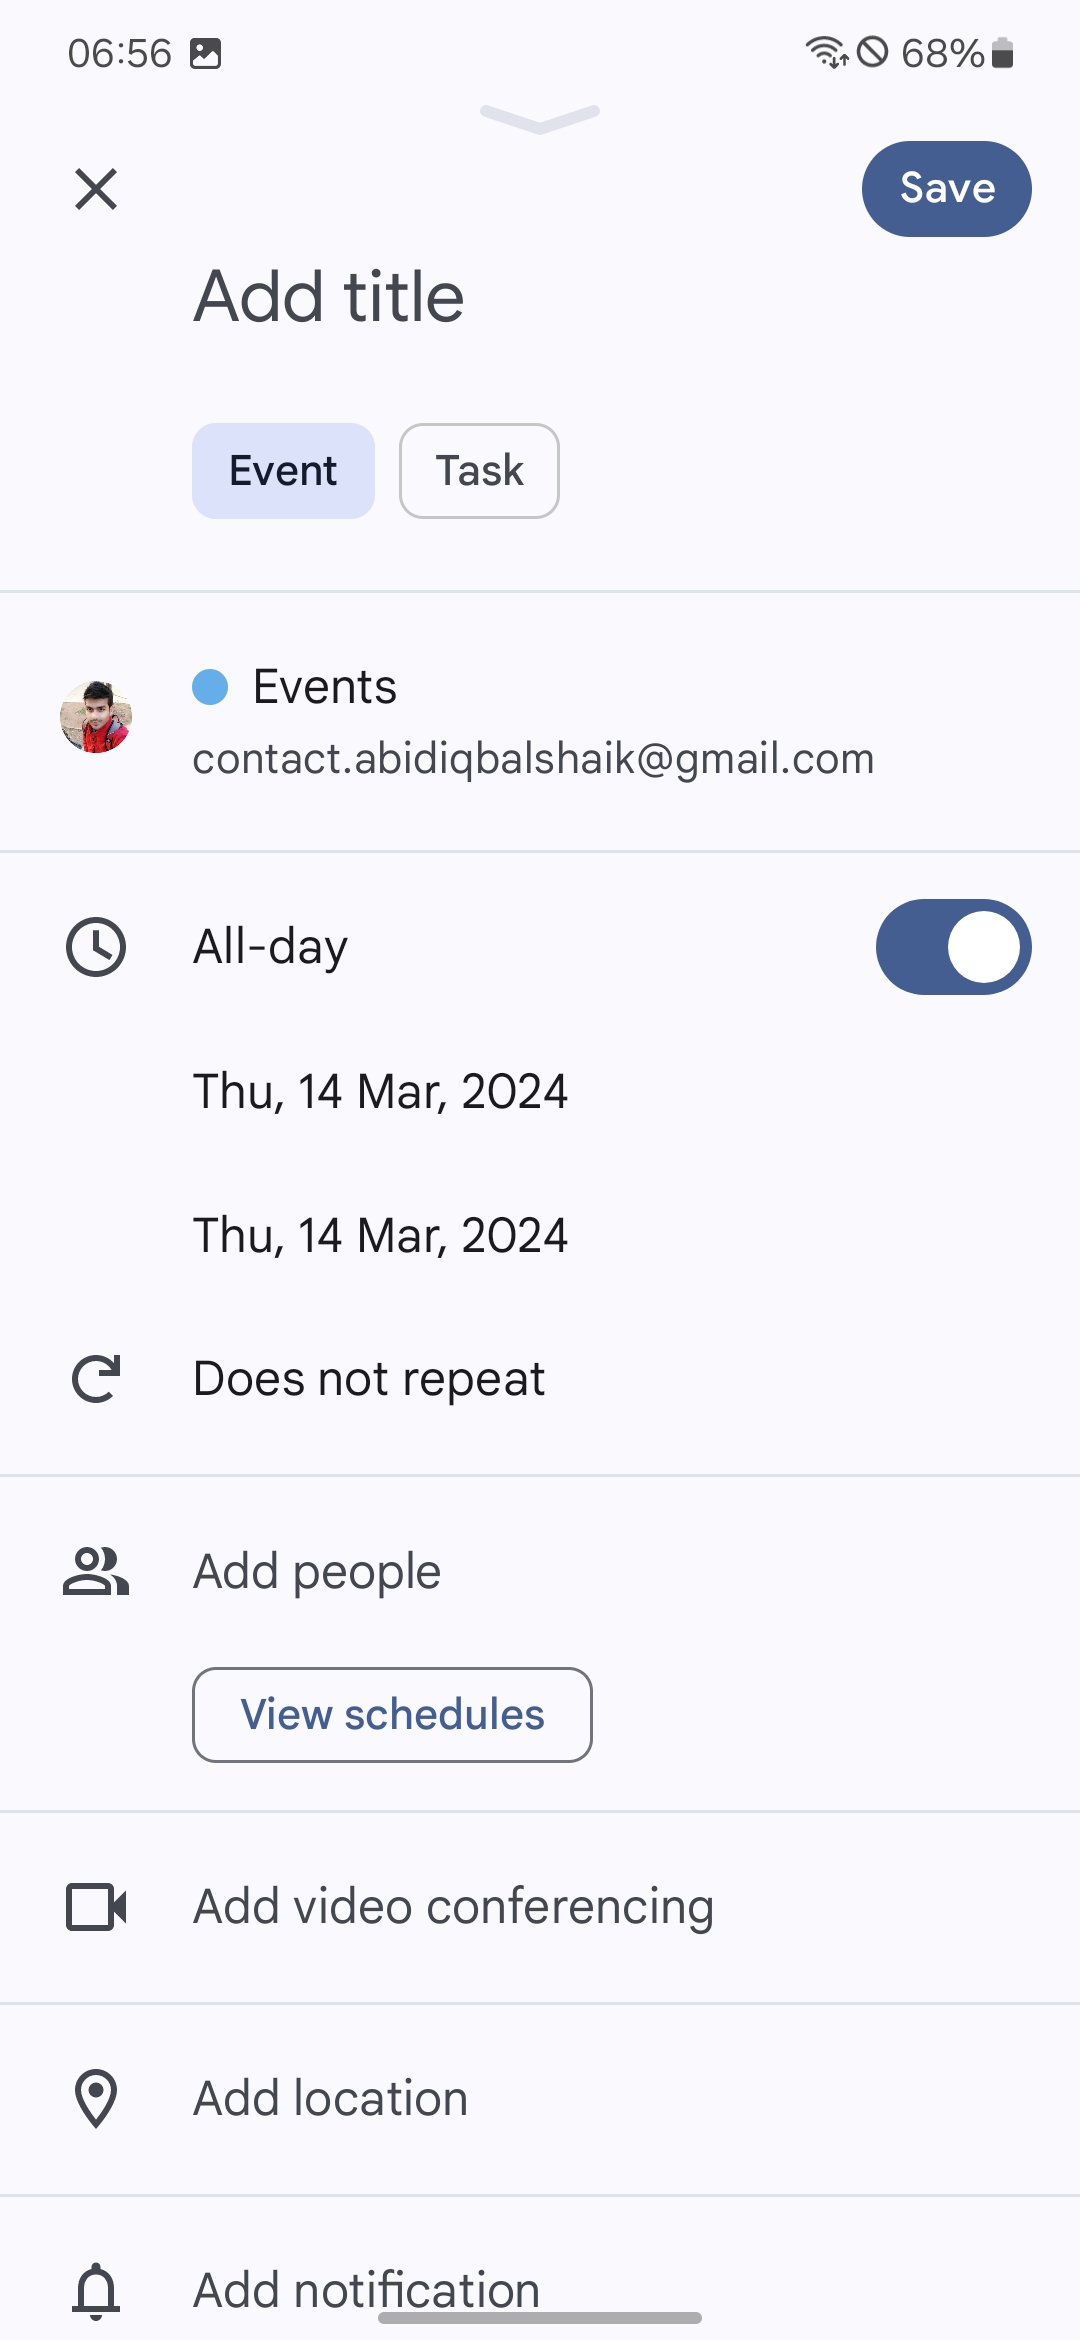
Now that the fullscreen UI shows you the Event, Task, and Out of office options, there’s no point for Google Calendar to show those options when you click on the plus icon, and the publication suggests that Google might remove the pop-up menu showing those option when you click on the plus icon. Google had started testing this feature in the beta version of the app in December 2023. Now it has made its way to the stable version of the app.
As pointed out by 9To5Google, the latest feature is a server-side change, and to activate the new layout, you have to open the app, force stop it from the device settings, and then open the app again. We tried this method and it worked for us on our Galaxy S23. Google might be rolling out the new feature in phases. So, not everyone might be able to see it even if they have the latest version of the app or follow the method to activate it.
[ad_2]
Source Article Link