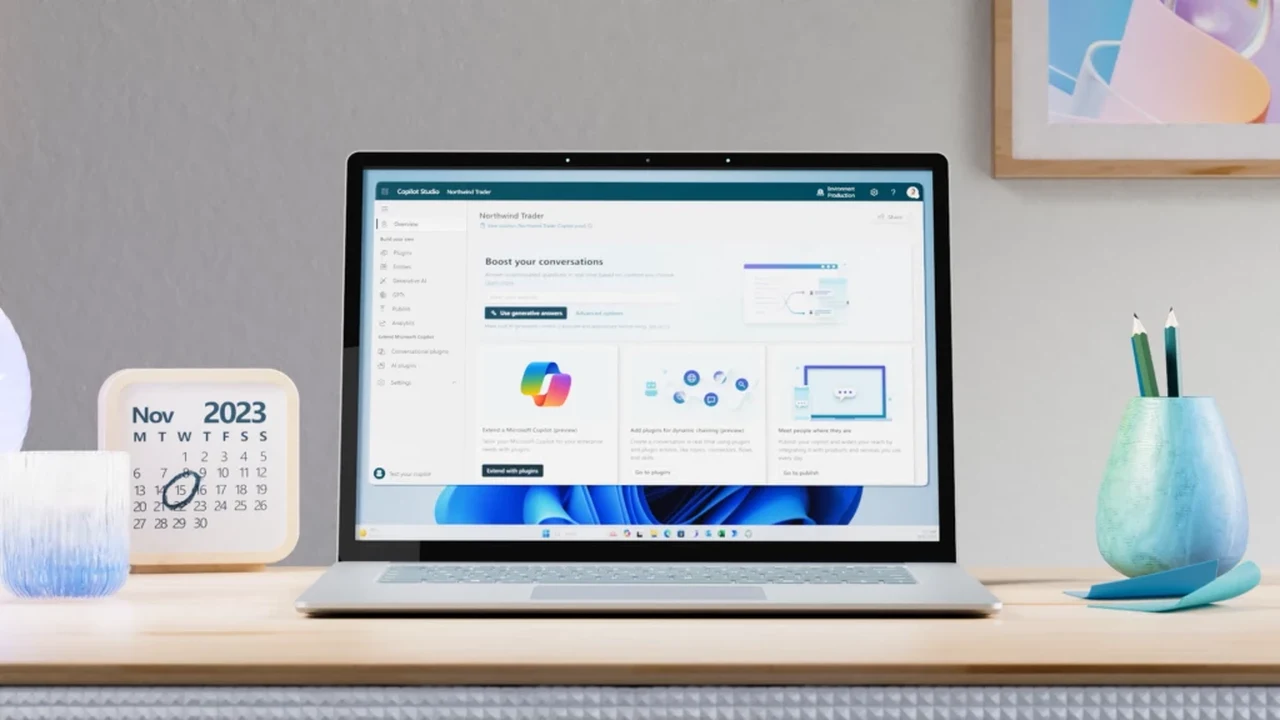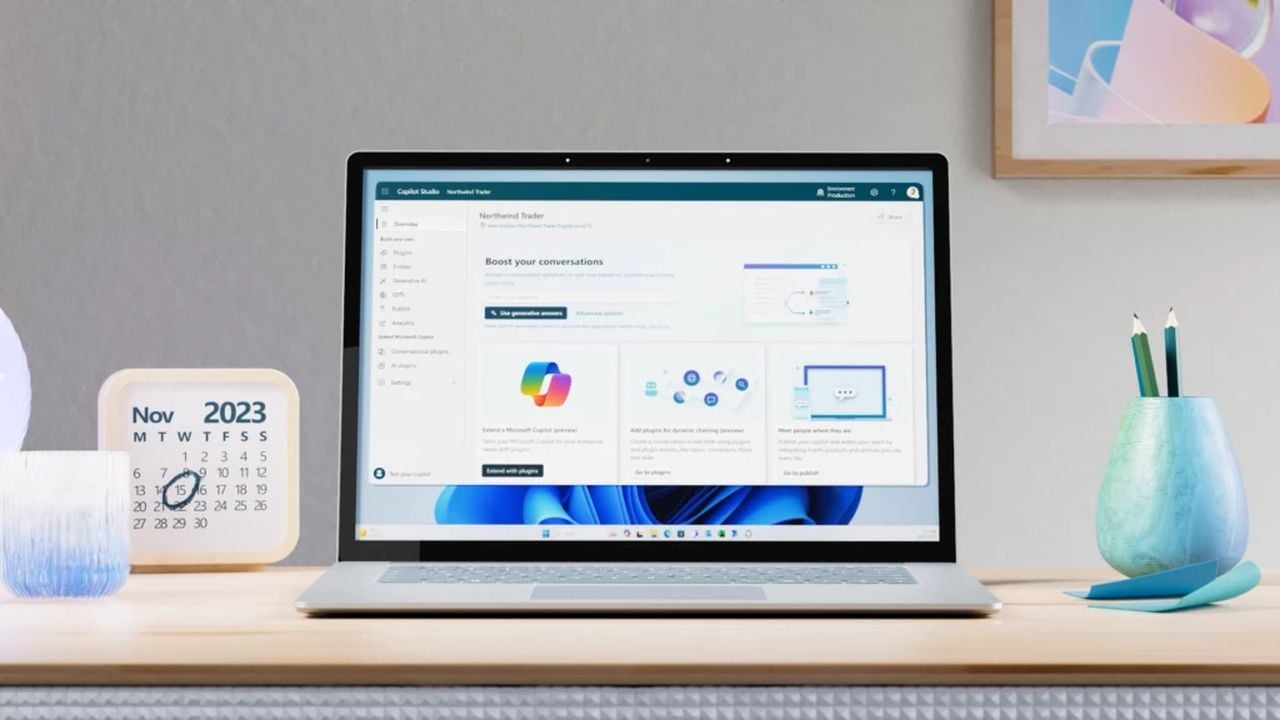
In today’s fast-paced digital world, businesses and individuals are constantly on the lookout for tools that can help them manage their online content more effectively. Microsoft has introduced a new solution that is capturing the attention of many AI enthusiasts and developers in the form of Microsoft Copilot Studio. This platform allows users to create a personalized digital assistant, in a similar way to how OpenAI made available custom GPTs. You can create, manage, and publish GPTs from Copilot Studio to Copilot for Microsoft 365, although the services currently in a public preview development stage.
Studio acts as a Copilot to navigate the complexities of digital content management enabling you to create complex AI models extremely easily. What makes this tool particularly appealing is its availability to those who do not have a full Microsoft 365 Copilot license, offering advanced support at a more accessible price point. This beginners guide will help you get started in just a few minutes creating your own custom Copilot AI models. Microsoft has made bot building even simpler with AI-powered capabilities in Microsoft Copilot Studio. Whether you’re new to conversational AI or a seasoned developer.
Creating custom GPTs using Copilot Studio
To get started once you our at the Microsoft Copilot Studio webpage in the navigation menu, select Copilots to open the Copilots page and view all the bots you have access to in this environment. On the page, you can see metadata about these copilots, including the owner, when it was last published, and when it was last modified.
Here are some other articles you may find of interest on the subject of Copilot Studio in creating GPT style custom AI models :
The process of setting up your own digital Copilot is straightforward. You begin by giving it a unique name, which it will use to interact with users. Next, you select the language that your Copilot will operate in, ensuring it communicates effectively with your target audience. The setup is completed by linking your Copilot to various content sources, such as internal documents and external websites. This step is crucial as it arms your assistant with a vast array of knowledge to draw upon when assisting users.
Once your Copilot is connected to these information sources, you can test its capabilities within the Copilot Studio to fine-tune its responses. This ensures that your digital assistant is not only functional but also provides high-quality support to your users. As your business evolves, Copilot Studio offers the flexibility to add new content sources and modify moderation settings, keeping your Copilot up-to-date with your company’s changing needs.
When you’re ready to launch, your Copilot can be integrated into various platforms, such as Microsoft Teams, your company’s website, or even mobile apps. It uses sophisticated language models to offer assistance that is both natural and contextually relevant, making interactions seamless for users.
Security is a top concern for any business, and Microsoft Copilot Studio does not take this lightly. Your data is securely stored in Dataverse, ensuring that your information is protected within your own tenant. This focus on security allows you to use the Copilot with confidence, knowing that your data is safe.
Microsoft Copilot Studio is more than just a tool; it’s a strategic asset that brings advanced artificial intelligence and workflow management to a wider audience. Its ease of setup, ability to scale, and secure framework enable businesses to enhance their digital interactions and efficiency. With Microsoft Copilot Studio, companies are well-equipped to face the future of digital content management.
Filed Under: Guides, Top News
Latest timeswonderful Deals
Disclosure: Some of our articles include affiliate links. If you buy something through one of these links, timeswonderful may earn an affiliate commission. Learn about our Disclosure Policy.

