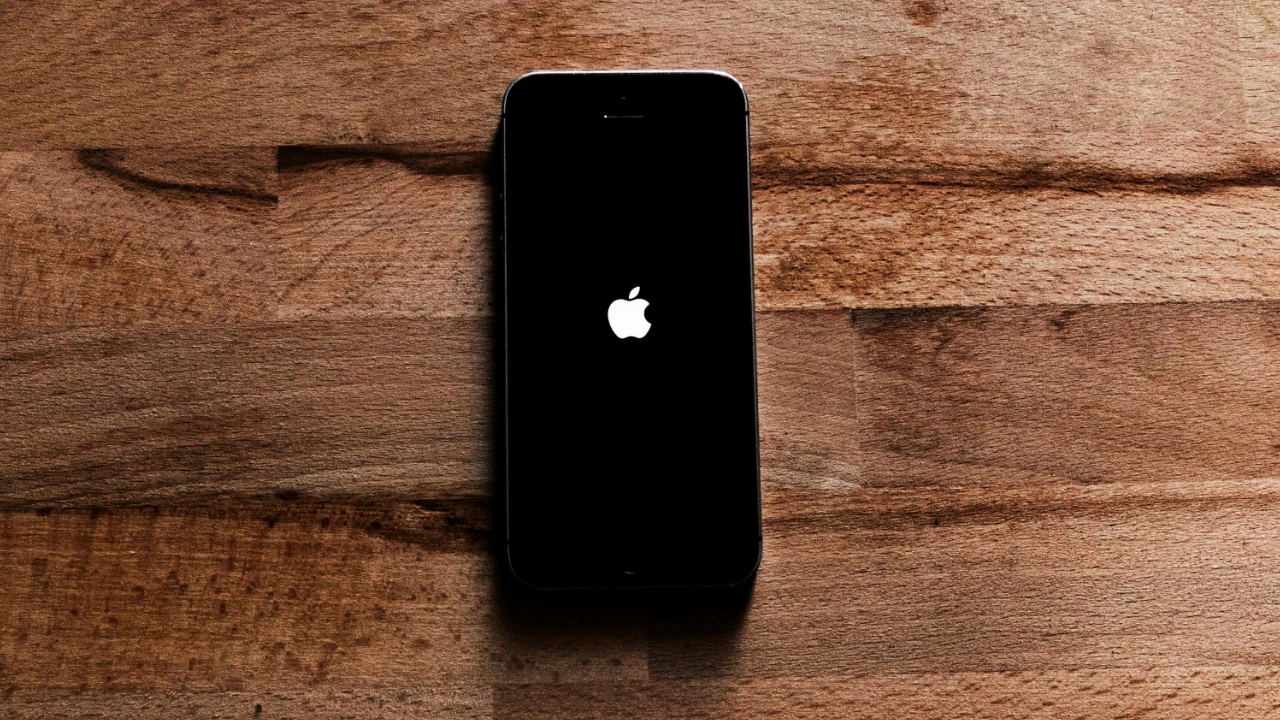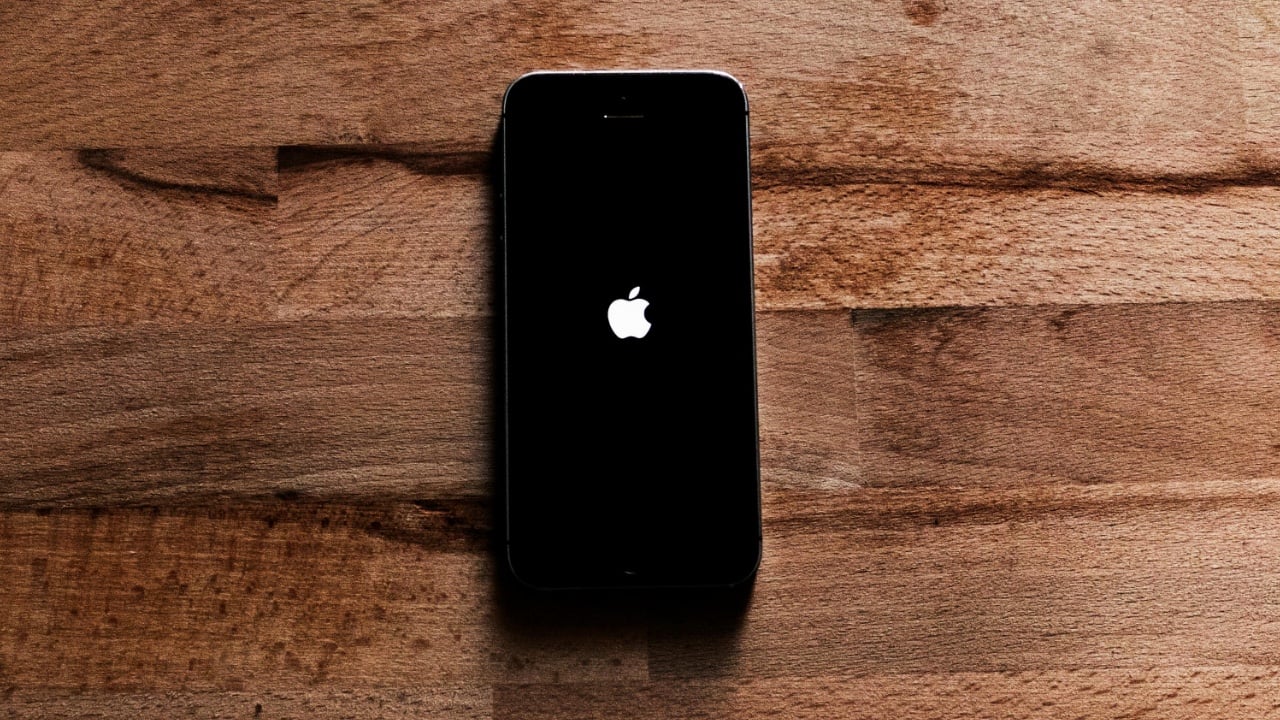
This guide is designed to show you how to fix the black screen problem on your iPhone, we cover a wide range of things that you can try to resolve the issue on the iPhone. Apple’s iPhones are marvels of modern technology, but even they aren’t immune to occasional glitches.
One of the most disconcerting issues iPhone users can encounter is the dreaded “black screen of death.” Your phone might seem completely unresponsive, leaving you in the dark about the cause and potential solutions. Fear not! This guide will delve into the common reasons behind an unresponsive iPhone screen and provide a well-structured troubleshooting process to help you revive your device.
Understanding the Causes
A black screen on your iPhone could be triggered by various factors.
Here are the most common culprits:
- Software Crash: Apps can occasionally malfunction and freeze, causing your iPhone’s display to go black.
- A system-wide software glitch can also be at play.
- Hardware Issues: Problems with your phone’s display, battery, or other hardware components can lead to a black screen.
- Drained Battery: A completely drained battery can mimic a black screen with no visible signs of life.
- Outdated iOS: An outdated operating system can have bugs and compatibility issues that might cause unexpected behavior, sometimes including display problems.
Troubleshooting Steps: Your Path to Reviving Your iPhone
Let’s walk through a step-by-step approach designed to address all the potential causes systematically:
1. Basic Check: Is Your iPhone On?
- Double-check by pressing the Side (or Power) button. Do you hear any sounds or feel vibrations? If you do, your screen is likely the issue. If there are no signs of life, proceed to the next step.
2. Charge Your Battery
- A fully drained battery is a basic but surprisingly common reason behind an unresponsive iPhone.
- Connect your iPhone to a charger and let it charge for at least 30 minutes.
3. Force Restart
- A force restart is often the cure for minor software glitches.
The instructions vary depending on your iPhone model:
- iPhone 8 and later (including SE 2nd and 3rd gen): Press and quickly release the Volume Up button, then the Volume Down button. Finally, press and hold the Side button until the Apple logo appears.
- iPhone 7 and 7 Plus: Press and hold both the Volume Down and the Side button until you see the Apple logo.
- iPhone 6s and earlier: Press and hold the Home and the Side (or Top) button until the Apple logo appears.
4. Connect to a Computer and Check for Updates
- Connect your iPhone to a computer and open iTunes (on older macOS versions) or Finder (on newer macOS versions).
- Check if it recognizes your iPhone.
- If it’s recognized, see if there are any available iOS updates. If there are, update your iPhone.
5. Recovery Mode
If the previous steps haven’t resolved the issue, try putting your iPhone into Recovery Mode and restoring it. Keep in mind this will erase all data on your iPhone:
- Connect your device to a computer and open iTunes/Finder.
- While connected, follow the force restart steps for your iPhone model. However, don’t release the buttons when the Apple logo appears. Keep holding them until you see the Recovery Mode screen.
- You will be presented with the option to “Update” or “Restore.” Try “Update” first, as this preserves your data. If that fails, you may need to choose “Restore.”
6. DFU Mode (Last Resort)
- Device Firmware Update (DFU) Mode is a deeper restore option than Recovery Mode.
Use this with caution as it also erases your data. Instructions are complex and model-specific.
- You can find detailed DFU instructions on Apple’s support website.
Seeking Professional Help
If none of the above solutions work, it’s likely a hardware issue. At this point, your best bet is to contact Apple Support or visit an authorized Apple Service Provider to diagnose and potentially repair your iPhone.
Prevention is Better than Cure
Here are a few things you can do to reduce the chances of the black screen issue reoccurring:
- Keep iOS Updated: Update your iPhone regularly to benefit from bug fixes and security patches.
- Manage Apps: Avoid running too many apps simultaneously, and force close those you’re not using to free up system resources.
- Protective Gear: Use a sturdy phone case and screen protector to safeguard your iPhone from physical damage.
Summary
While the iPhone black screen can be a frustrating experience, the provided troubleshooting steps offer a high likelihood of resolving the issue for most users. Remember, starting with the basic solutions and progressing through the more advanced ones is the most effective strategy. If all else fails, don’t hesitate to seek assistance from Apple Support or an authorized service provider.
Image Credit: Mateusz Dach
Filed Under: Apple, Apple iPhone, Guides
Latest timeswonderful Deals
Disclosure: Some of our articles include affiliate links. If you buy something through one of these links, timeswonderful may earn an affiliate commission. Learn about our Disclosure Policy.

