
If you have an idea for online service or application that can help improve productivity, workflows or relieve stress from mundane tasks but don’t have the coding skills needed to create it from scratch. You might be interested to know that there are plenty of no-code platforms that allow you to build applications without the need to learn any coding languages or programming each line of code yourself.
No-code solutions like BuildShip are making a big impact in the tech world. They allow you to build applications without diving deep into the complex realm of programming languages. With BuildShip, focusing on the design and structure of your app’s backend becomes a breeze, which is a big deal considering how crucial a scalable application framework is in today’s digital age.
Features of BuildShip include :
- AI-Powered Backend Builder: Simplifies backend development with AI.
- Integrates with Multiple Tools: Compatible with various APIs, AI models, and databases.
- AI-Generated Custom Nodes: Generates workflow nodes using AI.
- Supports Various Development Stacks: Useful for no-code and frontend frameworks.
- Code Customization: Accessible and tweakable JavaScript/TypeScript code.
- Google Cloud Platform Based: Leverages GCP for serverless development.
- Integrates Leading AI Models: Connects with AI services like ChatGPT, Stable Diffusion.
- Developer Tools: Includes code editor, debugger, and sandbox environment.
- Serverless and Scalable: Reduces costs and scales with traffic.
- GDPR Compliant and Secure: Offers regional data deployment and secure data management.
- Rich Template Library: Features pre-built integrations and templates.
- Built by Experienced Team: Behind Rowy.io, backed by AIGrant.org and notable tech executives.
Understanding the difference between the frontend and backend of an app is key in modern app development. This separation, often called decoupling, is what lets your app grow without getting bogged down. The frontend is what users see and interact with, while the backend is where all the magic happens—the core logic of your app. This separation is vital for a smooth and efficient app structure.
Combining BuildShip and FlutterFlow to build no-code apps
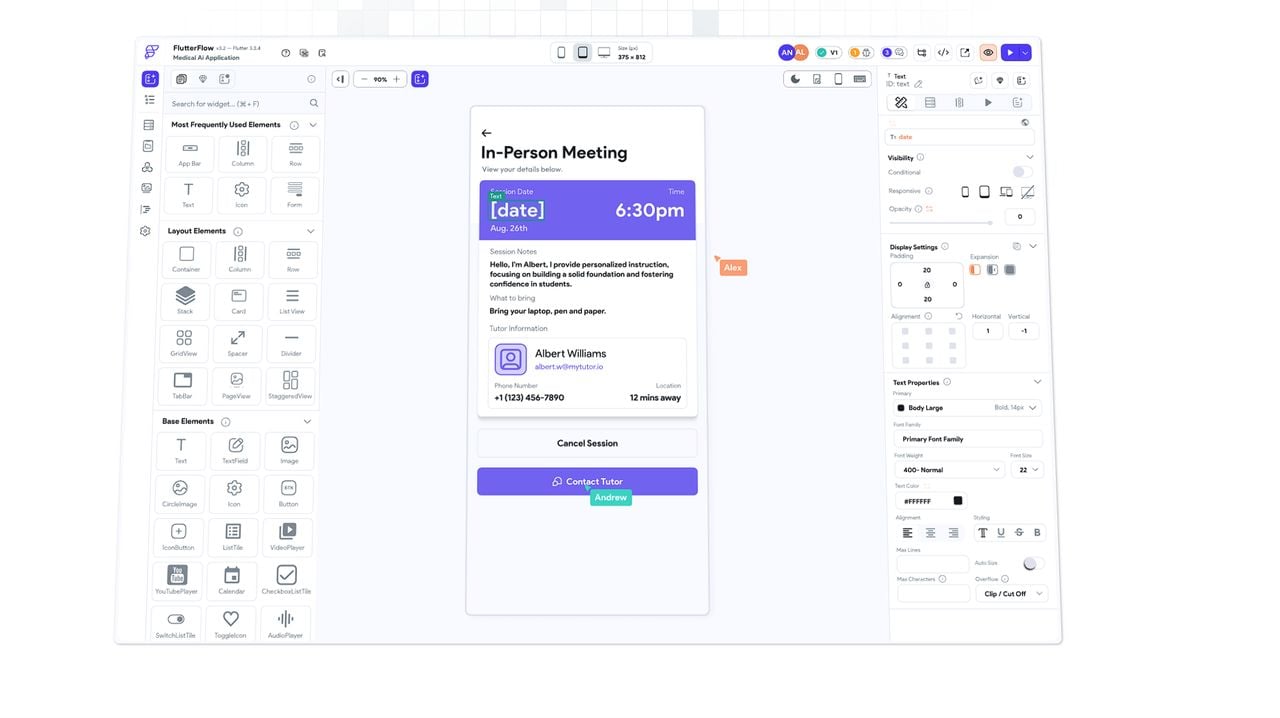
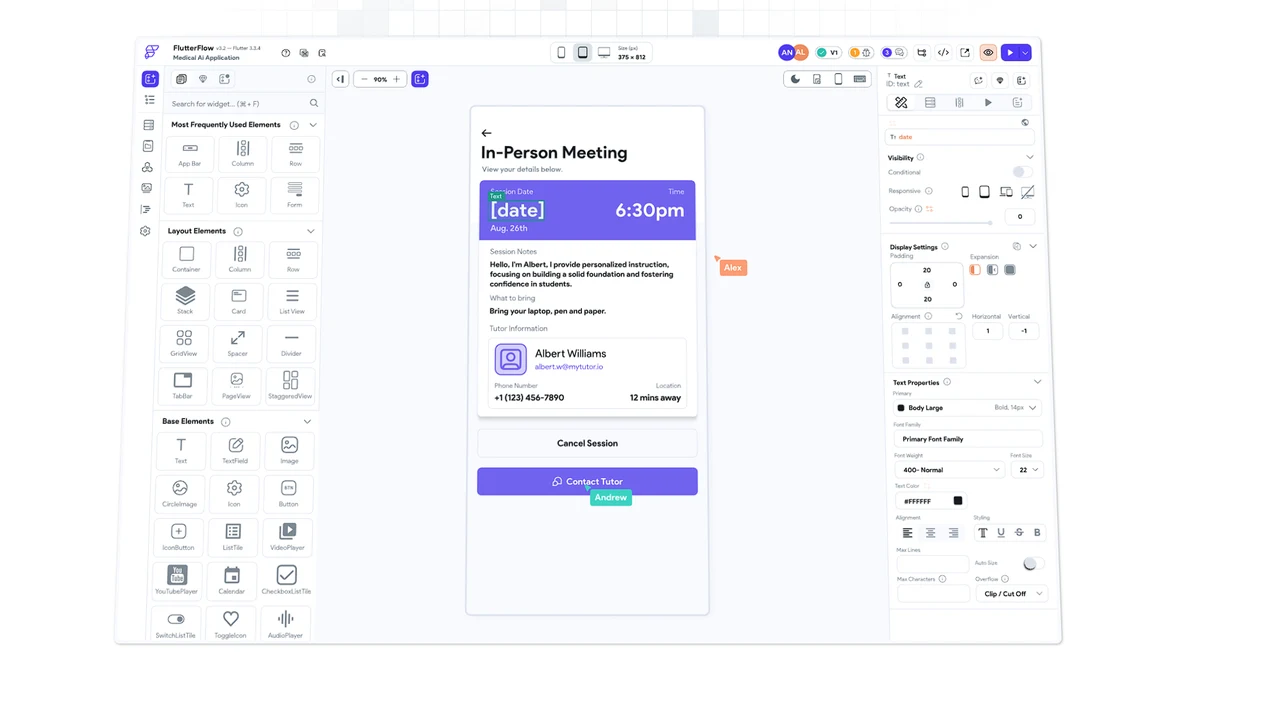
FlutterFlow is a platform that lets you create beautiful, modern apps with Flutter in one click. You can choose to use the visual builder, the code generator, or both, and export your code or deploy to the app stores or web.
Here are some other articles you may find of interest on the subject of building apps using no code platforms :
Introduction to BuildShip

When the frontend and backend are too intertwined, it can lead to problems, especially as your app grows. This is known as direct integration, and while it might work for small projects, it can become a bottleneck for larger ones. BuildShip champions a decoupled approach, where backend services handle the heavy lifting, keeping your app quick and responsive.
Creating a decoupled app means using backend services to manage complex tasks and maintain security. BuildShip shines here, providing a powerful platform for building these services. This not only makes your app easier to maintain and scale but also ensures it’s secure, giving you peace of mind about your product.
BuildShip is a godsend for those with big ideas but little technical know-how. It’s not just about making the development process easier; it’s about empowering innovators. With BuildShip, you can turn your visions into reality, creating backend infrastructures that are both powerful and secure, without needing to be a coding expert.
For those interested in learning app development, BuildShip is a treasure trove. It demystifies the process of creating a backend, making it more accessible to a broader audience. Incorporating BuildShip into educational programs can help students learn to build applications in a practical and user-friendly way.
BuildShip is changing the game in app development. Its no-code backend platform is more than just convenient; it’s a powerful tool that enables the creation of scalable, secure, and efficient applications. Whether you’re a seasoned developer or just starting out, BuildShip offers a fresh path to achieving your digital dreams. Its an innovative tool designed for rapid backend development, leveraging the power of AI for low-code visual backend building. Here’s a summary of its key features and benefits:
Summary of BuildShip:
- AI-Powered Low-Code Platform: BuildShip simplifies backend development using AI, allowing users to quickly create scalable APIs, scheduled tasks, cloud functions, and more.
- Extensive Integration Capabilities: It supports integration with various tools and platforms like Stripe, Sendgrid, WhatsApp, and databases like Firebase and Postgres.
- Custom Workflow Nodes: Users can generate custom workflow nodes using AI if a needed integration is missing.
- Flexibility with AI Models: BuildShip allows connecting with AI models from OpenAI, Replicate, and others, enhancing workflow capabilities.
- Support for Various Development Environments: It supports backend workflow building for both no-code app builders (like FlutterFlow, Webflow, Framer) and frontend frameworks (like Next.js, React, Vue).
- Code Accessibility and Customization: Each node’s code is accessible and tweakable in JavaScript/TypeScript, offering a blend of no-code and low-code capabilities.
- Powered by Google Cloud Platform: It uses GCP for a scalable and serverless development experience, utilizing Cloud Run and supporting various backend triggers.
- Integration of Multimodal AI Models: The platform integrates with leading AI models and services like ChatGPT, Stable Diffusion, and DALL-E.
- Developer-Friendly Tools: BuildShip provides a powerful code editor, debugging tools, and a sandboxing environment.
- Cost-Effective and Scalable: As a serverless platform, it reduces infrastructure costs and scales according to traffic needs.
- GDPR Compliance and Security: Offers regional data deployment options for GDPR compliance and uses Google Cloud Secret Manager for data security.
- Template Availability: Hundreds of pre-built integrations and templates are available for quick project initiation.
Filed Under: Guides, Top News
Latest timeswonderful Deals
Disclosure: Some of our articles include affiliate links. If you buy something through one of these links, timeswonderful may earn an affiliate commission. Learn about our Disclosure Policy.
 Venturing into the realm of artificial intelligence can be a somewhat daunting yet thrilling experience, particularly when it involves the creation of a personalized AI assistants, that can help you manage your mundane daily tasks. OpenAI’s latest offerings provide a powerful platform that allows you to tailor an AI assistant to meet your specific needs. This guide will take you through the entire process using the OpenAI Assistant API and the online building platform that allows you to create amazing user interfaces FlutterFlow.