Categories
News

How to Set Up Voicemail on Your Android Phone

voicemail Android

This guide is designed to show you how to set up voicemail on your Android Phone. In today’s fast-paced world, staying connected is crucial. While we rely heavily on text messages and social media, voicemail remains an essential tool for capturing missed calls and important messages. If you’re an Android user, setting up voicemail is a simple process that takes just a few minutes. This guide will walk you through the steps involved in setting up and customizing your voicemail on your Android device.

Understanding Voicemail Basics

Voicemail is a service that allows callers to leave voice messages for you when you’re unable to answer your phone. These messages are stored on a server and can be accessed at your convenience. Most Android devices have voicemail pre-installed, but you may need to activate it before you can use it.

Activating Voicemail

Activating voicemail is typically a straightforward process that can be done through your phone’s settings or by contacting your carrier. The specific steps may vary depending on your carrier and device, but the general process is as follows:

  • Open the Phone app on your Android device.
  • Access the Settings menu.
  • Locate the Voicemail option.
  • Follow the prompts to activate voicemail.
  • Set a PIN to protect your voicemail messages.

Recording a Personalized Greeting

A personalized voicemail greeting is a great way to introduce yourself to callers and let them know how they can reach you. You can record a custom greeting or choose from a variety of pre-recorded options. To record a custom greeting, follow these steps:

  • Access your voicemail settings.
  • Select the option to record a greeting.
  • Press the Record button and speak your greeting.
  • Save your recording.

Customizing Voicemail Settings

In addition to recording a personalized greeting, you can customize your voicemail settings to suit your preferences. These settings may include:

  • Notification options: Choose how you want to be notified of new voicemail messages, such as through a pop-up notification, an email, or a text message.
  • Greeting options: Select the greeting you want to use, either your custom greeting or a pre-recorded option.
  • Message storage options: Choose how long you want to keep your voicemail messages stored.
  • Advanced settings: Access additional voicemail settings, such as the ability to forward voicemail messages to another number or to transcribe voicemail messages into text.

Accessing Voicemail Messages

  • To listen to your voicemail messages, follow these steps:
  • Open the Phone app on your Android device.
  • Tap and hold the 1 key.
  • Enter your voicemail PIN if prompted.
  • Follow the prompts to listen to your voicemail messages.

Troubleshooting Voicemail Issues

  • If you’re having trouble with your voicemail, there are a few things you can try:
  • Check your voicemail settings: Make sure your voicemail is activated and that you have a personalized greeting recorded.
  • Reset your voicemail PIN: If you’ve forgotten your voicemail PIN, you can usually reset it through your carrier’s website or by calling customer service.
  • Contact your carrier: If you’re still having problems, contact your carrier’s customer service for further assistance.

Additional Tips

Here are a few additional tips for using voicemail effectively:

  • Check your voicemail regularly: Make a habit of checking your voicemail regularly so you don’t miss important messages.
  • Keep your greeting concise and informative: Your greeting should be brief and provide callers with enough information to know how to reach you.
  • Be mindful of your voicemail storage: If you’re running low on voicemail storage, consider deleting old messages or increasing your storage limit.

Summary

Voicemail remains a valuable tool for staying connected, even in today’s digital age. By setting up and customizing your voicemail on your Android device, you can ensure that you never miss an important message. With its ease of use and flexible settings, voicemail continues to be a reliable and convenient way to communicate with others. We hope that you find this guide on how to set up voicemail on your Android Phone helpful, if you have any tips or questions, please leave a comment below and let us know.

Image Credit: Thai Nguyen

Filed Under: Android News, Guides, Mobile Phone News


Latest timeswonderful Deals

Disclosure: Some of our articles include affiliate links. If you buy something through one of these links, timeswonderful may earn an affiliate commission. Learn about our Disclosure Policy.

Categories
News

How to Unblock Numbers on Your Android Phone

unblock numbers Android

We previously showed you how to unblock numbers on the iPhone, in this guide we will look at how to unblock numbers on your Android Phone. In the age of constant communication, having the ability to block unwanted calls and messages is a valuable feature offered by Android smartphones. However, situations may arise where you need to unblock a number that you previously blocked. This guide will provide a detailed and informative walkthrough on how to unblock a number on your Android phone.

Understanding Blocking on Android

Blocking a number on an Android phone essentially prevents that number from contacting you via calls or text messages. When a blocked number tries to call you, they will hear a busy signal or a message stating that the call cannot be completed. Similarly, when they send you a text message, they will receive a delivery failure notification.

Reasons for Unblocking a Number

There are various reasons why you might need to unblock a number. Perhaps you accidentally blocked a number you intended to keep in contact with, or maybe you want to re-establish communication with a previously blocked contact. Whatever the reason, unblocking a number is a straightforward process.

Unblocking a Number: Step-by-Step Guide

The specific steps involved in unblocking a number may vary slightly depending on the Android version and phone manufacturer. However, the general process remains consistent across different devices. Here’s a step-by-step guide:

  1. Open the Phone app: Locate and tap on the Phone app icon on your Android phone’s home screen or app drawer.
  2. Access Settings: Tap on the three vertical dots icon in the top right corner of the Phone app. This will open a menu with various options.
  3. Select “Settings“: From the menu that appears, choose the “Settings” option. This will open the Phone app’s settings menu.
  4. Navigate to “Blocked Numbers“: Scroll down the Settings menu and find the “Blocked Numbers” option. Tap on it to access the list of blocked contacts.
  5. Locate the Number to Unblock: Scroll through the list of blocked numbers until you find the one you want to unblock.
  6. Initiate Unblocking: Tap on the “X” icon next to the number you want to unblock. A pop-up will appear asking you to confirm your action.
  7. Confirm Unblocking: Tap on the “Unblock” button in the pop-up window to proceed with unblocking the number.
  8. Verify Unblocking: Once the confirmation is complete, the number will be removed from the blocked list. You should now be able to receive calls and text messages from that number.

Additional Methods for Unblocking Numbers

In addition to the standard method described above, there are two alternative ways to unblock a number:

  • Unblocking from Recent Calls: Open the Phone app and navigate to the Recent calls tab. Identify the recent call from the blocked number and tap on the “i” icon next to it. Then, select the “Unblock” option from the pop-up menu.
  • Unblocking from Messages app: Launch the Google Messages app and tap on the three-dot menu icon. Choose “Spam and blocked” from the options. Find the message from the blocked contact and tap on it. Select the “Unblock” option from the pop-up dialog box.

Summary

Unblocking a number on an Android phone is a simple and straightforward process that can be accomplished in just a few steps. By following the detailed instructions provided in this guide, you can easily manage your blocked contacts and ensure that you receive the calls and messages that matter to you. We hope that you find this guide helpful and informative, if you have any comments, questions, or suggestions, please leave a comment below and let us know.

Image Credit: TechieTech Tech

Filed Under: Android News


Latest timeswonderful Deals

Disclosure: Some of our articles include affiliate links. If you buy something through one of these links, timeswonderful may earn an affiliate commission. Learn about our Disclosure Policy.
Categories
News

How to uninstall apps from your Android Phone

uninstall apps android

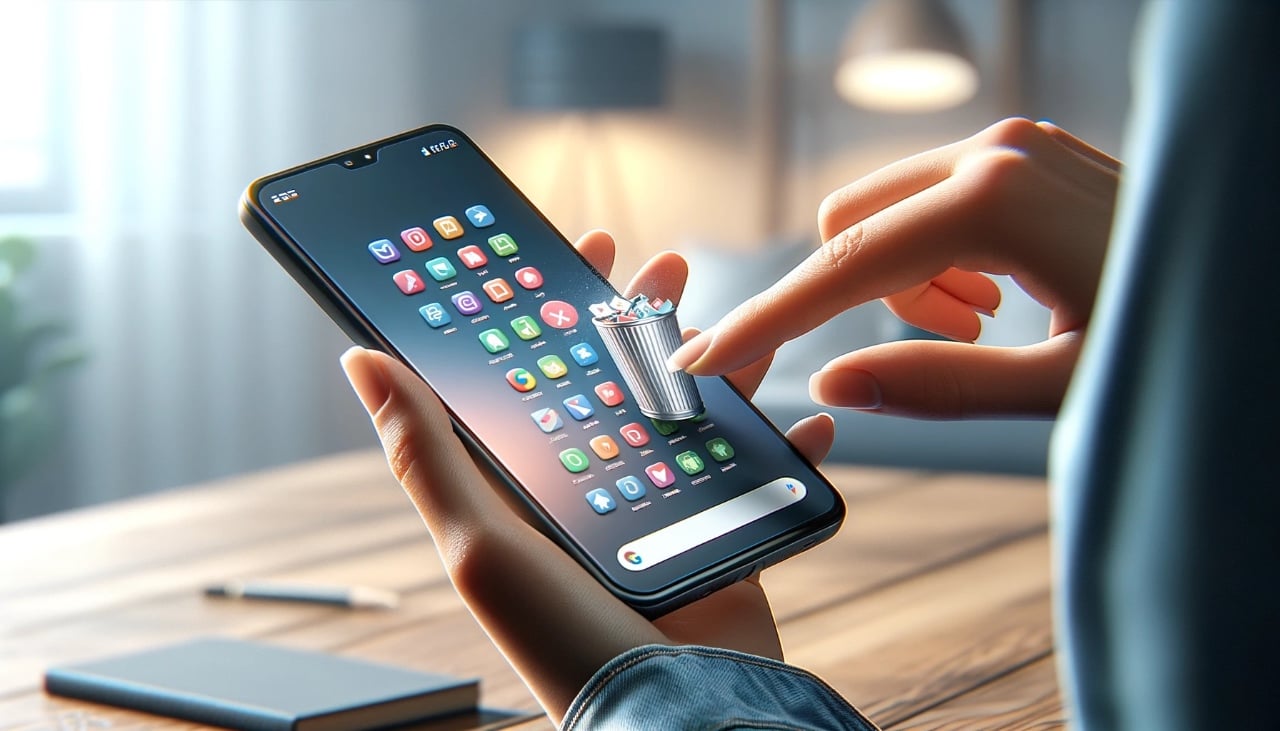
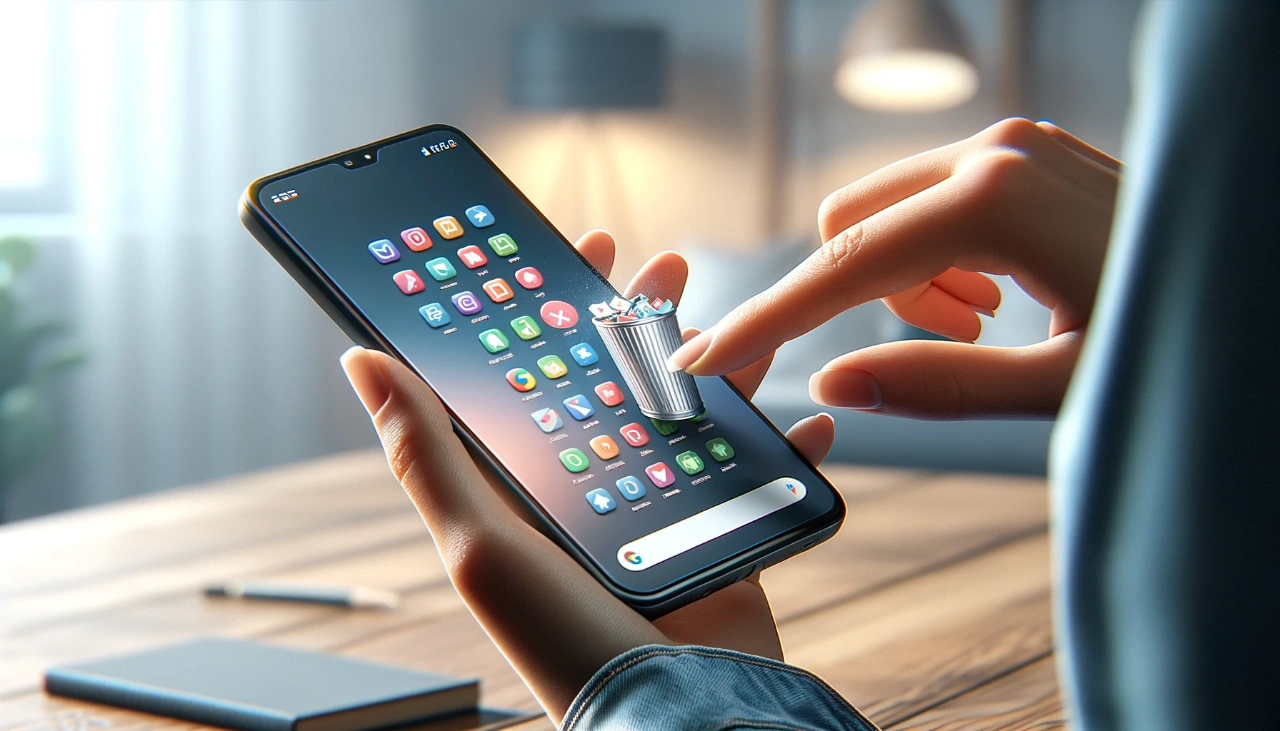
This guide is designed to show you how to uninstall apps from your Android Phone or tablet. Android, renowned for its extensive and varied range of applications, meets the needs of a wide spectrum of users with its multifaceted app offerings. However, the very feature that makes Android phones so appealing – their ability to house numerous apps – can also lead to issues. Over time, these accumulated applications can cause your device to become cluttered, consuming valuable storage space and potentially draining your battery life at an accelerated rate. To combat this, it’s crucial to regularly uninstall unused or unwanted apps, ensuring your Android device remains clean, efficient, and optimized for peak performance.

This detailed guide is your ultimate resource for navigating the process of app uninstallation on your Android smartphone. We delve deep into not just the standard method of removing apps but also explore alternative approaches tailored for specific scenarios. Whether you are a seasoned Android user or new to the platform, our step-by-step guide empowers you to enhance your device’s functionality by efficiently managing your applications. By keeping your Android phone free from unnecessary apps, you’ll enjoy a smoother, faster, and more satisfying user experience

Method 1: Uninstalling Apps Using the Google Play Store

The most straightforward way to uninstall apps is through the Google Play Store, the official app marketplace for Android devices.

Steps:

  • Open the Google Play Store app.
  • Tap on your profile icon in the top right corner.
  • Select “Manage apps & devices.”
  • Choose “Manage.”
  • Locate the app you want to uninstall.
  • Tap on the app’s name.
  • Press the “Uninstall” button.
  • Confirm the uninstallation by tapping “OK.”

Method 2: Uninstalling Apps from the Home Screen

For quick removal of apps from the home screen, follow these steps:

  • Long-press on the app icon you want to uninstall.
  • Drag the icon to the “Uninstall” option that appears at the top or bottom of the screen.
  • Release the icon to confirm the uninstallation.

Method 3: Uninstalling Apps from Settings

Alternatively, you can uninstall apps directly from the device’s Settings menu:

  • Open the Settings app on your Android device.
  • Scroll down and tap on “Apps” or “Applications.”
  • Select the app you want to uninstall.
  • Tap on the “Uninstall” button.
  • Confirm the uninstallation by tapping “OK.”

Uninstalling Pre-installed Apps

Some Android devices come with pre-installed apps that cannot be completely removed. However, you can disable these apps to prevent them from running or updating.

Steps:

  • Follow the steps outlined in Method 3 to access the App Info page for the pre-installed app.
  • Instead of the “Uninstall” button, you will see a “Disable” option.
  • Tap on “Disable” to prevent the app from running and consuming resources.

Uninstalling System Apps

System apps, also known as bloatware, are deeply integrated into the Android system and cannot be uninstalled or disabled using standard methods. However, there are advanced techniques that involve rooting the device, which is beyond the scope of this guide.

Alternative Methods for Specialized Scenarios

In certain situations, you may need to employ alternative methods for uninstalling apps.

Using Third-party App Uninstaller Tools

Third-party app uninstaller tools can provide additional features like batch uninstallation and removal of stubborn apps. However, it’s crucial to choose a reputable and secure app to avoid compromising your device’s security.

Summary

Uninstalling apps on your Android device is a straightforward process that can be accomplished using various methods. By following the steps outlined in this guide, you can effectively declutter your device, reclaim storage space, and enhance its overall performance. We hope that you find this guide useful on how to uninstall apps on your Android Phone or tablet helpful,  if you have any questions or suggestions, please leave a comment below and let us know.

Filed Under: Android News, Guides, Mobile Phone News


Latest timeswonderful Deals

Disclosure: Some of our articles include affiliate links. If you buy something through one of these links, timeswonderful may earn an affiliate commission. Learn about our Disclosure Policy.
Categories
News

10 Tips to Improve Your Android Phone’s Battery Life

Android battery life

This guide covers a raneg of tips to improve your Android Phone’s battery life. In today’s fast-paced world, our smartphones have become indispensable tools for communication, entertainment, and productivity. However, with constant usage, battery drain has become a common concern for Android users. Thankfully, there are several simple yet effective strategies to extend your Android phone’s battery life and keep it running smoothly throughout the day.

1. Optimize Screen Brightness:

The display is one of the biggest battery drains on your Android device. Reducing the screen brightness to a comfortable level can significantly improve battery life. Most Android phones have an auto-brightness feature that adjusts the screen brightness based on ambient light conditions. While this feature is convenient, it can sometimes keep the brightness higher than necessary. Disabling auto-brightness and manually adjusting the brightness to a comfortable level can further conserve battery life.

2. Shorten Screen Turn-Off Time:

The longer your phone’s screen stays on, the more battery power it consumes. Setting a shorter screen timeout will ensure that the screen turns off sooner when not in use, saving precious battery life. Most Android phones allow you to customize the screen timeout duration in the Display settings.

3. Utilize Adaptive Battery:

Android introduces the Adaptive Battery feature, which intelligently learns your usage patterns and restricts battery-intensive background activity for apps you don’t use frequently. This feature helps prioritize battery power for the apps you use most, ensuring that your phone remains functional for essential tasks throughout the day.

4. Identify and Manage Battery-Draining Apps:

Not all apps are created equal when it comes to battery consumption. Some apps, particularly those with high background activity or frequent location usage, can drain your battery significantly. Identifying these battery-draining apps and taking appropriate measures can significantly extend your phone’s battery life.

5. Disable Unnecessary Background Processes:

Many apps continue to run in the background even when you’re not actively using them. While some background activity is necessary for notifications and updates, excessive background processes can sap your battery power unnecessarily. Review your app permissions and disable background activity for apps that don’t require it.

6. Limit Location Services:

Location services are essential for apps like Google Maps and navigation, but they can also be a major battery drain. If you don’t need constant location tracking, consider disabling location services for non-essential apps. You can also switch to battery-saving mode for location services, which limits location updates to when the app is in active use.

7. Turn Off Vibrations and Haptic Feedback:

While vibrations and haptic feedback provide tactile feedback, they also consume battery power. Disabling these features can help conserve battery life, especially if you don’t rely heavily on them.

8. Utilize Wi-Fi Whenever Possible:

Mobile data usage can be a significant battery drain. Whenever available, connect to Wi-Fi networks to reduce data usage and conserve battery power. Wi-Fi connections are generally more energy efficient than mobile data connections.

9. Disable Background App Refresh:

Background App Refresh allows apps to refresh their content in the background, ensuring you have the latest information whenever you open them. However, this feature can drain battery power as apps continue to run in the background. Disable Background App Refresh for non-essential apps to conserve battery life.

10. Keep Your Phone Updated:

Software updates often include battery optimizations and bug fixes that can improve your phone’s battery life. Regularly check for and install software updates to ensure your phone is running the latest and most efficient software.

Additional Tips for Extending Android Phone Battery Life:

  • Use a dark theme whenever possible, as dark colors consume less power than light colors.
  • Avoid using your phone in extreme temperatures, as extreme heat or cold can damage the battery and reduce its lifespan.
  • Consider using a battery-saving mode when your battery is running low. This mode will automatically disable some non-essential features to extend battery life.
  • Invest in a high-quality power bank to keep your phone charged on the go.

By following these simple tips and adopting battery-friendly practices, you can significantly extend your Android phone’s battery life and keep it running smoothly throughout the day. Remember, every little bit counts when it comes to conserving battery power.

Filed Under: Android News, Guides, Mobile Phone News


Latest timeswonderful Deals

Disclosure: Some of our articles include affiliate links. If you buy something through one of these links, timeswonderful may earn an affiliate commission. Learn about our Disclosure Policy.
Categories
News

Honor X50i+ Android smartphone unveiled

Honor X50i+

Honor has unveiled its latest Android smartphone, the Honor X50i+, and the handset comes with a 6.7-inch AMOLED display that features a Full HD+ resolution of 2412 x 1080 pixels and it comes with a 90Hz refresh rate.

The new Honor X50i+ smartphone is powered by a MediaTek Dimensity 6080 mobile processor and the handset features a choice of 12GB of RAM and 256GB of storage or 12GB of RAM and 512GB of storage.

The handset does not feature a microSD card slot, and it comes with a range of cameras, there is a single camera on the front of the device and two cameras on the rear. On the rear of the handset, there is a 108-megapixel main camera for photos and videos, and there is also a 2-megapixel depth camera.

On the front there is an 8-megapixel camera that is designed for video chat and for snapping selfies, the handset comes with a 45000 mAh battery and it also comes with 35W fast charging and reverse wired charging.

The new Honor X50i+  will come in a choice of four different colors, Green, Pink, Black or Blue and it will retail for CNY 1,599 for the 256GB model or $220, the 512GB model will cost $1,799 or $245.

Source GSM Arena

Filed Under: Android News, Mobile Phone News


Latest timeswonderful Deals

Disclosure: Some of our articles include affiliate links. If you buy something through one of these links, timeswonderful may earn an affiliate commission. Learn about our Disclosure Policy.
Categories
News

Budget vs Expensive Android smartphones compared (Video)

Budget vs Expensive Android smartphones

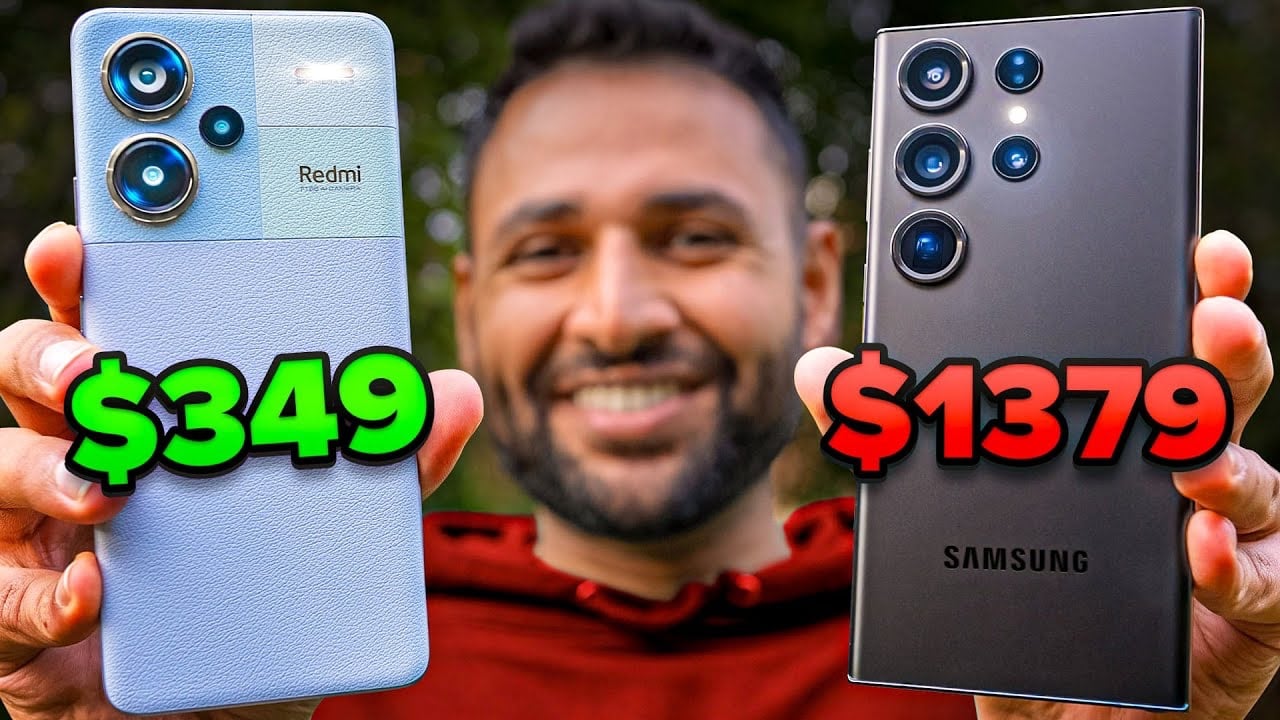
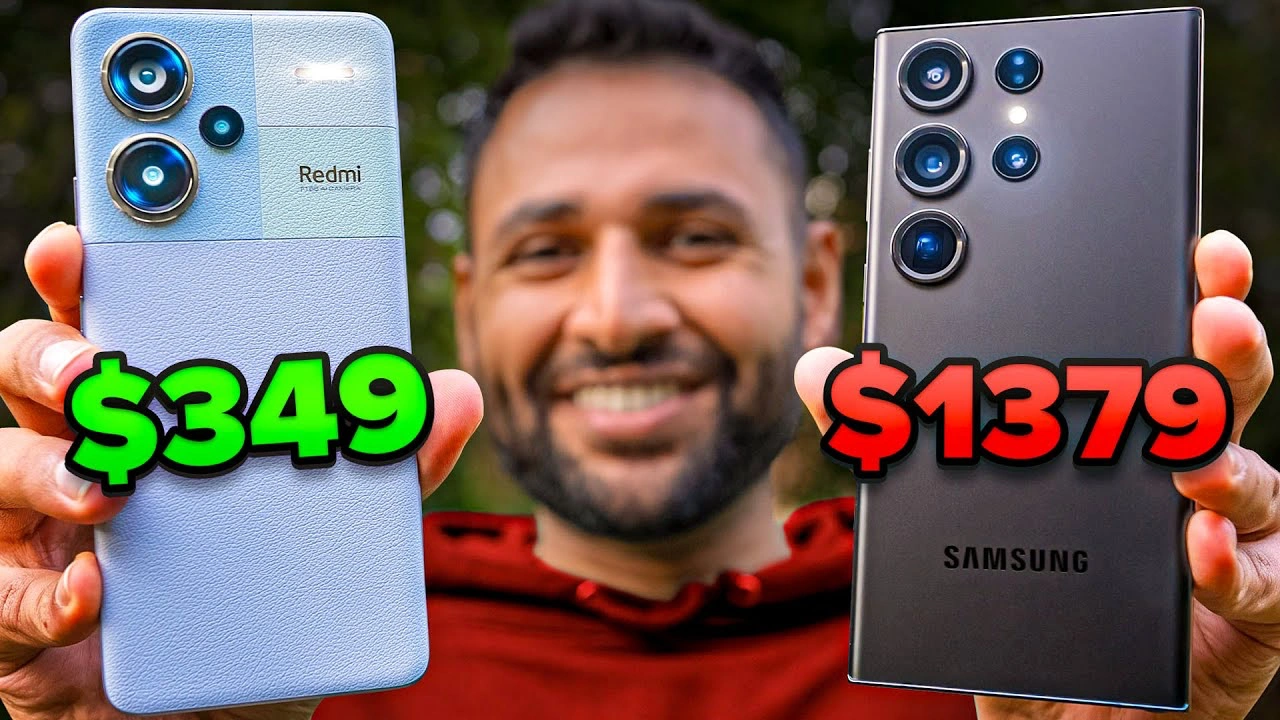
There is a big difference in price between budget Android smartphones and expensive Android smartphones, but is there really that much of a difference in their usability, a new video from Mrwhostheboss compares two handsets side by side.

In the video below the Xiaomi Rdmi Note 13 which costs $349 is tested side by side with the Samsung Galaxy S23 Ultra which costs $1,379, the aim of the video is to work out if flagship phones are worth their high price compared to budget models that claim to offer similar features.

Build Quality and Design

Both the Redmi Note 13 Pro Plus and the Samsung Galaxy S23 Ultra showcase impressive build quality. The S23 Ultra stands out with its latest Gorilla Glass and armor aluminum construction, offering a slightly more premium feel. In contrast, the Redmi, while using slightly less advanced materials, still holds up well, making the difference in build quality minimal for the average user. Notably, the Redmi package includes a case, USB-C cable, and a 120W fast charger, whereas Samsung opts to provide only a cable.

Display

When it comes to display, both smartphones boast a 120Hz OLED screen, with minor variations in color tint and resolution. The Samsung device offers higher resolution and brightness potential, but these advantages aren’t always noticeable in default settings. The Redmi’s display, surprisingly comparable to the Samsung’s, offers a similar user experience, making it a standout feature for a budget phone.

Battery and Charging

The Redmi takes the lead in charging speed with its 120W charger, although it lacks wireless charging capability. The Samsung, with its advanced battery technology and efficient power management, edges out slightly in terms of battery life. This difference could be a deciding factor for users prioritizing longevity over charging speed.

Software and Updates

Both phones run on Android 13 and provide smooth user experiences. The Redmi offers customization options that many users appreciate. However, as a flagship phone, the Samsung Galaxy S23 Ultra typically receives more prompt and longer-term software updates, which can be crucial for keeping your device up-to-date with the latest features and security patches.

Performance

The Samsung Galaxy S23 Ultra shines in performance with a more powerful processor and faster storage. This difference becomes noticeable in app responsiveness and gaming. While the Redmi handles basic tasks competently, the Samsung excels in more demanding applications, making it a better choice for power users.

Camera Quality

Both smartphones feature a 200MP main camera, but Samsung’s camera is slightly superior, especially in terms of advanced features and additional lenses like zoom. The Redmi performs admirably in various lighting conditions but can’t match Samsung’s advanced stabilization and video processing capabilities.

Overall Experience

The Xiaomi Redmi Note 13 Pro Plus offers a remarkably close experience to the Samsung Galaxy S23 Ultra in many aspects, especially in general quality-of-life features. However, for those who need extra power, battery longevity, and superior camera capabilities, Samsung stands out as the more suitable of the two Android smartphones for power users.

Flagship phones like the Samsung Galaxy S23 Ultra have their place in the market, especially for users who demand advanced features and performance. However, budget phones like the Xiaomi Redmi Note 13 Pro Plus are closing the gap, delivering much of the flagship experience at a fraction of the cost. This comparison reveals that the choice between a budget and a premium smartphone often boils down to individual needs and preferences, with both segments offering compelling options.

Source & Image Credit: Mrwhostheboss

Filed Under: Android News, Mobile Phone News


Latest timeswonderful Deals

Disclosure: Some of our articles include affiliate links. If you buy something through one of these links, timeswonderful may earn an affiliate commission. Learn about our Disclosure Policy.
Categories
News

How to set up Wi-Fi calling on your Android Phone

Wi-Fi calling on your Android Phone

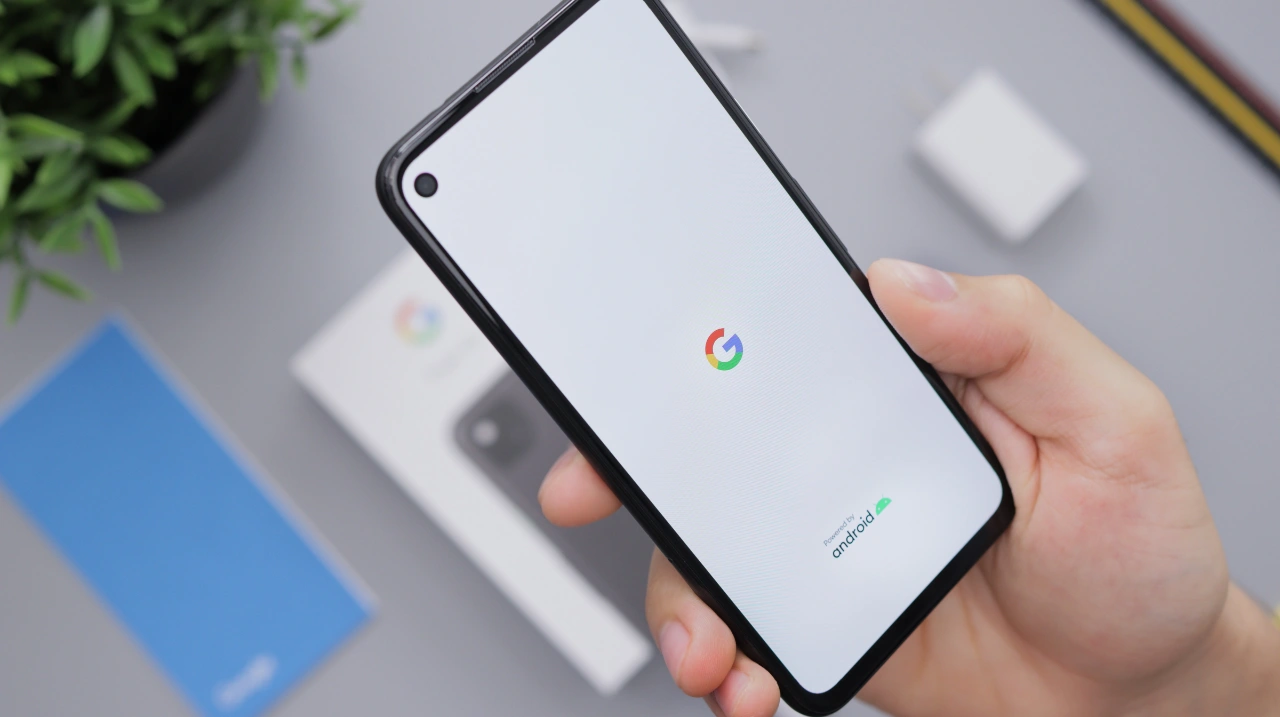
This guide is designed to show you how to set up Wi-Fi calling on your Android Phone. Wi-Fi calling is a feature that allows you to make and receive phone calls over a Wi-Fi network instead of your cellular network. This can be useful if you have poor cellular reception, such as when you’re indoors or in a basement. Wi-Fi calling can also be helpful when you’re traveling abroad, as it can save you money on roaming charges.

To use Wi-Fi calling, you’ll need a compatible Android phone and a Wi-Fi connection. You’ll also need to enable Wi-Fi calling on your phone. Most carriers support Wi-Fi calling, but it’s always a good idea to check with your carrier to make sure.

How to set up Wi-Fi calling

  1. Make sure your phone is compatible with Wi-Fi calling. You can check this by going to your phone’s Settings app and tapping on Connections. If you see an option for Wi-Fi calling, then your phone is compatible.
  2. Connect to a Wi-Fi network. Wi-Fi calling requires a Wi-Fi connection, so make sure you’re connected to a Wi-Fi network before you enable it.
  3. Enable Wi-Fi calling. To enable Wi-Fi calling, go to your phone’s Settings app and tap on Connections. Then, tap on Wi-Fi calling. You should see a toggle switch for Wi-Fi calling. Toggle the switch to On.
  4. Enter an emergency address. When you enable Wi-Fi calling, you’ll be asked to enter an emergency address. This is the address that emergency services will use to locate you if you make an emergency call over Wi-Fi.
  5. Place a call. Once you’ve enabled Wi-Fi calling, you can place a call just like you would normally. If you’re connected to a Wi-Fi network, your call will be placed over Wi-Fi. If you’re not connected to a Wi-Fi network, your call will be placed over your cellular network.

Tips for using Wi-Fi calling

  1. Make sure you’re connected to a strong Wi-Fi network. Wi-Fi calling requires a strong Wi-Fi connection in order to work well. If you have a weak Wi-Fi signal, your call may drop or you may experience poor audio quality.
  2. Try disabling other apps and services that are using your Wi-Fi connection. This can help to improve the performance of Wi-Fi calling.
  3. If you’re experiencing problems with Wi-Fi calling, try restarting your phone. This can often fix minor problems.
  4. If you’re still having problems with Wi-Fi calling, contact your carrier for help.

Troubleshooting Wi-Fi calling

If you’re having problems with Wi-Fi calling, there are a few things you can try:

  1. Make sure your phone is connected to a strong Wi-Fi network.
  2. Try disabling other apps and services that are using your Wi-Fi connection.
  3. Restart your phone.
  4. Contact your carrier for help.

Here are some additional troubleshooting tips:

  1. Check to make sure that your phone’s software is up to date.
  2. Try resetting your phone’s network settings. To do this, go to your phone’s Settings app and tap on System. Then, tap on Advanced and Reset options. Finally, tap on Reset Wi-Fi, mobile & Bluetooth.
  3. Try using a different Wi-Fi network.
  4. If you’re traveling abroad, make sure that your carrier supports Wi-Fi calling in the country you’re visiting.

Summary

Wi-Fi calling is a great way to improve your cell phone reception and save money on roaming charges. To set up Wi-Fi calling on your Android phone, simply follow the steps above. If you’re having problems with Wi-Fi calling, try the troubleshooting tips above.

Filed Under: Android News, Guides


Latest timeswonderful Deals

Disclosure: Some of our articles include affiliate links. If you buy something through one of these links, timeswonderful may earn an affiliate commission. Learn about our Disclosure Policy.
Categories
News

How to print from your Android Phone

print android phone

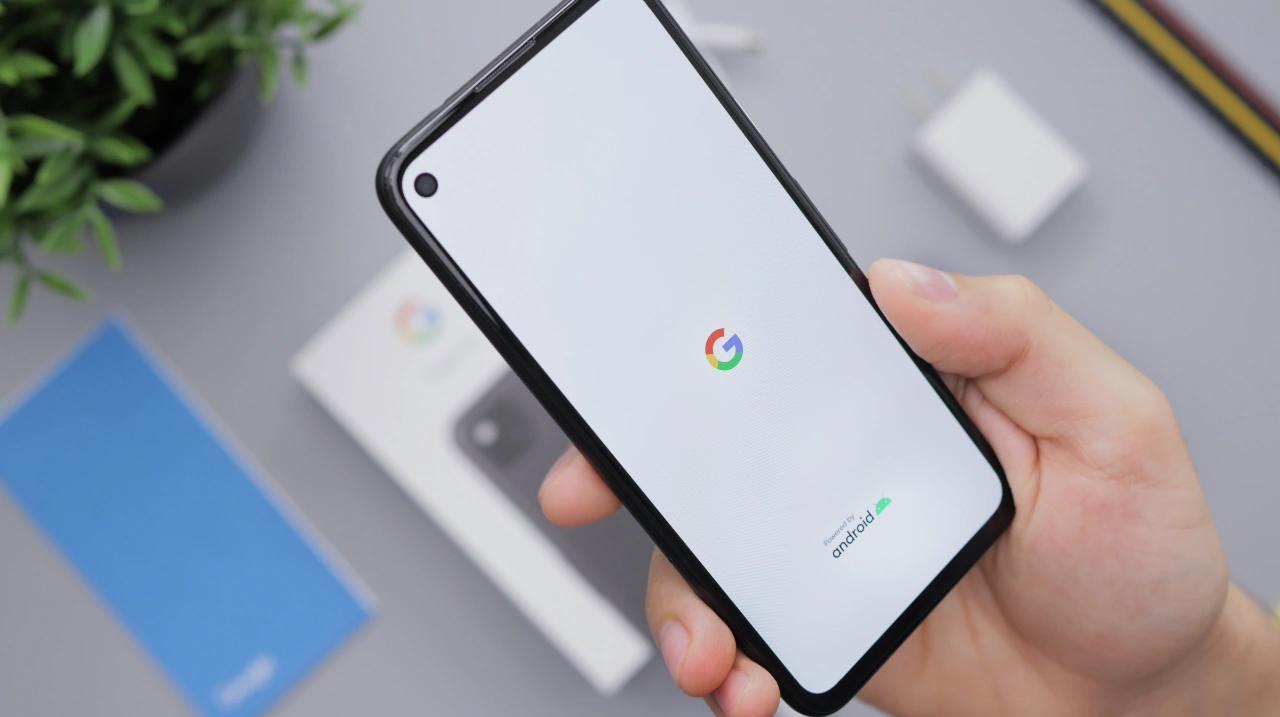
In today’s digital age, printing from a mobile device has become increasingly common. With the convenience and portability of smartphones, users can easily access and print documents, emails, web pages, and other files directly from their Android phones. Whether you’re a student, a business professional, or simply need to print something on the go, knowing how to print from your Android phone is an essential skill.

This guide will provide you with step-by-step instructions on how to print from your Android phone using various methods, including using a wireless printer, a USB cable, and cloud printing services. You’ll also learn how to troubleshoot common printing issues and optimize your printing experience.

Prerequisites for Printing from Your Android Phone

Before you begin, ensure that you have the following prerequisites:

  • An Android phone or tablet running Android 4.4 or later
  • A compatible printer that is turned on and connected to the same Wi-Fi network as your phone (if using a wireless printer)
  • A USB cable (if using a USB-connected printer)
  • A cloud printing service account (if using cloud printing)

Printing Using a Wireless Printer

Wireless printing is the most common and convenient method for printing from an Android phone. Follow these steps to print using a wireless printer:

  • Verify Printer Compatibility: Check if your printer is compatible with mobile printing. Most modern printers support wireless printing, but it’s always a good idea to double-check. Consult your printer’s manual or manufacturer’s website for compatibility information.
  • Connect Printer to Wi-Fi: Ensure your printer is properly connected to your home or office Wi-Fi network. Refer to your printer’s manual for instructions on connecting it to Wi-Fi.
  • Add Printer to Your Android Phone: On your Android phone, open the Settings app. Navigate to the “Connected devices” or “Printing” section. Tap on “Add printer” or “Add service.” Your phone will search for nearby compatible printers.
  • Select Your Printer: Once your printer is detected, select it from the list of available printers. If your printer requires a password, enter it when prompted.
  • Test Connection: To test the connection, tap the “Print test page” button. If the test page prints successfully, your printer is ready to use.
  • Open Document or File: Open the document, email, web page, or other file you want to print.
  • Initiate Print Function: Tap the “Share” or “Options” button (usually represented by three dots or lines). Select the “Print” option from the menu.
  • Choose Print Destination: Select your wireless printer from the list of available printers.
  • Customize Print Settings (Optional): You can adjust various print settings, such as paper size, page orientation, and number of copies.
  • Start Printing: Once you’ve customized the print settings, tap the “Print” button to start the printing process.

Printing Using a USB Cable

If you don’t have a wireless printer or prefer a wired connection, you can use a USB cable to print from your Android phone. Follow these steps:

  • Connect Printer to USB Cable: Connect the USB cable to the USB port on your printer and the USB port on your Android phone.
  • Verify USB Connection: Your phone should automatically recognize the connected printer. If it doesn’t, try restarting your phone or using a different USB cable.
  • Open Document or File: Open the document, email, web page, or other file you want to print.
  • Initiate Print Function: Tap the “Share” or “Options” button (usually represented by three dots or lines). Select the “Print” option from the menu.
  • Choose Print Destination: Select your USB-connected printer from the list of available printers.
  • Customize Print Settings (Optional): You can adjust various print settings, such as paper size, page orientation, and number of copies.
  • Start Printing: Once you’ve customized the print settings, tap the “Print” button to start the printing process.

Printing Using Cloud Printing Services

Cloud printing services allow you to print documents from anywhere using the internet. Popular cloud printing services include Google Cloud Print, HP Print for Chrome, and Mopria Print Service.

To use cloud printing services, you’ll need to create an account with the chosen service and register your printer with the service. Once registered, you can print documents from your Android phone using the cloud printing service’s app or web interface.

Troubleshooting Common Printing Issues

If you encounter printing issues, try these troubleshooting steps:

  • Check Printer Connection: Ensure your printer is properly connected to the Wi-Fi network or USB cable.
  • Verify Printer Status: Check if the printer has any ink or paper jams. Clear any jams and replace ink cartridges if necessary.
  • Update Printer Drivers: Ensure your printer’s drivers are up to date. Consult your printer’s manufacturer’s website for the latest driver updates.
  • Restart Printer and Android Phone: Sometimes, a simple restart can resolve printing problems. Restart both your printer and Android phone.
  • Check File Compatibility: Some file formats may not be directly compatible with your printer. Try converting the file to a more compatible format, such as PDF.
  • Use a Different Printing Method: If one printing method isn’t working, try a different method, such as using a USB cable or cloud printing service.

Optimizing Your Printing Experience

Here are some tips to optimize your printing experience from your Android phone:

  • Choose the Right Print Quality: Adjust the print quality settings to match your needs. Higher quality settings will produce sharper images but use more ink.
  • Print in Black and White When Possible: Printing in black and white can save ink and produce faster print times.
  • Preview Before Printing: Preview the document before printing to ensure it is formatted correctly and to avoid wasting paper.
  • Consider Using a Mobile Printing App: There are various mobile printing apps available that can enhance your printing experience. These apps may offer additional features, such as cloud printing integration, advanced print settings, and job management.

Summary

Printing from your Android phone is a convenient and versatile way to get hard copies of your digital documents. By following the instructions in this guide, you can easily print from your Android phone using various methods, including wireless printing, USB-connected printing, and cloud printing services. Remember to troubleshoot any printing issues promptly and optimize your printing experience for efficiency and cost-effectiveness.

Image Credit: Daniel Romero

Filed Under: Guides


Latest timeswonderful Deals

Disclosure: Some of our articles include affiliate links. If you buy something through one of these links, timeswonderful may earn an affiliate commission. Learn about our Disclosure Policy.

Categories
News

How to back up and restore your Android Phone

back up and restore your Android Phone

This guide is designed to show you how to back up and restore your Android Phone, we cover everything you need to know. Regularly backing up the data on your Android phone is a critical practice for any smartphone user. This process safeguards your essential information, such as contacts, messages, photos, and app data, against various unforeseen circumstances like loss, theft, or physical damage to your device.

In the event of such incidents, having a backup means you have a safety net, allowing you to restore your phone to its former condition without significant loss. The restoration process is designed to be smooth and efficient, ensuring that all your applications, personal data, and customized settings are reinstated exactly as they were. This not only provides peace of mind but also minimizes the disruption to your digital life, allowing you to resume your activities with minimal delay.

Why Backup Your Android Phone?

There are many reasons why you should back up your Android phone regularly. Here are just a few:

  • To protect against loss or theft: If your phone is lost or stolen, you will be able to restore your data to a new device.
  • To prevent damage from malfunction: If your phone’s hardware or software malfunctions, you can restore your data from a backup and avoid losing everything.
  • To make switching devices easier: When you switch to a new Android phone, you can easily restore your data from a backup.
  • To experiment with new ROMs: If you want to try out a new ROM (custom firmware) on your phone, you can back up your data first in case you need to revert to your previous ROM.

How to Backup Your Android Phone

There are two main ways to back up your Android phone:

Using Google One

Google One is a cloud storage service that includes a built-in backup feature for Android phones. To back up your phone using Google One, follow these steps:

  • Open the Settings app on your phone.
  • Tap Google.
  • Tap Backup.
  • Make sure that Back up by Google One is turned on.
  • Tap Back up now.

Your phone will now back up your data to Google One. The backup will include your apps, data, settings, photos, and videos.

Using a third-party backup app

There are many third-party backup apps available for Android phones. Some popular options include:

  • Helium
  • Titanium Backup
  • G Cloud

These apps typically allow you to back up more data than Google One, including SMS messages, call logs, and app data.

How to Restore Your Android Phone

To restore your Android phone from a backup, follow these steps:

  • Turn on your phone and go through the setup process.
  • When you are prompted to restore your data, select the backup that you want to restore.
  • If you are restoring from a Google One backup, sign in to your Google account.
  • Select the data that you want to restore and tap Restore.

Your phone will now restore your data from the backup. The restoration process may take some time, depending on the size of your backup.

Tips for Backing Up Your Android Phone

Here are a few tips for backing up your Android phone:

  • Back up your phone regularly. A good rule of thumb is to back up your phone once a week.
  • Store your backups in multiple locations. If you are using a cloud storage service, be sure to back up your data to your computer as well.
  • Encrypt your backups. This will protect your data from unauthorized access.
  • Test your backups. Make sure that you can restore your data from your backups before you need to.

Conclusion

The process of backing up your Android phone serves as a crucial measure in safeguarding your personal data. This article provides a comprehensive guide, detailing each step to efficiently back up and restore your phone. By adhering to these instructions, you can create a reliable safety net for your data. This ensures that in any scenario—be it accidental deletion, hardware failure, or other unforeseen events—your information remains secure and retrievable.

The backup process captures everything from your contacts and messages to your apps and personal settings. When you restore your phone from this backup, it’s akin to turning back time on your device, and reinstating all your data as if it were never lost. This peace of mind, knowing your data is always safeguarded, is invaluable in our increasingly digital world. We hope that you find this guide on how to backup and restore your Android Phone helpful, if you have any tips, questions or comments, please leave a comment below and let us know.

Here are some more Android guides you may find useful:

Filed Under: Android News, Guides


Latest timeswonderful Deals

Disclosure: Some of our articles include affiliate links. If you buy something through one of these links, timeswonderful may earn an affiliate commission. Learn about our Disclosure Policy.

Categories
News

How to use a USB Drive with your Android Phone

How to use USB drive  Android Phone

This guide will show you how to use a USB drive with your Android Phone. In today’s technology-driven world, data storage remains a crucial aspect of everyday life. While cloud storage has gained significant popularity, USB drives continue to hold their place as a reliable and portable means of data transfer and backup. Fortunately, Android phones have embraced this technology, allowing seamless integration with USB drives for convenient file management.

Understanding the Need for USB Drives on Android Phones

Android phones, with their ever-increasing storage capacities, have become the go-to devices for storing photos, videos, documents, and other digital assets. However, even the most spacious smartphones can eventually reach their limits, prompting the need for external storage solutions. USB drives, with their compact size and ample storage capacities, provide an ideal solution for expanding Android phone storage.

Prerequisites for Using USB Drives with Android Phones

Before embarking on the journey of utilizing USB drives with Android phones, it’s essential to ensure you have the necessary equipment and compatibility.

USB OTG Adapters: Bridging the Connection Gap

Most Android phones utilize the Micro-USB or USB-C ports for charging and data transfer. However, these ports are not designed to directly connect to USB drives. To bridge this connection gap, a USB On-The-Go (OTG) adapter is required. These adapters have a standard USB female port on one end and a Micro-USB or USB-C male connector on the other end, allowing you to plug in your USB drive seamlessly.

USB Drive Compatibility: Ensuring Smooth Integration

Not all USB drives are compatible with Android phones. To ensure seamless integration, it’s recommended to use USB drives formatted in FAT32 or exFAT file systems. These file systems are widely recognized by Android devices and provide compatibility across various platforms.
Connecting and Using USB Drives with Android Phones

Once you have the necessary equipment and compatibility checked, you’re ready to connect and utilize your USB drive with your Android phone. The process is straightforward and user-friendly.

Connecting the USB Drive

  1. Plug the USB OTG adapter into the charging port of your Android phone.
  2. Connect the USB drive to the USB female port of the OTG adapter.
  3. Your Android phone should automatically detect the connected USB drive.

Accessing and Managing Files on the USB Drive

  1. Open a file manager app on your Android phone. The default file manager should work seamlessly.
  2. Locate the USB drive entry within the file manager. It might appear under “Storage” or “External Storage.
  3. Browse through the contents of the USB drive, just like you would on a computer.
  4. You can copy, move, delete, and rename files on the USB drive using the file manager’s standard functionalities.

Ejecting the USB Drive Safely

To ensure data integrity and prevent potential corruption, it’s crucial to eject the USB drive safely before disconnecting it from your Android phone.

  1. Open the notification panel on your Android phone.
  2. Locate the notification related to the connected USB drive. It might appear as “USB storage is connected” or “USB drive connected.”
  3. Tap on the notification and select “Eject USB storage” or “Eject USB drive.”
  4. Once the ejection process is complete, you can safely disconnect the USB drive from your Android phone.

Advanced Applications of USB Drives with Android Phones

Beyond basic file transfer and storage, USB drives can be utilized for various advanced applications on Android phones.

Expanding App Storage

Many Android apps allow you to store additional data or move existing app data to an external storage device, such as a USB drive. This can be particularly beneficial for apps that consume significant internal storage.

Data Backup and Recovery

USB drives provide a convenient and reliable means of backing up important data from your Android phone. Regularly backing up your data ensures you have a secure copy in case of device loss, damage, or accidental deletion.

Summary

USB drives remain an invaluable tool for Android phone users, offering convenient data transfer, storage expansion, and backup capabilities. With their compact size, ample storage capacities, and ease of use, USB drives seamlessly integrate with Android phones, providing a versatile solution for managing your digital assets. We hope that you find this guide on how to use a USB drive with your Android Phone helpful, if you have any comments, questions, or suggestions, please let us know in the comment section below.

Image Credit: Ian Edokov

Filed Under: Android News, Guides


Latest timeswonderful Deals

Disclosure: Some of our articles include affiliate links. If you buy something through one of these links, timeswonderful may earn an affiliate commission. Learn about our Disclosure Policy.