
If you have previously purchased a RasPad 3 tablet powered by the previous generation Raspberry Pi 4 mini PC. You might be interested in this overview of how leepspvideo. Imagine having the power of a Raspberry Pi computer in the palm of your hand complete with a touchscreen display. This is the promise of the RasPad 3, a device that allows you to convert your Raspberry Pi into a touch-screen tablet. This transformation is not only possible but also relatively straightforward, providing you with a portable and versatile tool that combines the functionality of a Raspberry Pi with the convenience of a tablet.
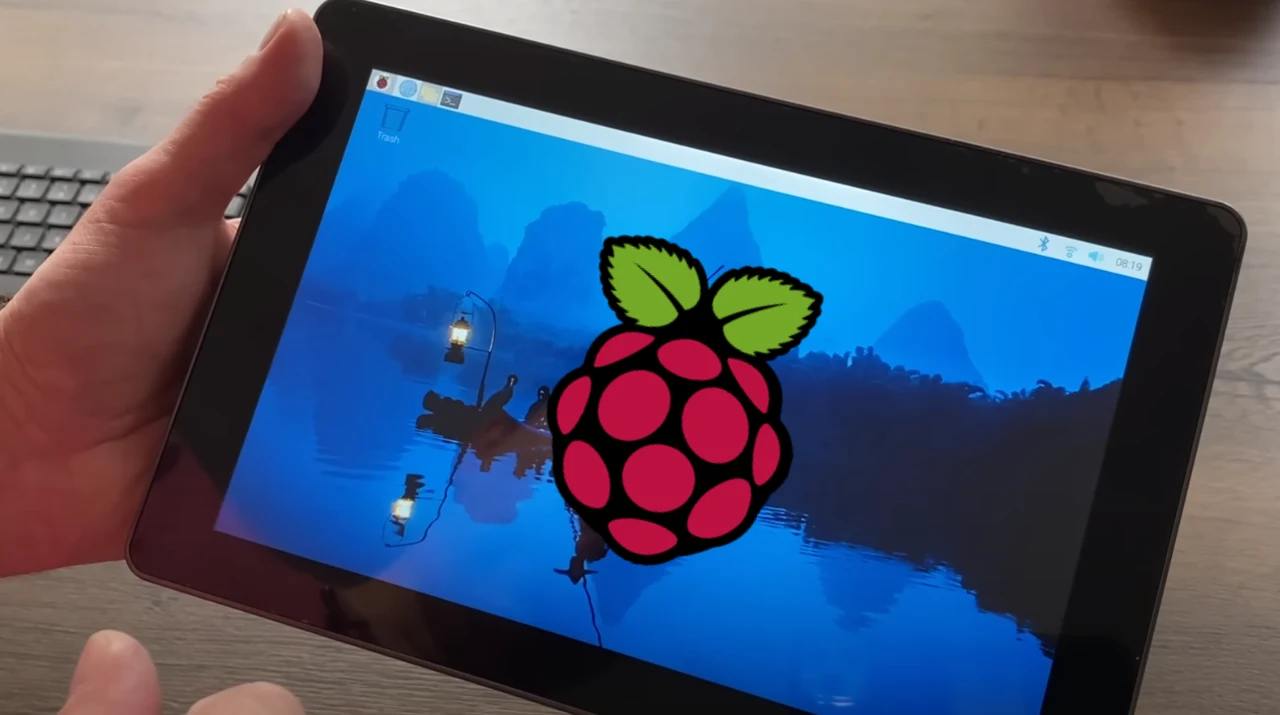
It seems to be that the latest Raspberry Pi 5 and more powerful mini PC is compatible with the RasPad 3. Although the RasPad 3 was originally designed with the Raspberry Pi 4 in mind. As you can see in the video below it is possible to equip the tablet case with a Pi 5 although you will need to pay close attention to the alignment of the screw holes and make sure that the Raspberry Pi 5 is secure in the casing. This will help avoid any unnecessary modifications that could complicate the process.
Raspberry Pi 5 tablet
Next, you’ll need to align the connection ports. The Raspberry Pi 5 comes equipped with a variety of ports, including Ethernet, HDMI, and USB. These need to match up with the cutouts on the RasPad 3 to ensure that you can easily connect any peripherals and power the device. It’s important to double-check this alignment to prevent any future connectivity issues that might arise.
Here are some other articles you may find of interest on the subject of Raspberry Pi 5 :
Another critical aspect to consider is the power supply. The Raspberry Pi 5 has specific power needs that must be met by the RasPad 3. It’s essential to verify that the power supply provided with the RasPad 3 is sufficient for the Raspberry Pi 5. This step is vital to avoid any potential performance problems, such as system instability or overheating, which could hinder your experience with the device.
Once you’ve taken care of compatibility, alignment, and power requirements, it’s time to start the installation process. Begin by removing the existing Raspberry Pi 4 from the RasPad 3, if necessary. As you disassemble the components, keep track of them to ensure a smooth reassembly process. Then, proceed to install the Raspberry Pi 5, carefully aligning it with the screw holes and ports. Secure it in place with screws, following the instructions provided to avoid any damage to the delicate components.
After the Raspberry Pi 5 is installed, the next step is to power up the device and check the boot sequence. This is when you’ll test the touchscreen functionality. It’s crucial that the touchscreen accurately registers your inputs, as this is a key feature of your new tablet. If the touchscreen responds well to your touch, you’ve reached a significant milestone in the conversion process.
The final step in this transformation is to assess the system’s performance. Launch applications and navigate through the interface to make sure that the system responds quickly and reliably. A well-performing system should not exhibit any lag or crashes during regular use. This will ensure that your new tablet is not only functional but also a pleasure to use.
By following these steps, you can successfully convert your Raspberry Pi 5 into a tablet using the RasPad 3. This process requires careful planning and attention to detail, but the result is a unique and powerful device that offers both the advanced capabilities of a Raspberry Pi and the user-friendly experience of a tablet. Whether you’re a hobbyist, a developer, or just someone who loves tinkering with technology, this project is an opportunity to create something truly special that you can take with you wherever you go. Enjoy the new level of functionality and convenience that your Raspberry Pi 5 tablet brings to your projects and daily activities.
Image Credit : leepspvideo
Filed Under: DIY Projects
Latest timeswonderful Deals
Disclosure: Some of our articles include affiliate links. If you buy something through one of these links, timeswonderful may earn an affiliate commission. Learn about our Disclosure Policy.