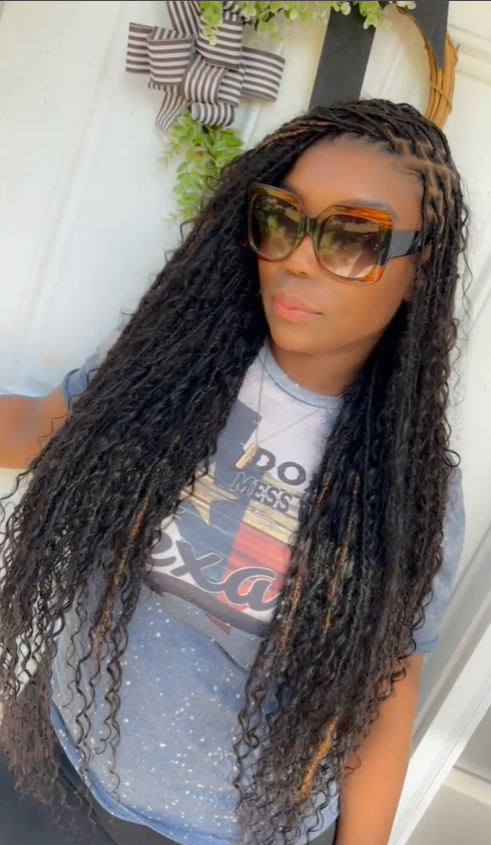
Braiding is not just a hairstyle; it’s an art form that allows you to express your creativity and individuality. Whether you’re a seasoned braider or just starting, Ywigs is here to guide you through some captivating braiding tutorials that will help you perfect your skills and unleash your inner stylist.

Getting Started with Ywigs
Before diving into the tutorials, let’s make sure you have everything you need:
Ywigs’ braiding hair(https://ywigs.com), available in various styles and lengths.
Comb or brush for detangling.
Hair ties, clips, or bands to secure sections.
1.2 Preparing Your Workspace:
Ensure good lighting and a comfortable chair.
Keep your hair tools organized and within reach.
Classic Three-Strand Braid
2.1 Step-by-Step Guide:
Start with clean, detangled hair.
Divide your hair into three equal sections.
Cross the right section over the middle, then the left section over the new middle section.
Repeat until you reach the end of your hair.
Secure with a hair tie.
2.2 Ywigs’ Tips:
Our bulk braiding hair(https://www.ywigs.com/collections/human-braiding-hair) is perfect for adding volume and length to your three-strand braids.
Experiment with different color combinations to create unique looks.
French Braid
3.1 Step-by-Step Guide:
Begin with a section of hair at the crown.
Divide it into three sections.
Cross the right section over the middle, then the left section over the middle.
Add a small section of hair from the sides to each section before crossing.
Continue until you reach the nape of your neck.
Finish with a regular braid.
3.2 Ywigs’ Tips:
Our wet and wavy braiding hair provides texture and dimension to your French braid.
Experiment with side French braids or a French braid updo.
Dutch Braid
4.1 Step-by-Step Guide:
Similar to the French braid, but cross the sections under the middle instead of over.
Create a sleek, inverted braid close to the scalp.
4.2 Ywigs’ Tips:
Use our bulk braiding hair for a thicker Dutch braid.
Try a Dutch braid ponytail or bun for a trendy look.
Chapter 5: Fishtail Braid
5.1 Step-by-Step Guide:
Divide your hair into two equal sections.
Take a small strand from the outside of the right section and cross it over to the left.
Repeat on the other side.
Continue alternating sides until you reach the end.
Secure with a hair tie.
5.2 Ywigs’ Tips:
Our wet and wavy braiding hair adds a beachy, textured effect to your fishtail braid.
Try a side-swept fishtail braid for a romantic look.
Box Braids with Ywigs
6.1 Step-by-Step Guide:
Start with clean, detangled hair.
Part your hair into small, even sections.
Use Ywigs’ bulk braiding hair for each section.
Begin braiding, adding extensions as you go.
Secure the ends.
6.2 Ywigs’ Tips:
Our wet and wavy braiding hair
(https://www.ywigs.com/collections/human-braiding-hair/products/wet-wavy-bulk-hair-extensions-for-braiding)
offers a wide range of colors to create stunning combinations.
Experiment with different lengths for a dynamic box braid style.
With Ywigs as your guide, you’re ready to embark on a braiding journey that will transform your look and boost your confidence. These step-by-step tutorials provide a solid foundation, but remember that braiding is an art form where you can let your imagination run wild. Express yourself, experiment with colors, textures, and styles, and let your braids tell your unique story.

