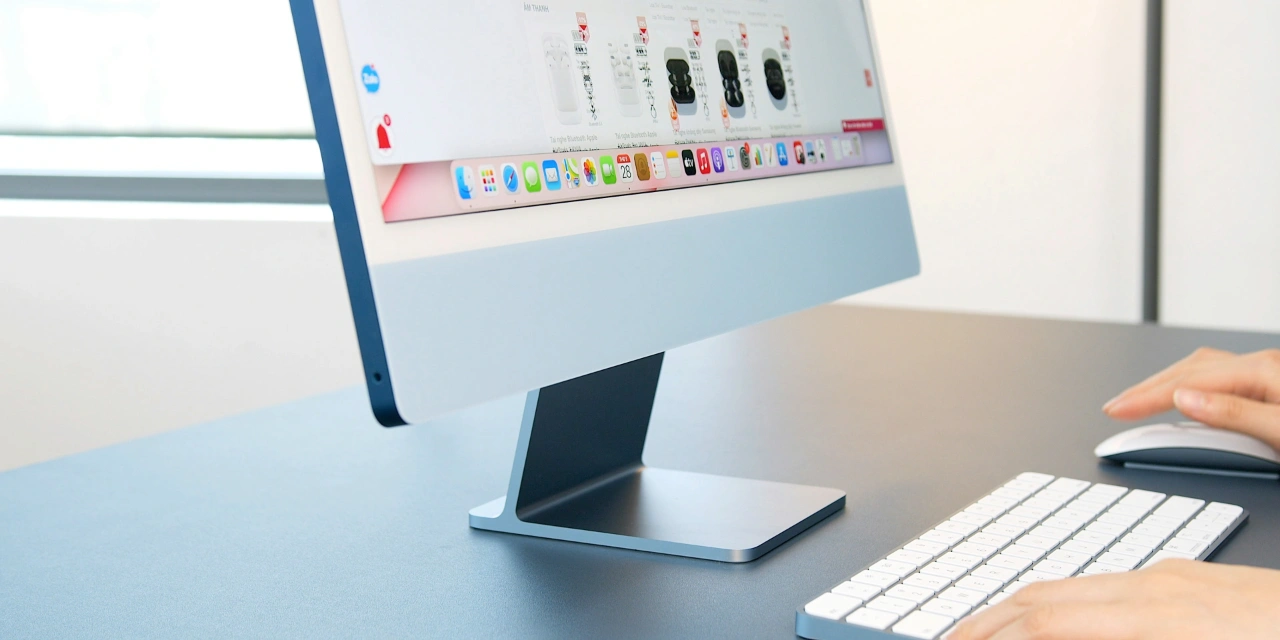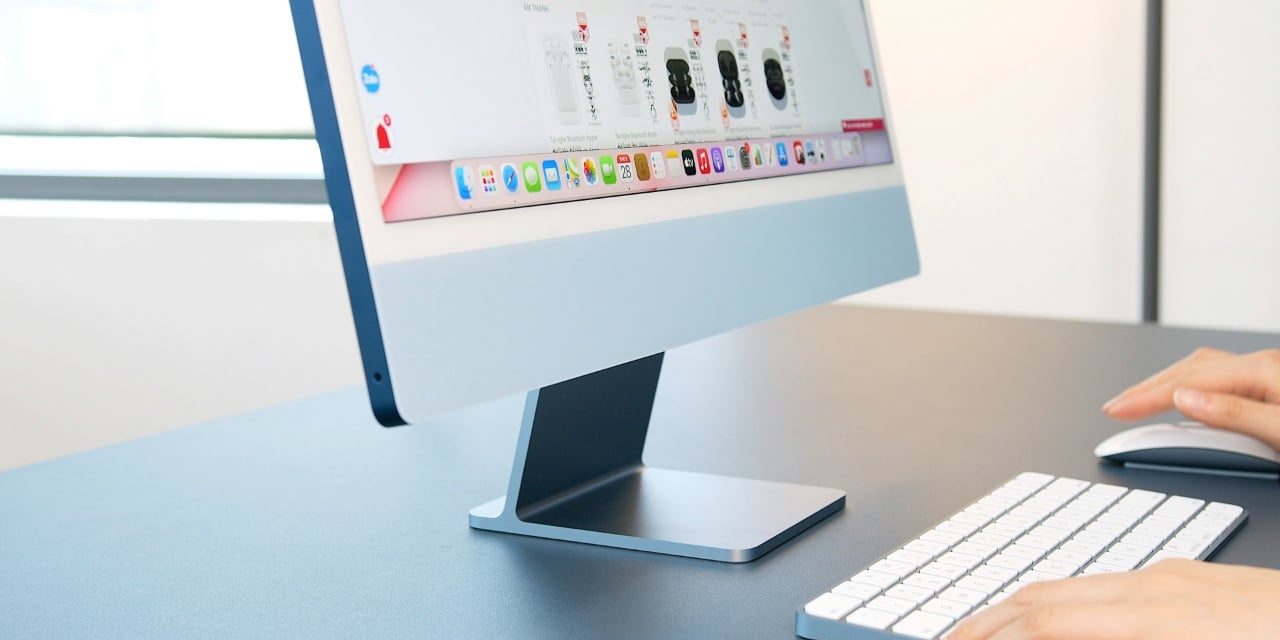
This guide is designed to show you how to take screen recordings on your Mac.The skill of screen recording on a Mac holds significant value across a diverse spectrum of users, including professionals, educators, and casual users, each finding unique applications for this technology. For professionals, the ability to record their screen becomes an indispensable tool in their digital arsenal. It enables them to create detailed tutorials, demonstrate software functionalities, or provide clients with walk-throughs of complex processes, all of which can enhance communication and productivity in a business environment. Educators, on the other hand, find screen recording particularly beneficial for developing educational content. They can record lectures, create instructional material, and even capture educational webinars, thus enriching the learning experience for their students.
In addition, casual users benefit from the ease and efficiency of macOS’s built-in screen recording tools. They can capture moments of gameplay, creating memories or tutorials for gaming communities, or record video calls with friends and family for posterity. The process of recording such activities is made straightforward and user-friendly by macOS, which is designed to cater to the needs of users at all levels of technical expertise.
The Built-in macOS Screen Recording Tool
Since macOS Mojave, Apple has included a screen recording feature within the Screenshot toolbar. This tool is a significant upgrade from the previous method that required QuickTime Player.
Accessing the Screen Recording Tool
- Shortcut Method: Press
Command + Shift + 5to open the Screenshot toolbar. This shortcut is a quick and easy way to access both screenshot and screen recording functions. - Via Launchpad: You can also access this tool through the Launchpad by navigating to the ‘Other’ folder and selecting ‘Screenshot.
Using the Screen Recording Tool
- Selection: Once the toolbar is open, you’ll see options to record the entire screen or just a selected portion. Choose the one that suits your need.
- Options: Before starting the recording, click on ‘Options’. Here, you can select where to save your recording, set a timer, choose whether to show mouse clicks in the recording, and more.
- Microphone: If you want to include audio, such as voiceovers, select a microphone.
- Starting the Recording: After setting up your preferences, click ‘Record’. For full-screen recording, it starts immediately. For a portion of the screen, you’ll need to drag to select the area first.
Stopping the Recording
- Click the ‘Stop’ button in the menu bar, or press
Command + Control + Esc.
Editing and Sharing
- Once recorded, the video thumbnail appears briefly in the bottom right corner. Click on it to open the editing window where you can trim the recording. You can then share it directly from there.
Advanced Screen Recording with QuickTime Player
For those who need more control or wish to record their screen along with other media inputs, QuickTime Player is a suitable option.
Steps to Record with QuickTime Player
- Open QuickTime Player and go to
File > New Screen Recording. - Select Recording Options: Similar to the Screenshot toolbar, you can choose to record the entire screen or a portion, and select audio input sources.
- Recording: Click the ‘Record’ button and follow similar steps as the Screenshot toolbar for recording.
Additional Features
- QuickTime Player allows recording of iPhone or iPad’s screen when the device is connected to the Mac.
- It offers more editing features compared to the Screenshot toolbar.
Third-Party Applications
For users with more specific needs, such as professional-grade video editing or advanced recording settings, third-party applications like OBS Studio or Camtasia might be more appropriate. These applications offer extensive customization, including higher frame rates, multiple audio sources, and integrated video editing suites.
Tips for Effective Screen Recordings
- Prepare Your Screen: Clean up your desktop and close unnecessary applications to avoid distractions.
- Use Do Not Disturb Mode: This prevents notifications from appearing during your recording.
- Test Your Audio: If recording voice, ensure your microphone is properly configured and test it before starting.
- Practice: If you’re recording a tutorial or presentation, it’s useful to practice your script to reduce errors.
Conclusion
Filed Under: Guides
Latest timeswonderful Deals
Disclosure: Some of our articles include affiliate links. If you buy something through one of these links, timeswonderful may earn an affiliate commission. Learn about our Disclosure Policy.

