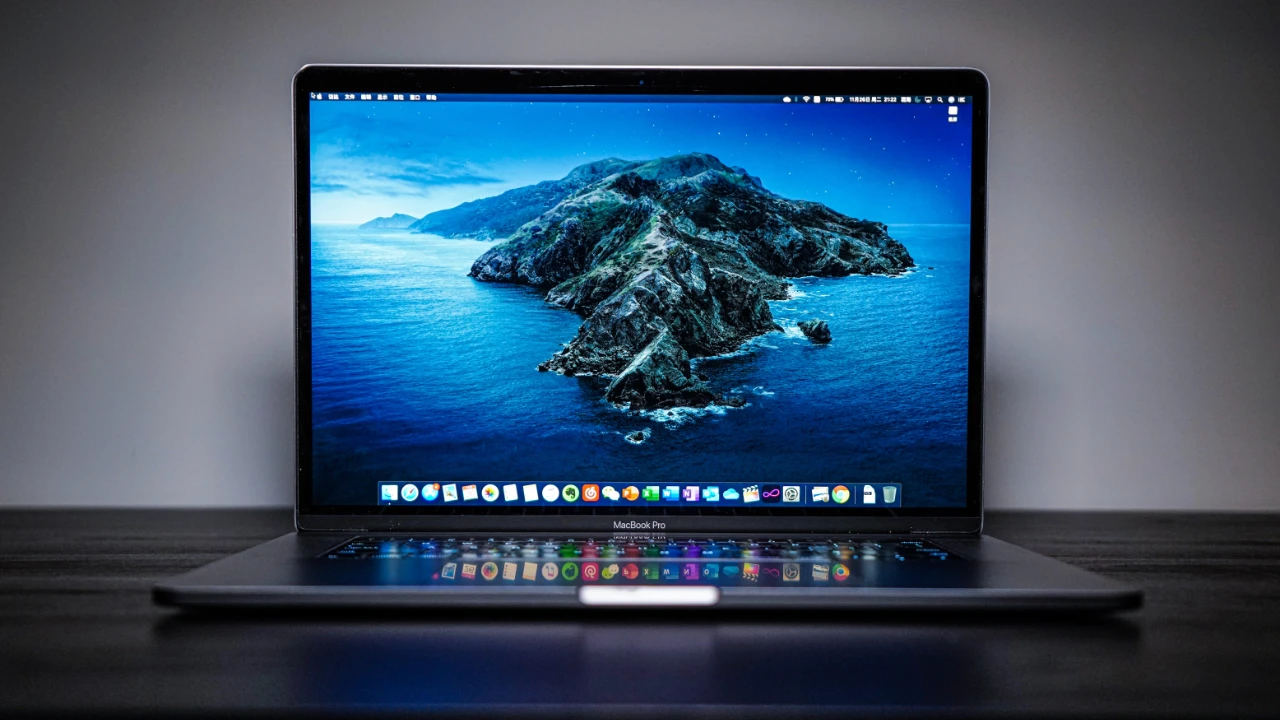
This guide is designed to show you how to take a screenshot and screen recordings on your Mac. In the digital age, screenshots and screen recordings have become essential tools for demonstrating tasks, troubleshooting issues, and preserving important moments. Whether you’re a student sharing notes, a professional providing instructions, or a creative individual capturing your screen for editing purposes, knowing how to effectively capture your Mac’s display is crucial.
Taking Screenshots
Apple’s built-in Screenshot tool provides a straightforward and versatile approach to capturing your Mac’s screen. It offers various options to suit your needs, from capturing the entire screen to selecting specific areas or windows.
1. Screenshot the Entire Screen
Pressing the Shift + Command + 3 shortcut simultaneously will capture the entire contents of your Mac’s screen. The captured screenshot will be saved to your desktop as a PNG file with the date and time of capture.
2. Capture a Specific Area
To capture only a portion of your screen, hold down the Shift + Command + 4 shortcut. Your cursor will transform into a crosshair pointer. Click and drag the crosshair to select the desired area, and the screenshot will be captured and saved to your desktop automatically.
3. Capture a Window
To capture a specific window without the surrounding desktop, hold down the Alt + Shift + Command + 3 shortcut. The window you’re currently focused on will be captured and saved to your desktop.
4. Editing Screenshots
Once a screenshot is captured, it will open in the Preview app for editing. You can use Preview’s various tools to crop, resize, add annotations, and even convert the screenshots to different formats.
Screen Recordings
Recording your Mac’s screen is particularly useful for demonstrating workflows, capturing presentations, or creating tutorials. Apple’s built-in Screen Recording tool provides a straightforward and efficient way to capture your screen’s activity.
1. Starting a Screen Recording
Press the Shift + Command + 5 shortcut to open the Screenshot tool. Click the “Record” button and a red recording indicator will appear. You can control the recording area using the crosshair pointer, similar to taking a screenshot.
2. Customizing Recording Options
Before starting the recording, click the “Options” button to customize the recording settings. You can adjust the recording quality, enable audio capture from your microphone or system audio, and set a start delay to allow you to prepare for the recording.
3. Stopping a Screen Recording
Once you’ve captured the desired footage, click the red recording indicator or press the Escape key to stop the recording. The screen recording will be saved to your desktop as a QuickTime Movie file.
Additional Tips
Screenshot Delay: For particularly complex tasks or presentations, you can set a start delay to allow you to prepare before the recording starts.
Full-Screen Recording: To capture an entire application’s window, press the Option key while recording.
Capture Selection: To capture a specific area within a window, frame the desired selection and press the Spacebar key while recording.
Capture Mouse Pointer: To include the mouse pointer in your recording, press the Command key while recording.
Conclusion
Filed Under: Apple, Guides, Laptops
Latest timeswonderful Deals
Disclosure: Some of our articles include affiliate links. If you buy something through one of these links, timeswonderful may earn an affiliate commission. Learn about our Disclosure Policy.

