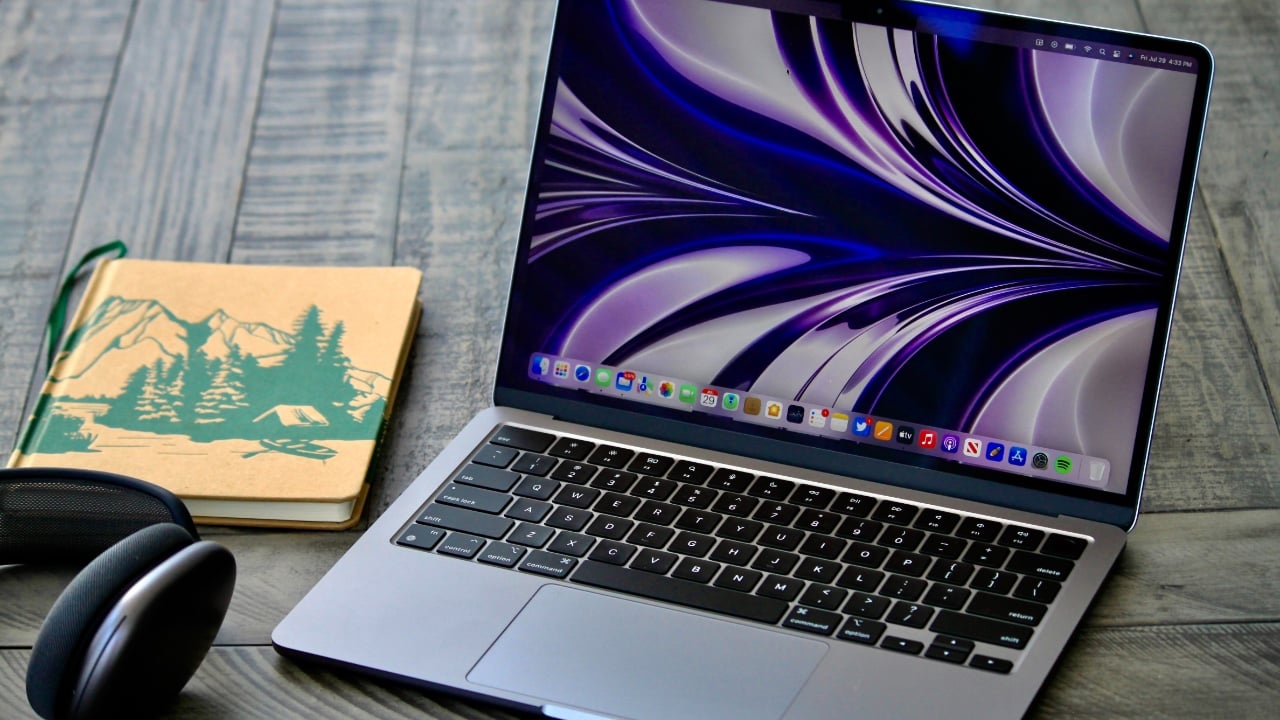
If you are lucky enough to get yourself a new Mac or MacBook this holiday season, you will need to get the device set up, this guide is designed to cover everything you need to know about setting up your new Apple computer. Setting up a new MacBook or Mac involves several key steps to ensure a smooth and personalized experience.
Unboxing and Initial Setup
- Unpack Your MacBook or Mac: Carefully unbox your new MacBook or Mac, ensuring that you have all the necessary components, including the power adapter and cable.
- Power On: Press the power button to turn on your Mac. You will be greeted with a welcome screen.
- Language and Region: Select your preferred language and region. This will determine the language used and the format of dates, times, and currencies.
Connecting to Wi-Fi
- Select a Wi-Fi Network: Choose your Wi-Fi network from the list and enter the password if required.
- Ethernet Option: If you prefer a wired connection and your Mac has an Ethernet port, connect an Ethernet cable from your router to your Mac.
Apple ID and Data Transfer
- Apple ID: Sign in with your Apple ID. If you don’t have one, you can create a new Apple ID.
- Data Transfer: If you’re switching from another Mac or a Windows PC, you can transfer your data using Apple’s Migration Assistant. This can include documents, apps, user accounts, and settings.
Setting Up macOS
- Terms and Conditions: Read and agree to Apple’s terms and conditions.
- Create a Computer Account: Set up your user account, including your username and password. You can also set a profile picture.
- Location Services: Decide whether to enable Location Services, which allow apps like Maps and Find My to use your location.
- Siri and Accessibility: Set up Siri, Apple’s voice assistant, if desired. You can also configure accessibility features to suit your needs.
Privacy and Security Settings
- FileVault: Consider enabling FileVault, which encrypts the data on your Mac for added security.
- Firewall: You may enable the firewall under Security & Privacy settings for additional protection.
- Apple Pay: If you wish to use Apple Pay, set it up by adding your credit or debit card information.
Personalization
- General Preferences: Customize the look and feel of your Mac by going to System Preferences. This includes setting your preferred wallpaper, choosing a dark or light mode, and adjusting the dock settings.
- Trackpad and Mouse Settings: Customize the trackpad and mouse settings to your liking, including gestures and scrolling options.
Installing Applications
- Mac App Store: Use the Mac App Store to find and install new applications.
- Third-Party Applications: For software not available on the App Store, download it from trusted websites. Ensure to allow installation of third-party apps in your security settings if necessary.
Backup and Sync
- Time Machine: Set up Time Machine with an external drive to regularly back up your Mac.
- iCloud: Utilize iCloud for syncing documents, photos, and other data across your Apple devices.
Final Steps
- Software Updates: Check for any available software updates and install them to ensure your Mac is up-to-date.
- Learn More: Explore the built-in Tips app or visit Apple’s website for more information on using macOS.
Conclusion
Setting up your new MacBook or Mac is a straightforward process that can be personalized to fit your needs. By following these steps, you can ensure that your new Mac is secure, efficient, and tailored to your preferences, providing a comfortable and productive computing experience.
This process, structured through a series of well-defined steps, lays the foundation for securing your device, enhancing its efficiency, and fine-tuning various settings and features to resonate with your personal tastes and usage patterns. Adhering to these guidelines guarantees that your new Mac will not only be safeguarded against potential security threats but will also operate at optimal efficiency. Furthermore, by personalizing your settings, you create a user environment that is not just functional but also enjoyable to work in, thereby elevating your overall computing experience to be both comfortable and highly productive. This detailed approach ensures that your Mac is not just a tool, but an extension of your digital life, customized to meet and exceed your everyday computing needs. You can find out more details about how to get started with your new Apple Mac over at Apple’s website.
Image Credit: James Yarema

