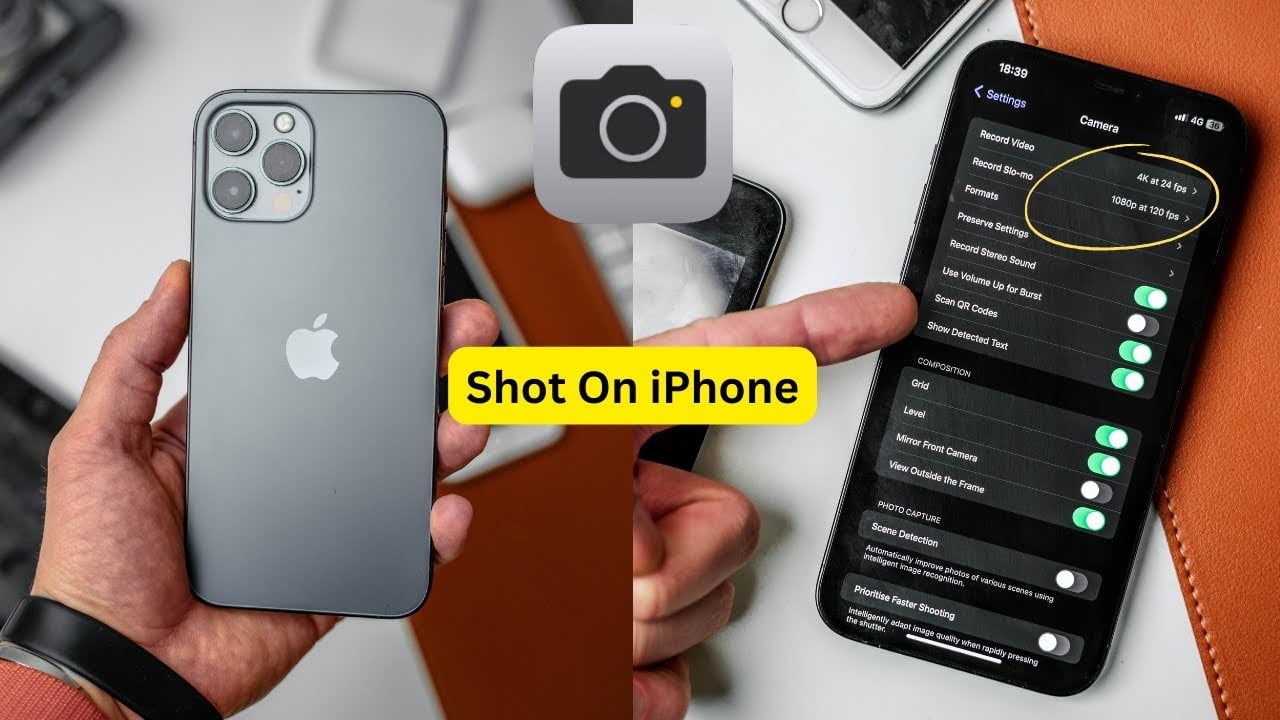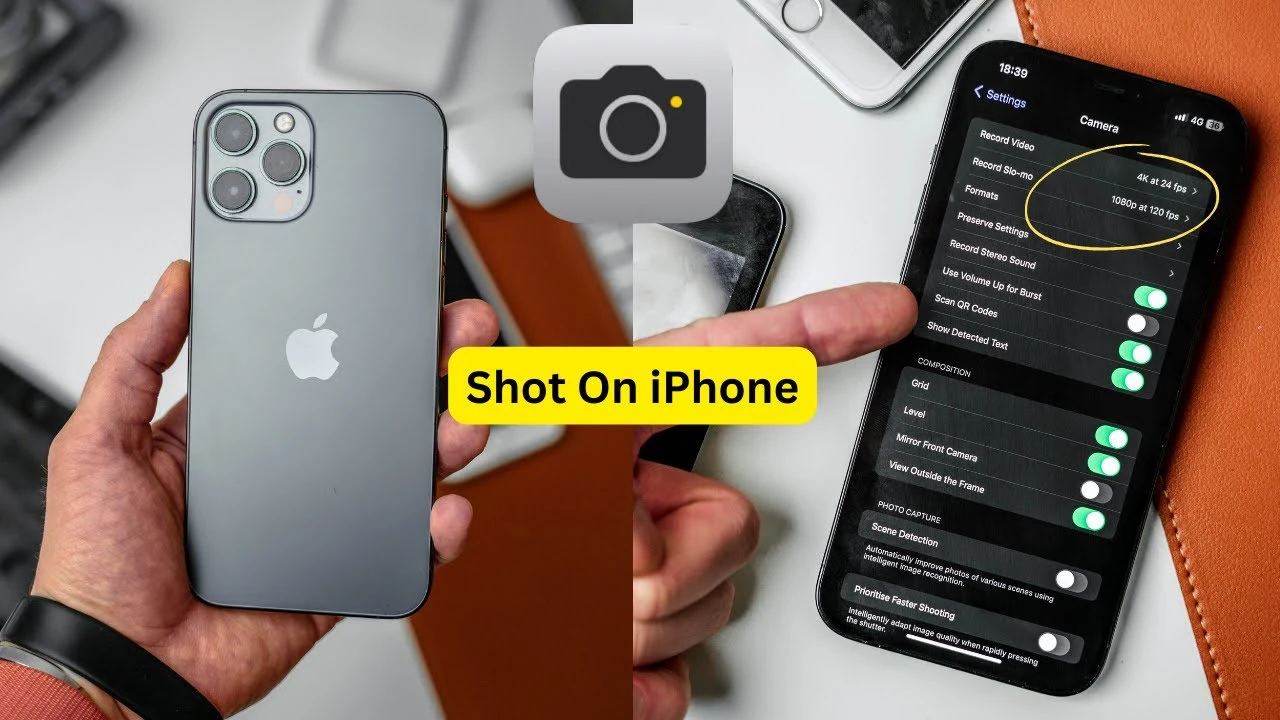
In this guide, we will look at how to optimize your iPhone camera settings. In the digital age where smartphones double as high-quality cameras, mastering your iPhone’s camera settings can elevate your photography and videography game to professional heights. Whether you’re capturing life’s moments or creating content, understanding and optimizing your iPhone camera settings is crucial. The video below from Vlad Manea will walk you through each setting, explaining why and how to adjust them to your advantage.
Optimizing Video Settings
When it comes to video, the frame rate is your starting point. Your iPhone offers 24, 30, or 60 frames per second (fps), each serving a different purpose. For a cinematic feel, 24 fps mimics the traditional film look, while 30 fps is ideal for standard video without the need to match other camera footage. If you’re aiming for smooth slow-motion effects, 60 fps is your go-to. Selecting the right frame rate is the first step in achieving your desired visual outcome.
For those with newer iPhone models, you have access to enhanced stabilization features, ensuring your footage remains smooth under most conditions. However, it’s advisable to disable action mode unless you’re specifically capturing high-movement scenes to prevent unnecessary processing.
Turning off HDR video and automatic frame rate adjustments grants you more control over the video’s final look, avoiding unpredictable changes during filming. Additionally, locking your camera and white balance settings will enable lens switching without disrupting your shoot and maintain consistent color temperatures, respectively.
Delving into Slow Motion and Time Lapse
While not everyday tools, knowing how to use slow motion and time lapse settings can add dynamic effects to your videos. Optimal slow motion is achieved at 120 fps, providing a detailed slow-motion effect. Time-lapse settings, though less frequently used, offer a creative way to capture extended moments in a condensed format.
Perfecting Photo Settings
For photography enthusiasts, maximizing image resolution is key. Utilizing the highest available resolution ensures your photos are crisp and full of detail. iPhone’s ProRAW feature and resolution control offer unparalleled clarity and detail in your images. It’s also crucial to decide on the file format—whether you prefer the most compatible format for broader use or high efficiency for storage conservation.
Preserving your chosen settings between uses can save time and maintain consistency in your photography. Whether it’s keeping the camera in photo mode or retaining manual exposure adjustments, these preferences can be locked in for future sessions.
Enhancing Composition and Style
The use of grid lines can significantly improve the composition of your shots, aiding in aligning subjects and horizons for a more visually appealing result. Disabling the mirror front camera feature ensures your selfies are not flipped, preserving the original scene as intended. For those seeking precision, the level feature aids in capturing perfectly straight shots.
Photographic styles and main camera settings, such as lens correction and macro control, should be adjusted based on personal preference and the specific needs of each shoot. These adjustments allow for greater control in post-processing, enabling you to achieve the exact look you desire.
Exploring Camera App Additional Options
Within the iPhone’s camera app, you’ll find a plethora of settings to experiment with. From adjusting the aspect ratio to fine-tuning exposure compensation, each setting offers a way to personalize your shooting experience. Night mode and flash options provide flexibility in low-light conditions, allowing for high-quality photos regardless of the environment.
Experimentation is key to discovering what works best for you. Each iPhone camera setting offers a way to enhance your photos and videos, but personal preference plays a significant role in finding your unique style.
By taking the time to understand and adjust your iPhone’s camera settings, you unlock a world of creative possibilities. This guide serves as a starting point, encouraging you to explore and experiment with the vast capabilities at your fingertips. With practice and patience, you’ll find that your iPhone can produce stunning visuals that rival those of professional cameras.
Remember, the journey to mastering your iPhone camera is a personal one. There’s no one-size-fits-all approach, so dive in, adjust settings, and discover what brings your visual stories to life.
Source & Image Credit: Vlad Manea
Here are some more useful iPhone camera articles:
Filed Under: Apple, Apple iPhone
Latest timeswonderful Deals
Disclosure: Some of our articles include affiliate links. If you buy something through one of these links, timeswonderful may earn an affiliate commission. Learn about our Disclosure Policy.

