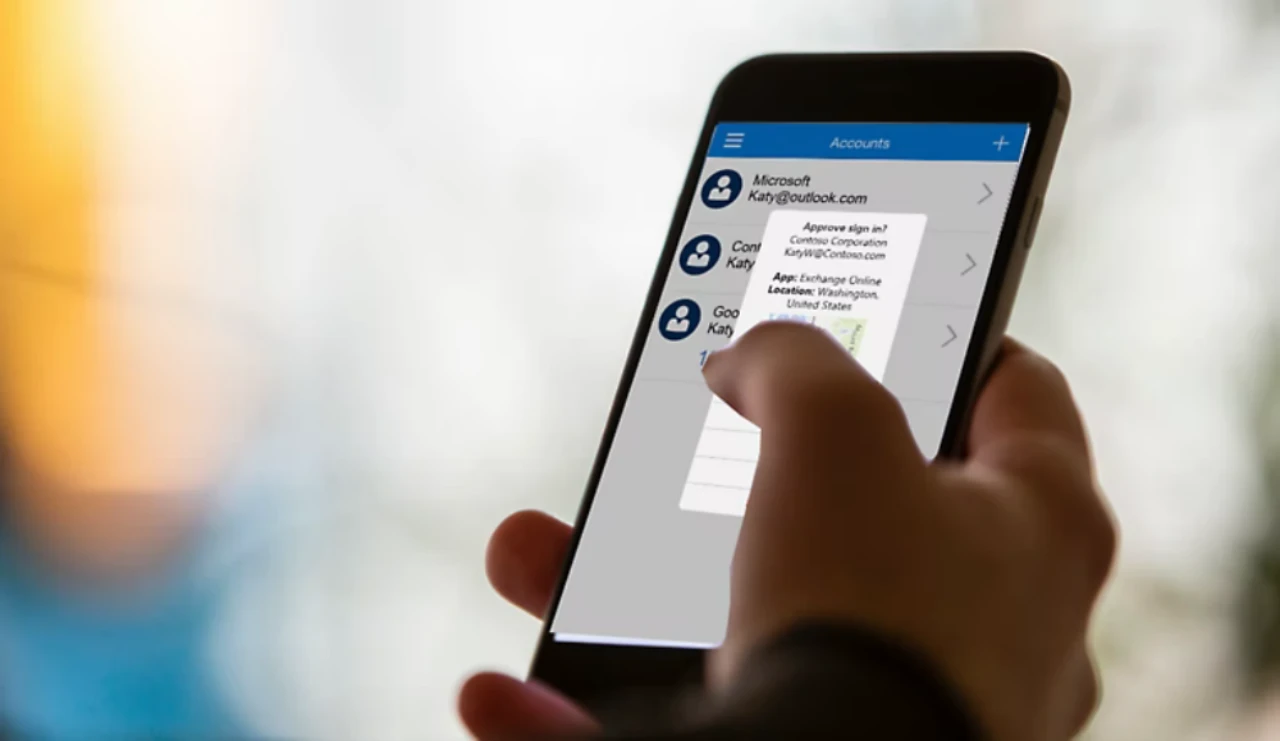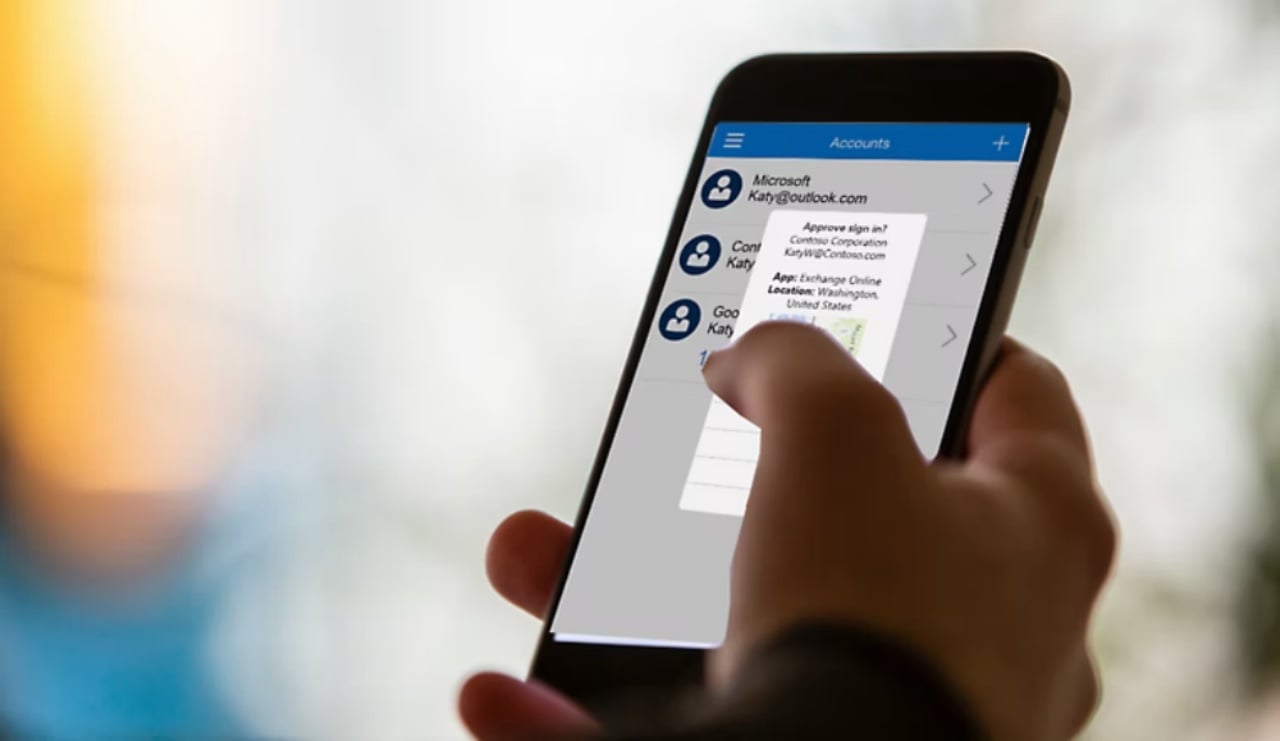
This guide will show you how to move your Microsoft Authenticator to your new Phone. This is something I had to do recently and it took a while to find out how to do it. This guide covers both the iPhone and Android and should make it easier for you.
So, you’ve got a shiny new phone and excitement’s brewing. But a crucial question emerges: how do you seamlessly move your Microsoft Authenticator app and its precious two-factor codes to your new device? Worry not, intrepid tech user, for this guide will equip you with the knowledge to navigate this transition with ease. We’ll cover both Android and iOS, ensuring no platform gets left behind.
Before We Begin: A Backup Bonanza
Before embarking on this digital migration, remember the golden rule of tech: backups are your best friends. Both Android and iOS offer built-in options within the Microsoft Authenticator app to safeguard your accounts.
Android:
- Open the Microsoft Authenticator app.
- Tap the three dots in the top right corner.
- Select “Settings.”
- Under “Backup,” toggle on “Cloud Backup.
iOS:
- Open the Microsoft Authenticator app.
- Tap the gear icon in the bottom right corner.
- Select “Account.”
- Under “Backup,” toggle on “iCloud Backup.”
Now, onto the transfer itself!
Method 1: Restoring from a Backup (Recommended)
This method is the smoothest for those who heeded the backup advice above.
Android:
- Install the Microsoft Authenticator app on your new phone.
- Open the app and tap “Begin recovery.”
- Sign in to the Microsoft account you used for the backup on your old phone.
- Your backed-up accounts will automatically appear on your new phone.
iOS:
- Install the Microsoft Authenticator app on your new phone.
- Open the app and tap “Sign in.”
- Choose “Restore from backup” and enter your iCloud password.
- Select the backup you want to restore and tap “Continue.”
- Your backed-up accounts will be added to your new phone.
Method 2: Manual Re-Addition (Without Backup)
If you weren’t a backup buff, fear not! You can still manually add your accounts.
Both Android and iOS:
- Open the Microsoft Authenticator app on your new phone.
- Tap the “+” button to add an account.
- Choose how you want to add the account (e.g., scanning a QR code, entering a setup key).
- Follow the on-screen instructions to add each account individually.
Pro Tip: Most websites and services that use two-factor authentication offer recovery options in case you lose your phone or don’t have access to the Authenticator app. Be sure to familiarize yourself with these options for each of your accounts.
Bonus Round: Security Savvy
- Keep your Microsoft account password strong and unique. This is the key to unlocking your Authenticator backups.
- Enable two-factor authentication for your Microsoft account itself. This adds an extra layer of security for your digital fortress.
- Consider using a password manager to keep track of all your login credentials.
With these tips and tricks in your arsenal, moving your Microsoft Authenticator to your new phone will be a smooth and secure affair. Now, go forth and conquer the digital world with the confidence of a two-factor authentication champion!
Additional Resources:
We hope you find this guide on how to move your Microsoft Authenticator app and account to your new phone useful, if you have any comments, suggestions or questions, please leave a comment below and let us know.
Filed Under: Android News, Apple, Guides
Latest timeswonderful Deals
Disclosure: Some of our articles include affiliate links. If you buy something through one of these links, timeswonderful may earn an affiliate commission. Learn about our Disclosure Policy.

