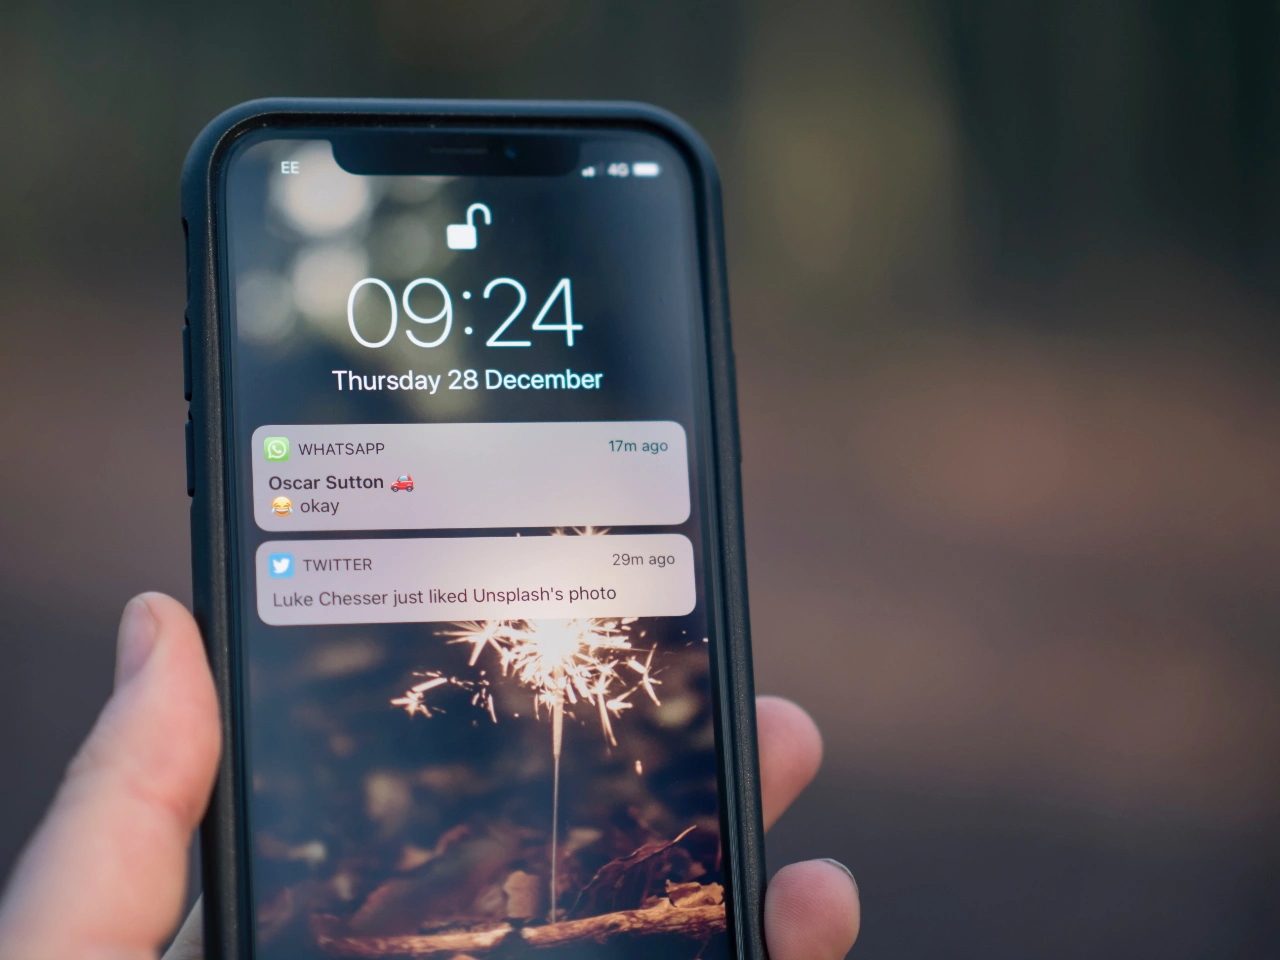
This guide is designed to show you how to manage your notifications on your iPhone. In today’s fast-paced digital world, staying informed is crucial. However, the constant barrage of notifications from various apps can quickly become overwhelming, disrupting your focus and productivity. Fortunately, iPhones offer a comprehensive set of tools to effectively manage notifications, ensuring you receive important alerts without being bombarded by irrelevant ones.
This guide will delve into the intricacies of notification management on your iPhone, empowering you to take control of your digital notifications and achieve a zen-like balance between staying informed and maintaining sanity.
Navigating the Notifications Hub
The journey to notification mastery begins with understanding the Notifications Center, the central repository for all incoming alerts. To access the Notifications Center, simply swipe down from the top-right corner of your iPhone’s screen. Here, you’ll find a chronological list of notifications from various apps, arranged by recency.
Unveiling Notification Styles
Notifications aren’t one-size-fits-all; they come in various styles tailored to different app experiences. Let’s explore the primary notification styles and their implications:
- Banners: Banners appear momentarily at the top of your screen, providing a brief glimpse of the notification without disrupting your current activity.
- Alerts: Alerts take center stage, occupying the entire screen with a prominent sound and vibration. Use alerts cautiously for notifications that demand immediate attention.
Customizing Notification Settings
Delving into the Settings app unlocks a world of granular control over your notifications. Navigate to Settings > Notifications to unleash your notification management prowess.
- App-Specific Notification Controls: Scroll down to find a list of installed apps. Tap on an app to reveal its notification settings.
- Allow Notifications: Toggle this switch to enable or disable notifications altogether for that app.
- Sounds: Choose a custom sound or turn off sounds entirely for the selected app.
- Badges: Decide whether you want app badges, the red numbers on app icons indicating unread notifications, to be displayed.
- Lock Screen: Determine how notifications appear on your Lock Screen, ranging from detailed previews to minimal banners.
- Notification Grouping: Organize notifications into categories, such as Social or News, for a cleaner and more manageable experience.
Silencing Notifications Temporarily
Sometimes, you need a temporary respite from the notification influx. iOS offers two convenient options for silencing notifications for a specified period:
- Silent Mode: Activate Silent Mode by toggling the mute switch on the side of your iPhone. This silences all incoming calls and notifications.
- Focus Modes: Tap the Control Center (swipe down from the top-right corner of the screen) and long-press the Focus icon (moon symbol). Choose a Focus mode, such as Sleep or Work, to silence notifications temporarily.
Scheduling Notification Summaries
For apps that generate a steady stream of notifications, consider scheduling notification summaries. This consolidates multiple notifications into a single, more manageable digest delivered at specific times.
To enable notification summaries for an app, go to Settings > Notifications > App Name > Notification Grouping. Select “Scheduled Summary” and choose the desired summary interval.
Muting Individual Conversations
In messaging apps like Messages or WhatsApp, silencing specific conversations can bring peace of mind. Open the conversation, tap the name of the contact or group, and select “Mute.” Choose a mute duration or select “Mute Forever.”
Taking a Notification Break
For a more extensive notification hiatus, utilize Do Not Disturb. Activate Do Not Disturb in the Control Center or go to Settings > Focus > Do Not Disturb. Customize the Do Not Disturb settings to determine which notifications and calls are allowed during this break.
Prioritizing Important Notifications
In the midst of notification overload, it’s easy to miss critical alerts. To ensure you don’t miss important notifications, designate them as favorites. Open the notification, tap “App Name,” and select “Add to Favorites.” Favorited notifications will always appear at the top of the Notifications Center.
Managing Notification Dependencies
Some apps’ notifications rely on other apps’ functionalities. For instance, receiving notifications from a weather app may require location services to be enabled. To check notification dependencies, go to Settings > Privacy and review the settings for relevant apps.
Summary
By becoming adept at managing notifications, you can effectively turn your iPhone from a mere source of constant distraction into a tool that enhances your productivity significantly. The key lies in meticulously setting up your device’s notification system. By doing so, you ensure that you are in full control of what alerts you receive and when. This careful customization means that your phone will only interrupt you for notifications that truly matter, filtering out the less important ones. Consequently, this empowers you to channel your attention and energy towards tasks and responsibilities that are of utmost importance, ultimately boosting your focus and efficiency. With these strategic adjustments in place, your iPhone transforms into an ally in your day-to-day life, aiding you in staying on top of your priorities without the constant barrage of irrelevant alerts.
Here are some more helpful iPhone guides:
Image Credit: Jamie Street
Filed Under: Apple, Apple iPhone, Guides
Latest timeswonderful Deals
Disclosure: Some of our articles include affiliate links. If you buy something through one of these links, timeswonderful may earn an affiliate commission. Learn about our Disclosure Policy.

