


Imagine being able to create a device that uses magnetic force to launch a projectile. The latest innovation from Electronoobs the creator of inspirational project tutorials for electronics hobbyists. Has introduced the second-generation of a previously made 10-stage coilgun, which now comes with an improved printed circuit board (PCB) and a custom-made enclosure produced by 3D printing. This new version is not only more efficient but also safer, representing a significant step forward for those who enjoy building and experimenting with their own electronic devices.
At the heart of the coilgun’s functionality is its PCB. The updated design brings all the stages together onto a single board, which makes the building process easier and reduces the chances of making mistakes. The PCB has been designed with sophisticated software to match the coilgun’s requirements perfectly, which ensures that it works as well as possible.
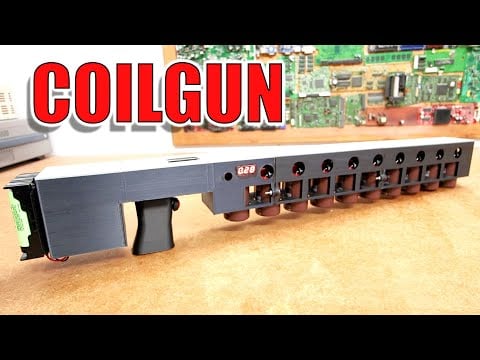
The enclosure for the coilgun, made using 3D printing technology, has two main purposes. It is designed to cover the high-voltage parts, protecting users from the risk of electric shock. The enclosure also strengthens the coilgun by protecting its complex internal components from damage, while also giving it a modern, professional look.
How to make a Coilgun
As you put the coilgun together, your skill in soldering will be put to the test. You’ll need to solder various parts, including coils, capacitors, and infrared LEDs. The PCB has been made with thick copper tracks, which can be challenging when it comes to managing heat. Being good at soldering is crucial for making connections that last and preventing the device from getting too hot.
The most thrilling part of the process is testing the coilgun. You’ll adjust the timing of each stage with the help of infrared sensors to make sure the firing power is as strong as it can be. Getting the calibration right is very important, as it ensures that the projectile travels at the highest possible speed when it hits a plywood target.
After testing, you’ll add features that make the coilgun easier to use, such as a segmented case for the power supply and a voltage indicator to help you keep track of the charge. To make the design even better, you might want to make the battery housing bigger and add a port for loading projectiles.
When you’re working on this project, it’s important to always think about safety because the coilgun works with high voltage. But building the device is more than just a fun activity; it’s a chance to learn more about advanced electronics. You’re encouraged to share what you learn and your experiences with the community, which helps create a space where everyone can work together and keep getting better.
The improved 10-stage coilgun is an interesting project in the world of do-it-yourself electronics. It combines well-known electronic concepts with the latest manufacturing techniques. Your participation and feedback are vital as this project moves forward, helping to push the limits of what hobbyists can do.
Image Credit : Electronoobs
Filed Under: DIY Projects, Top News
Latest timeswonderful Deals
Disclosure: Some of our articles include affiliate links. If you buy something through one of these links, timeswonderful may earn an affiliate commission. Learn about our Disclosure Policy.